C
h
an
gi
ng
th
e
S
e
tt
in
gs
Changing Settings
36
• [Screens] tab
Touch this tab to enable/disable input devices
such as the scanner, to enable/disable output
services such as CD creation, set up the
screensaver, and import pictures to the Photo
Library.
• [Pricing] tab
Touch this tab to set the price of each output
service, the sales tax, and make other price-
related settings.
• [Promotions] tab
Touch this tab to make promotional package
settings, and set volume discounts.
• [Templates] tab
Touch this tab to import and/or delete templates,
and make other template-related settings.
• [Accounting] tab
Touch this tab to specify the information that you
want on your receipts. You can also set ranges for
viewing and exporting summary and detail
transaction Logs.
• [System] tab
Touch this tab to modify password, enable/
disable notices, make print mode settings, and
other system-related settings.
• [Custom] tab
By touching this tab, you can set default values
for number of prints, CD-R media type, and the
output size for the [Print all pictures] function.
• [Cancel Job] button
Touch this button to cancel the printing job in
progress.
Note
This button is available in sales clerk mode.
• [Logs] button
Touch this button to copy the sales logs to a
storage media or print them.
Note
This button is available in sales clerk mode.
• [Shutdown] button
Touch this button to shut down the system.
Note
This button is available in sales clerk mode.
• [Exit Admin] button
Touch this button to save settings and exit the
Administration screen.
Note
This button is available in sales clerk mode.
4
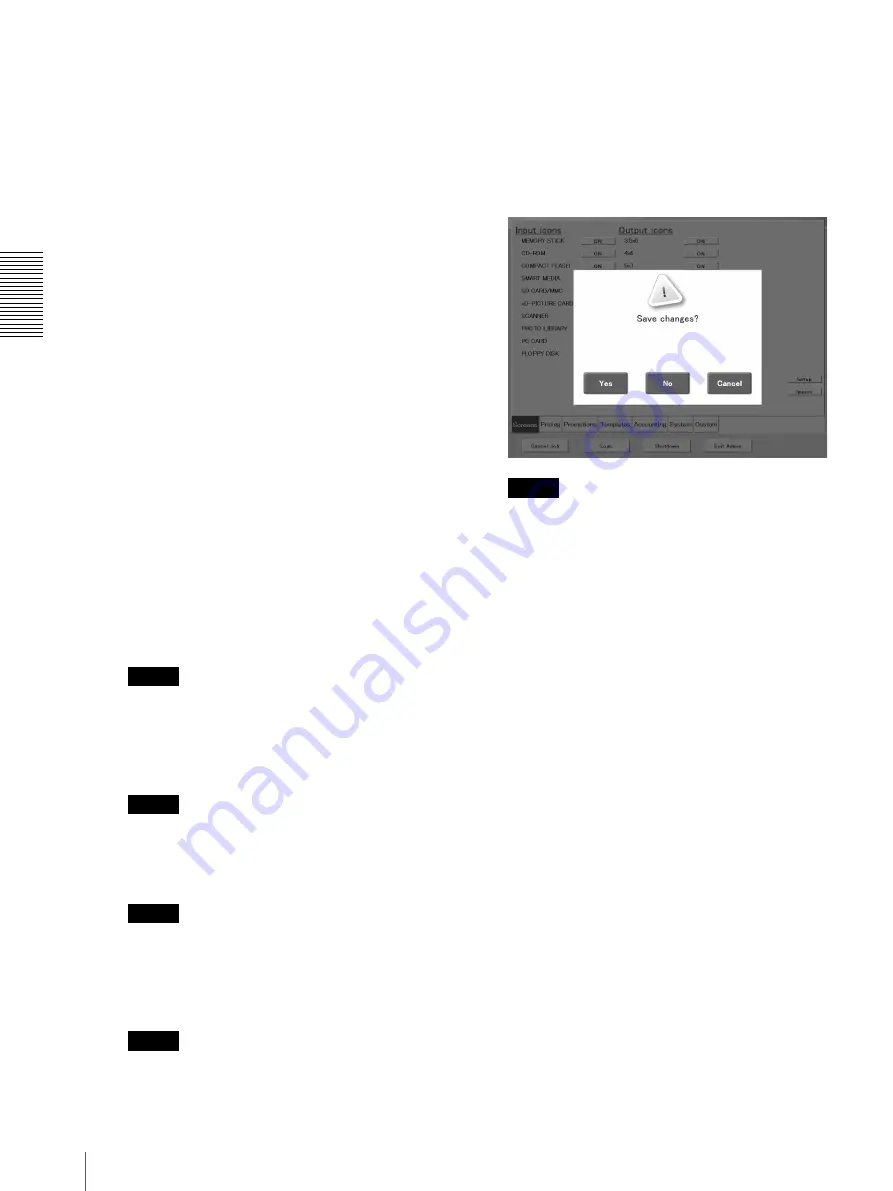
When you are done, touch the [Exit Admin] button.
You are prompted to confirm whether you want to
save the changes to the settings.
5
Touch the [Yes] button.
The settings are saved, the software restarts, and the
display returns to the screen displayed in step 1.
Note
If you touch the [No] button, all the changes are
ignored and the display returns to the screen in step
1.


