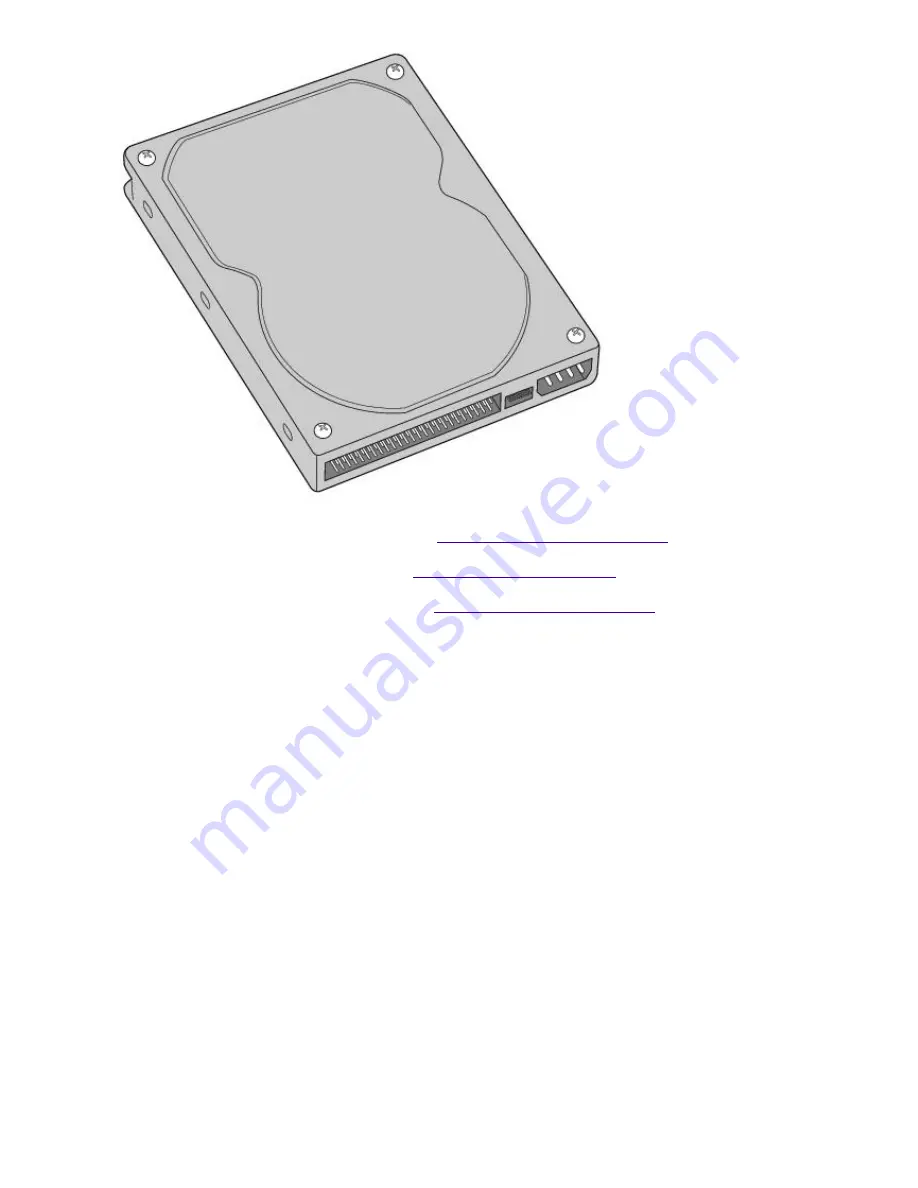
configuration instructions).
2.
Remove the left-side panel, as described in
Removing the Left-Side Panel
.
3.
Remove the front panel, as described in
Removing the Front Panel
.
4.
Remove the bottom panel, as described in
Removing the Bottom Panel
.
5.
Lay the system on its right side (left side faces up-see diagram that follows).
6.
Remove the two screws that secure the drive holder.
7.
Slide the drive holder forward and then out.
Page 549
Содержание PCV-E518DS - Vaio Digital Studio Desktop Computer
Страница 473: ...See the manual that came with your S Link equipped device for more information on setting it up and using it Page 473 ...
Страница 477: ...See the manual that came with your S Link equipped device for more information on setting it up and using it Page 477 ...
Страница 481: ...See the manual that came with your S Link equipped device for more information on setting it up and using it Page 481 ...
Страница 485: ...See the manual that came with your S Link equipped device for more information on setting it up and using it Page 485 ...
Страница 489: ...See the manual that came with your S Link equipped device for more information on setting it up and using it Page 489 ...
Страница 493: ...See the manual that came with your S Link equipped device for more information on setting it up and using it Page 493 ...
Страница 497: ...See the manual that came with your S Link equipped device for more information on setting it up and using it Page 497 ...
Страница 501: ...See the manual that came with your S Link equipped device for more information on setting it up and using it Page 501 ...


