


1-28
CSPK-5000E
Programming a Daily Schedule
Apart from the weekly schedule of events, you can
also program the events for specific dates of the
current year.
Follow the steps below to create a daily schedule of
events.
1
From the main menu, select “SWITCHING
PROGRAM” and then press the SET key.
SWITCHING PROGRAM
→
SEQUENCE
GROUP
EVENT
2
Select “EVENT” and then press the SET key.
EVENT
→
EVENT(TIME)
SCHEDULE(WEEK)
SCHEDULE(DATE)
3
Select “SCHEDULE(DATE)” and then press the
SET key.
EVENT
SCHEDULE(DATE)
→
JAN JUL
FEB AUG
MAR SEP
APR OCT
MAY NOV
JUN DEC
4
Select a month (JAN in this example) and press the
SET key.
SCHEDULE(DATE)
SET EVENT NO.(1-8)
1996 JAN
1- 9- 17- 25-
2- 10- 18- 26-
3- 11- 19- 27-
4- 12- 20- 28-
5- 13- 21- 29-
6- 14- 22- 30-
7- 15- 23- 31-
8- 16- 24-
5
Select a date and then enter the desired event to
execute for that day.
6
Repeat the same procedure with other desired
dates. When you are ready, press the SET key.
Continue with other months and dates. When you are
ready, press the SET key to finish.
Note
If the daily schedule of events crash with the weekly
schedule, then the daily schedule will prevail.
Programming
28(EN)
Configuring the Input Source
Assigning IDs to cameras
You can assign a name to each camera. When you
press the DISPLAY key, the names will appear on the
selected monitor.
1
From the main menu, select “INPUT
CONFIGURE” and then press the SET key.
INPUT CONFIGURE
→
SOURCE ID
CABLE COMPENSATION
RECEIVER TYPE
VD
P/T LIMIT
2
Select “SOURCE ID” and then press the SET key.
SOURCE ID
ABC
CAM ID
→
1
2
3
4
5
6
7
8
3
Select a camera number. If necessary, press the
NEXT or PREVIOUS key to see other pages.
If the keyboard monitor is configured correctly,
you can view the picture from the camera selected
by the cursor up/down keys.
4
Use the 10-key pad to enter a name, up to 12
characters, for the selected camera.
See the following sections on how to enter a
character. After entering a character, use the cursor
keys to move the cursor to the next position.
5
Repeat the same procedure with other cameras.
When you are ready, press the SET key to accept
the changes.
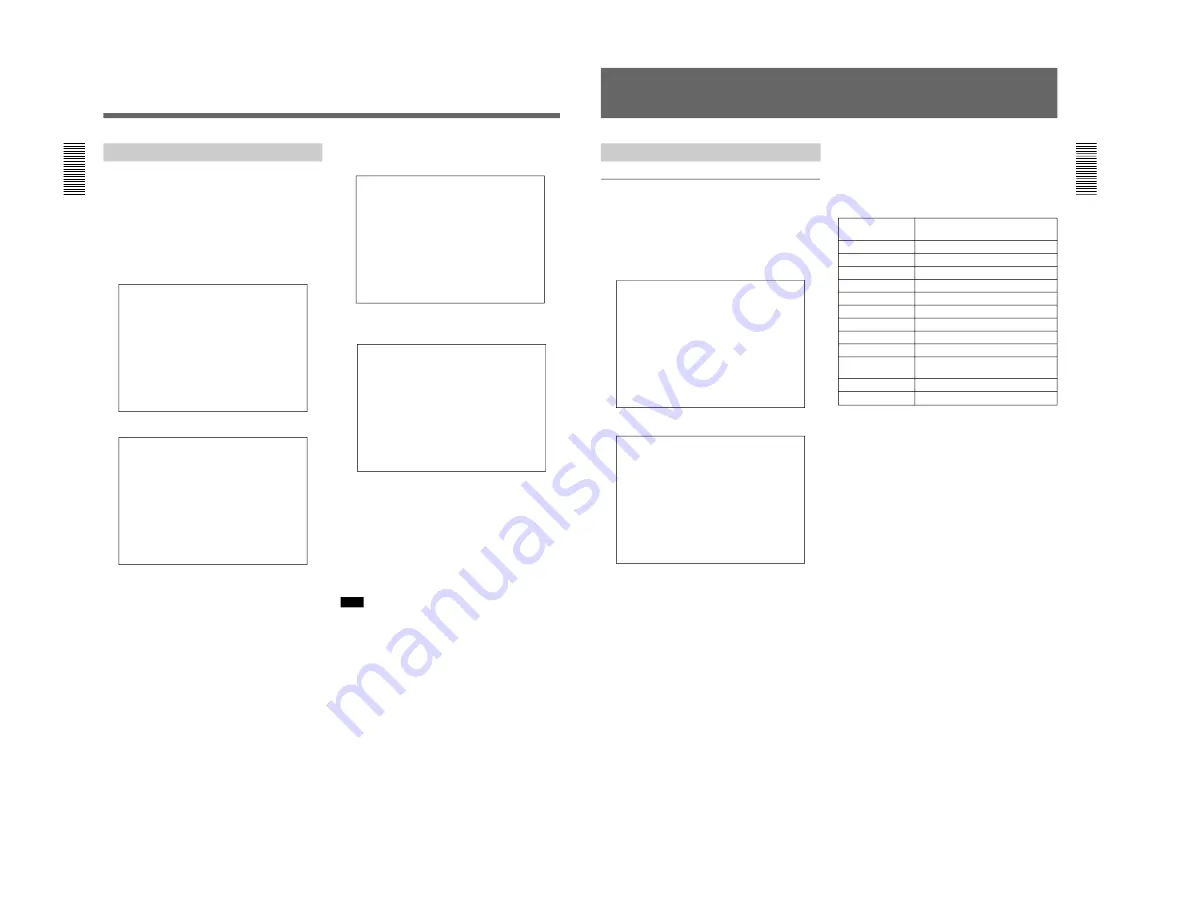
To enter a letter
Pressing This Key
You Get
Repeatedly
1
1ABC
2
2DEF
3
3GHI
4
4JKL
5
5MNO
6
6PQR
7
7STU
8
8VWX
9
9YZ
0
0, special characters
(See below.)
#
(space)
*
# & – / + * = • () <>
↑ ↓ → ←
~
■
To enter special characters
Depending on which language is in use now, you can
press the “0” key repeatedly to obtain the character for
that language, as indicated in the following table.
Japanese
: ; ” ´ ` . , ! ?
English
: ; ” ´ ` . , ! ?
French
á à é è ù Ç ç â ê î ô û ï . , ! ?
German
Ä ä Ö ö Ü ü ß . , ! ?
Spanish
á é í ó ú ü Ñ ñ . , ¡ ! ¿ ?
Italian
à è é ì ò ù . , ! ?
To switch between upper- and lower-case
Press the RECALL key.
To delete a character
Press the TOUR key.
Configuring the System
29(EN)