


Zone Dependent Setting – Beep / Alarm
r can customize the audio warning so that when a sensor is triggered, it may bee
se
secu
•
alarm
immediately, but it will stop when the sensor is back to normal (door closes). It
umbers since it is not armed.
without entry delay, it is called
tered.
l z
the factory.
•
•
or is not located outdoor
1. Pre
th
2. Enter the current Master Password. Control panel will emit 3 beeps if the valid password is
3.
ents the current beep / alarm
setting.
•
If the zone LED flashes, that ind
the zon
rammed to “Beep”.
•
If the zone LED remains steadily on, that indicates the zone is programmed to
“Alarm”.
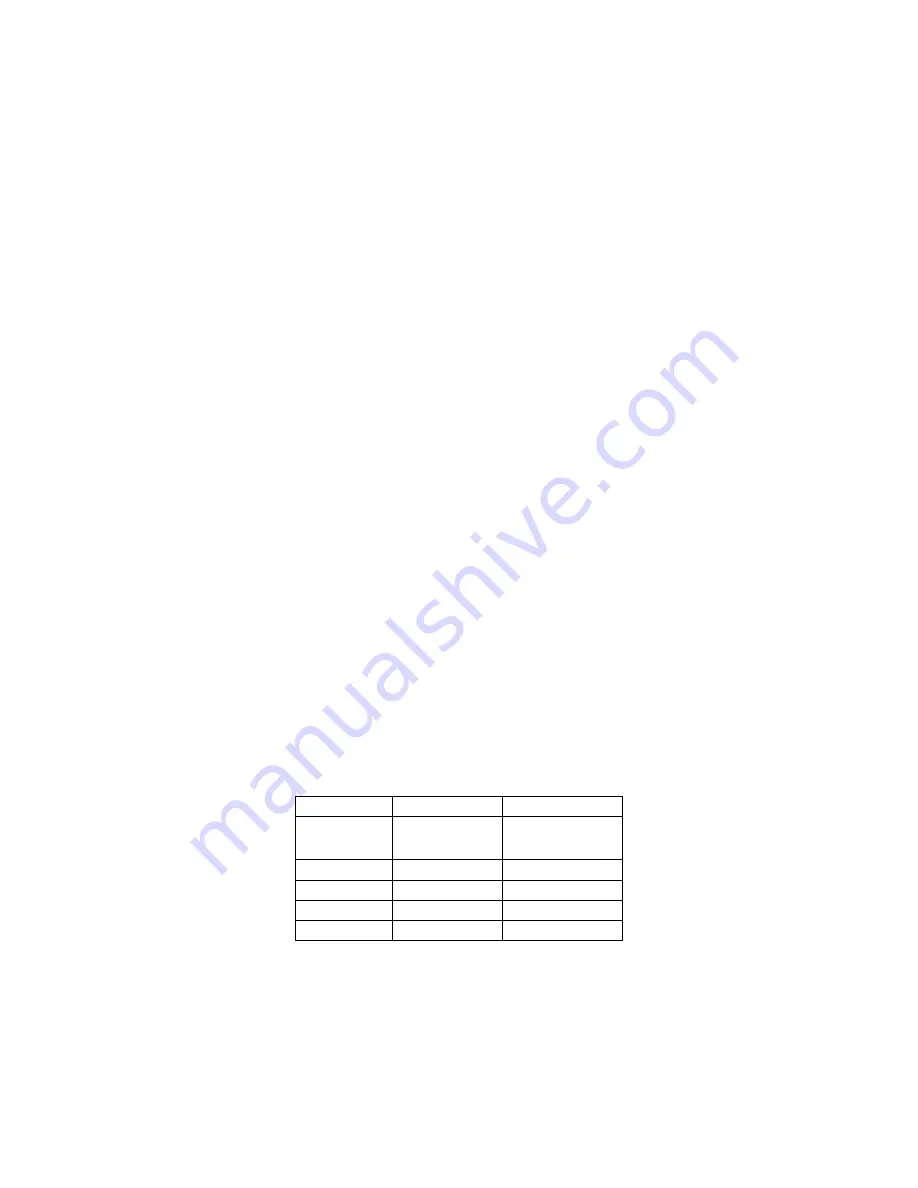
4. To change the setting between beep and alarm, press buttons 1 to 5 will set that zone to
beep. Pressing buttons 6 to 0 will set that zone to alarm. Refer to Fig X. After making the
change, notice the stat
zone
es a
Beep Alarm
U
p, or an
alarm may sound immediately. Depending on whether the control panel is in alert mode or
rity mode, the audio warning will be different.
Alert mode: If a sensor is triggered (i.e. opening a door) with the alarm feature on, the
will sound
control panel will not call the emergency phone n
Security mode: If a sensor is triggered (i.e. opening a door) with the alarm feature on and
•
the system is armed, the siren will sound immediately
“Instant Alarm”. The siren will not stop until the siren timeout or a valid password is en
Control panel will call the emergency phone numbers to notify the users of the alarm
situation.
l ones were programmed to beep at
A
It is recommended to program a zone into Alarm mode if:
•
You need immediate attention if that sensor is triggered, such as flood sensor, smoke
sensor etc.
The sensor will not be triggered on a daily basis
The sens
ss e [PROG] button on the side of the control panel, the [PROG] LED will be on.
entered, otherwise a single long beep will be emitted and [PROG] LED will be off.
Enter [5], which represents “Beep / Alarm” setting. Notice all 5 zone LEDs, some of them
may be off, some of them may flash. The LED flashing repres
icates
e is prog
us of the
LED chang
s well.
Zone 1
Button [1]
Button [6]
Zone 2
Button [2]
Button [7]
Zone 3
Button [3]
Button [8]
Zone 4
Button [4]
Button [9]
Zone 5
Button [5]
Button [0]
5. You are allow to make unlimited changes before programming is quit. Once you are
satisfied with the settings, press [PROG] to quit programming and the settings will be saved.


