The interval between two synchronising actions by an NTP server can be set from 1 to
10080 minutes.
5
Click Test.
The connection to the time server is tested.
6
If your settings are correct, click Save.
Note: If the camera is connected to a public network, use an NTP server that has a time
synchronisation function. If the camera is set up in a customised network, NTP software can
be used to establish an NTP server for time synchronisation.
To set the system time manually
1
In the Manual Time Sync section, select Manual Time Sync.
2
In Set Time, click the Calender/Clock icon.
3
Use the calender and the Time list to set the system date and time.
4
Click OK to confirm your settings.
5
(Optional) As an alternative to steps 2-4, you can select Sync. with computer time.
This synchronises the camera system time with the time of your computer.
6
Click Save.
To enable DST
1
In the DST section, select Enable DST.
2
In the Start Time and End Time lists, select the appropriate start and end details.
3
In the DST Bias list, select the offset.
This is the amount of time you need to subtract from or add to Coordinated Universal
time (UTC) to get the current time for the location of the camera.
4
Click Save.
8.3
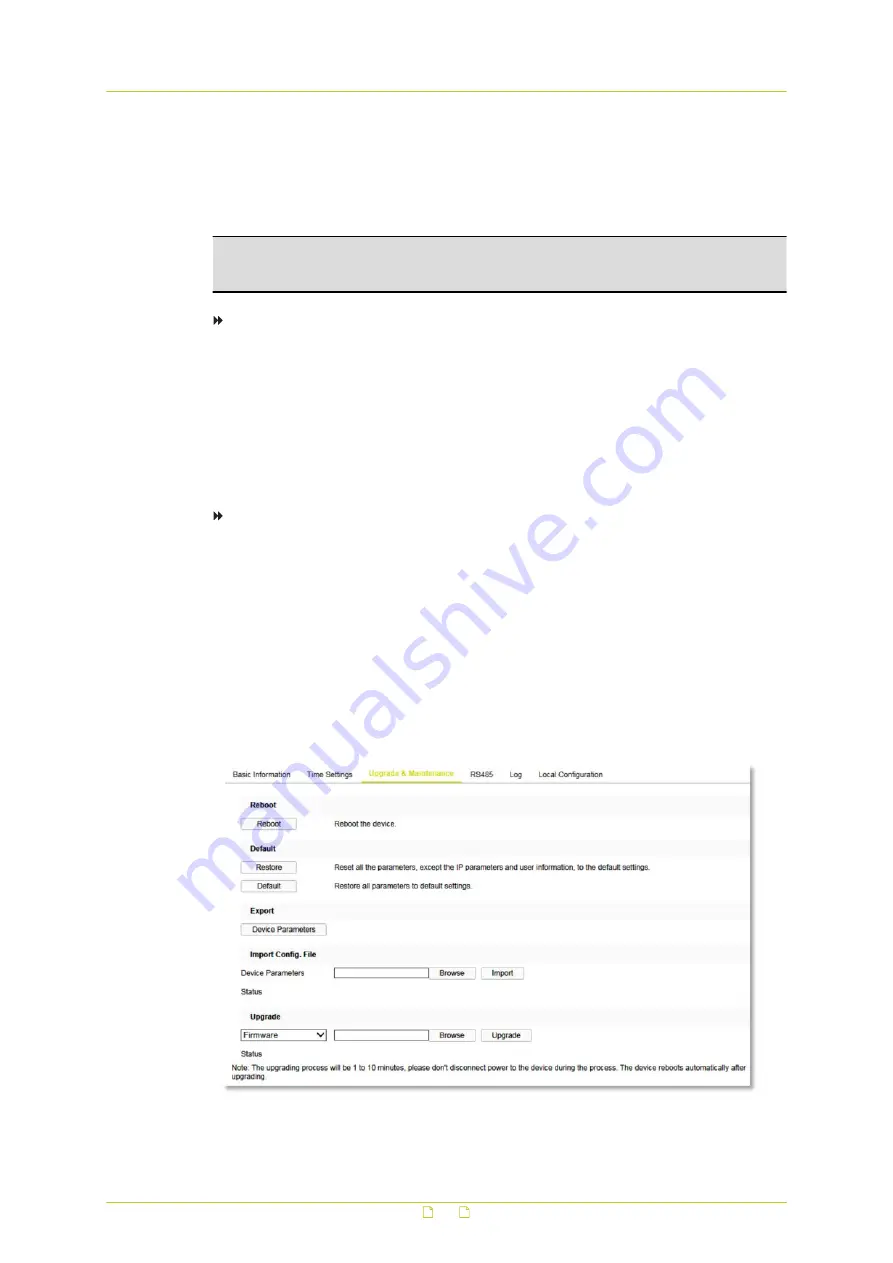
Upgrade & Maintenance
System > Upgrade & Maintenance
System
36


