Important: The network settings of the camera and the computer should be such that they
are on the same subnet.
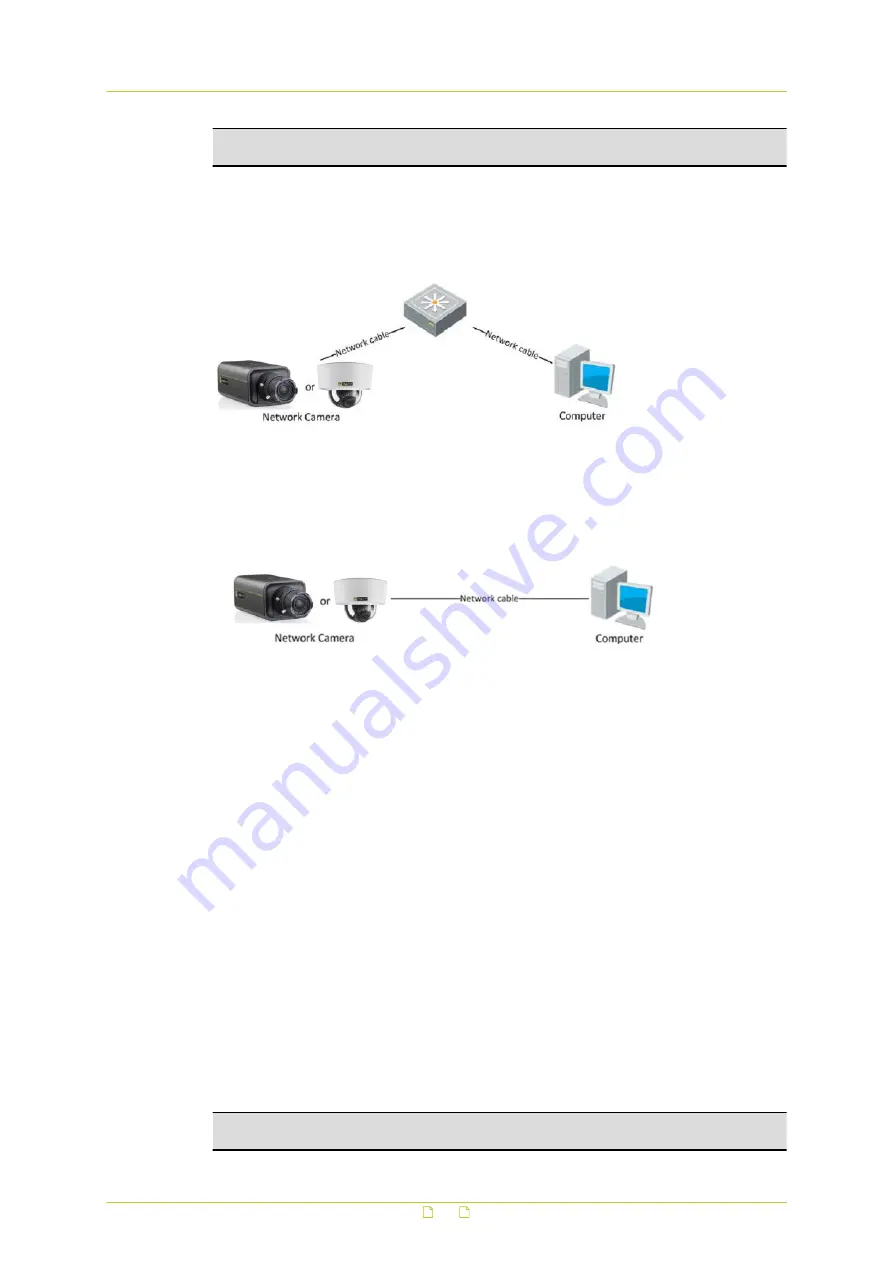
Connection via switch or router
Generally, the network camera and the computer are connected via a switch or a router.
Direct connection
To bring the network camera into the same subnet as the computer (or to test the camera),
connect the two devices directly with a network cable.
Bring the camera and computer into the same subnet
Take the following steps to connect to the network camera from the computer:
1
Set the network adapter of the computer to the factory-set subnet of the camera.
(Control Panel > Network and Sharing Center > Change adapter settings ... >
Properties ... )
For the default network settings of the camera, see Default settings (below) .
2
Connect the two devices with a network cable.
3
Open the web interface of the camera from a web browser on the computer.
For details, see Get access via web browser.
For information about Siqura Device Manager, see Get access via Siqura Device
Manager.
Default settings
Out of the box, the camera has these settings:
● IP address: 192.168.1.64
● DHCP: enabled
● UPnP: enabled
● Logon: not required
Note: If no DHCP server is found on the network, the camera is initially assigned the IP
address 0.0.0.0. After 30 seconds, the IP address 192.168.1.64 is adopted.
Connect to network
13


