background image

When set to Auto, the system automatically converts magnetic north to true north. Select
manual mode if you need to enter your own local magnetic variation.

Phantom Loran

Enables use of Phantom Loran positioning system.

Loran settings

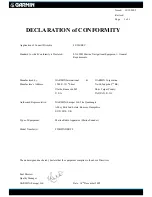
Defines Loran chains (GRI) and preferred station for waypoint entry, cursor position and
position panel.
The graphic example shows a cursor position window with Loran position information.
For more information refer to your Loran system documentation.

Optimize for left-hand view

This option is available for the S2009 only. To access the option select Advanced and then
the User Interface option in the Settings dialog.
Select this option to optimize the display for viewing from the left.

About

Displays copyright information, software version, and technical information for this unit.
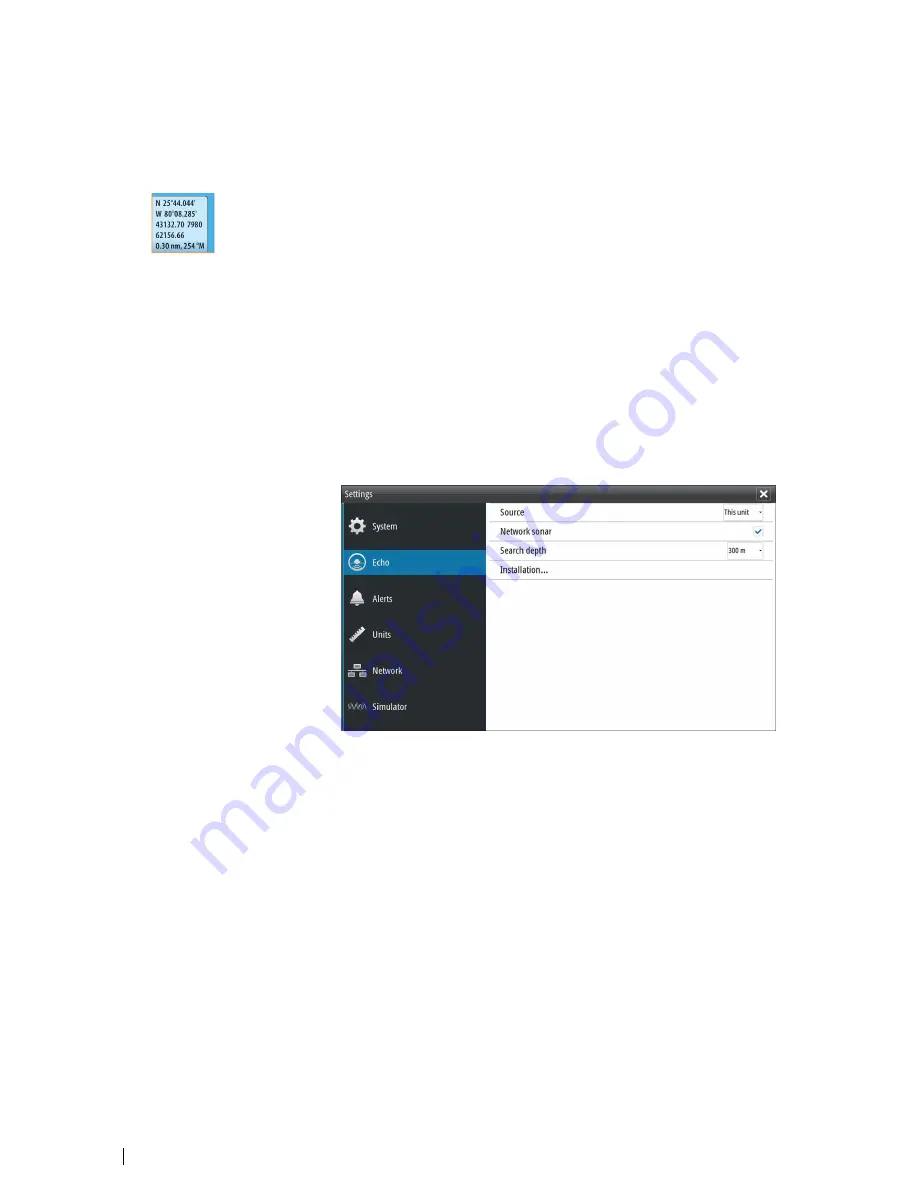
Echo settings

Echosounder source

If you have Network Echosounder enabled and have more than one Echosounder on your
network, you can select which Echosounder to be the preferred source on this unit.

Network Echosounder

You can share the Echosounder images from this unit with other units connected on the
Ethernet network.

Heave compensation

Compensates for the wavy appearance of items in the Echosounder image as the vessel
heaves with waves.

Ú

Note: 

This option is only available if a compatible heading sensor with heave

compensation output is available.

Search depth

Noise may cause the Echosounder to search for unrealistic depths.
By setting the search depth manually the system displays echoes received from objects
within the set depth range.

38

Software Setup

 | S2009-2016 Fish Finder User Manual

Содержание S2009

Страница 1: ...ENGLISH S2009 S2016FishFinder User Manual www navico commercial com...

Страница 2: ......

Страница 3: ...Copyright 2016 Navico Holding AS Warranty The warranty card is supplied as a separate document at www navico commercial com Regulatory statements This equipment is intended for use in international w...

Страница 4: ...nt you must read and understand all aspects of the Installation and Operation manuals We also recommend that you practice all operations using the built in simulator before using this instrument on th...

Страница 5: ...14 The range 14 Zooming the image 15 Frequency 15 Gain 15 Color 16 View options 17 Split screen options 17 Palettes 18 White marker 18 Temperature graph 18 Bottom line 18 A Scope 18 Zoom bars 19 Alert...

Страница 6: ...play unit 46 Cleaning the media port door 46 Checking the keys 46 Checking the connectors 46 NMEA Data logging 47 Software upgrades 47 Backing up your system data 48 Technical specifications 48 Displa...

Страница 7: ...on or to save settings 3 Arrow keys Press to activate the cursor and to move the cursor on the image Menu operation press to navigate through menu items and to adjust a value 4 Exit key Press to retur...

Страница 8: ...epth at the cursor position is shown and the information window and the history bar are activated You activate the cursor by pressing any arrow key Use the arrow keys to maneuver the cursor on the ima...

Страница 9: ...anel and then pressing the New waypoint softkey Pressing the New waypoint softkey creates a temporary waypoint on the image and sends it over NMEA 2000 so that the waypoint can be created on an MFD In...

Страница 10: ...keys or turn the rotary knob to move up and down in a menu Press the Enter key the right arrow key or the rotary knob to access a sub menu to toggle options and to confirm a selection Press the Exit...

Страница 11: ...alphanumeric virtual keyboard is displayed when required to enter user information in dialogs Select a virtual key by using the arrow keys followed by the Enter key to confirm the selection Complete...

Страница 12: ...ault the unit displays a setup wizard Respond to the setup wizard prompts to select some fundamental setup options You can perform further setup using the system settings option and later change setti...

Страница 13: ...e a gauge and then press the Enter key to select it 7 Press the up down arrow keys or turn the rotary knob to select the finished editing menu option and then press the Enter key to save your changes...

Страница 14: ...range to a preset level or use the keys Auto range By default the range is set to Auto In auto range the system automatically displays the whole range from the water surface to the bottom Auto is the...

Страница 15: ...ever a higher gain setting may introduce more background clutter on the image If the gain is set too low weak echoes might not be displayed To set the Gain press the Gain softkey once and turn the rot...

Страница 16: ...how a bottom line amplitude scope and zoom bar 1 Depth 2 Temperature 3 Frequency Zoom level 4 Bottom 5 Fish arches 6 Upper and Lower range 7 A Scope 8 Temperature graph 9 Zoom bars 10 Range scale 11 B...

Страница 17: ...ency split screen option is only available if multiple frequencies are available The frequency mode is useful when you want to view higher and lower frequencies at the same time A low frequency for ex...

Страница 18: ...and color intensity Zoom bars The zoom bars are displayed when you activate a split zoom image and activate the zoom bar on the View menu Refer to Zoom on page 17 The range zoom bars on the right sid...

Страница 19: ...are available from the main menu and from the Alert Settings dialog Active list of active alerts History list of all alerts with time stamp Settings list of all available alert options in the system...

Страница 20: ...speed when vertically fishing without moving Ping speed Ping speed controls the rate the transducer transmits the signal into the water By default the ping speed is set to max It may be necessary to...

Страница 21: ...cated space available for recordings Stop recording log data Select Stop in the Record sonar log dialog to fully stop the recording of all log data The Record sonar log dialog is activated by selectin...

Страница 22: ...py rename and delete files You can transfer files such as log data recordings screen capture images system settings etc from the unit to a memory card in the card reader using the copy option and vice...

Страница 23: ...oggled on Turning the simulator on off Select the simulator option to toggle the simulator on off A check mark in the check box indicates the simulator is running Simulator source files You can select...

Страница 24: ...is possible to route cables to the intended mounting location Leave sufficient clearance to connect all relevant cables Do not mount any part where it can be used as a hand hold where it might be subm...

Страница 25: ...obstructed view Note Installations requiring better left hand visibility on the 9 unit can optimize the display for viewing from the left Refer to Optimizeforleft handview on page 38 Safe distance Ens...

Страница 26: ...holes Use fasteners suited to the mounting surface material If the material is too thin for self tappers reinforce it or mount the bracket with machine screws and large washers Use only 304 or 316 st...

Страница 27: ...Panel mounting The screws and gasket used for panel mounting are included in the box For mounting instructions refer to the Panel mounting template Installation S2009 2016 Fish Finder User Manual 27...

Страница 28: ...immersion leave room adjacent to connectors to ease plugging and unplugging of cables Warning Before starting the installation be sure to turn electrical power off If power is left on or turned on du...

Страница 29: ...e positive supply 2 A for the 9 model and 5 A for the 16 model 3 4 1 2 Unitsocket male 1 2 3 4 Cableplug female Key Purpose Color 1 12 24 VDC Black 2 External alarm Blue 3 Power control Yellow 4 12 24...

Страница 30: ...h Red 2 Speed signal Blue 3 Speed volts Orange 4 Temp Yellow 5 Depth Black 6 Depth Gnd shield Bare 7 Temp shield Bare Transducer adapter cables For transducers that do not have Navico blue 7 Pin conne...

Страница 31: ...all devices Individual devices can also be configured to not sound their internal buzzer but still display the alarm information For information about configuring alarms refer to the Alarms section i...

Страница 32: ...ly to a SimNet backbone and SimNet devices can be connected to a NMEA 2000 network by using adapter cables Power the network The network requires its own 12 V DC power supply protected by a 3 amp fuse...

Страница 33: ...range 7 Port 1 Listener A Rx Blue White 8 Port 1 Listener B Rx Blue Talkers and Listeners Do not connect multiple devices outputting data Talkers on to any serial input RX of the unit The RS422 protoc...

Страница 34: ...be compromised on long runs Only use Navico or other high quality HDMI certified cables 3rd party cables should be tested before installation On runs over 10m it may be required to add an HDMI amplifi...

Страница 35: ...iagrams Basic system setup example _ T T _ 12 24 V DC 12 V DC S2009 or S2016 ETHERNET NMEA2000 POWER NMEA0183 ECHO ETHERNET NMEA2000 POWER NMEA0183 ECHO HDMI Installation S2009 2016 Fish Finder User M...

Страница 36: ...NSO evo2 HS70 12 V DC _ 12 24 V DC ETHERNETNMEA2000 POWER NMEA0183 ECHO ETHERNET NMEA2000 POWER NMEA0183 ECHO HDMI HDMI 1 DVI 2 VIDEO 3 VIDEO 4 NMEA2K SERIAL USB POWER HDMI 1 DVI 2 VIDEO 3 VIDEO 4 NM...

Страница 37: ...age causes the unit to restart Text size Used for setting the text size in menus and dialogs Default setting Normal Key beeps Controls the loudness of the beep sound when a key is pressed Default sett...

Страница 38: ...om the left About Displays copyright information software version and technical information for this unit Echo settings Echosounder source If you have Network Echosounder enabled and have more than on...

Страница 39: ...addle wheel is under reading and decrease this value if it is over reading For example if the average water speed reads 8 5 knots 9 8 MPH and SOG records 10 knots 11 5 MPH the calibration value needs...

Страница 40: ...nce Alerts settings You can access the Alerts settings dialog from the Alerts option in the Main menu and from the Settings option in the Main menu Use the Alerts settings dialog to turn on off alerts...

Страница 41: ...Before commencing with source selection make sure all external devices and the NMEA 2000 backbone are connected and are turned on Auto select data sources The Auto select option looks for all sources...

Страница 42: ...a 3rd party product is typically not possible Diagnostics The NMEA 2000 tab on the diagnostics page can provide information useful for identifying an issue with the network Note The following informa...

Страница 43: ...high value here indicates network is near full capacity Some devices automatically adjust rate of transmission if network traffic is heavy Fast Packet Errors Cumulative counter of any fast packet erro...

Страница 44: ...2000 Use the NMEA 2000 network settings option to receive and send waypoints from or to NMEA 2000 devices NMEA 0183 setup The NMEA 0183 port must be set to suit the speed of connected devices and can...

Страница 45: ...l over which sentences need to be transmitted to other devices from the NMEA 0183 port Due to the limited bandwidth of NMEA 0183 it is desirable to only enable the data that is required The less sente...

Страница 46: ...sun cover be fitted when the unit is not in use for an extended period Cleaning the media port door Clean the media port door regularly to avoid salt crystallization on the surface causing water to l...

Страница 47: ...grades The latest software is available for download from our website navico commercial com Detailed instructions for how to install the software are included in the upgrade files Backing up your syst...

Страница 48: ...ependent Echosounder Transducer Standard Broadband and single channel CHIRP Transducers Echosounder Frequencies CHIRP 28 38 kHz 40 60 kHz 85 145 kHz 130 210kHz Broadband 28kHz 38kHz 50kHz 83kHz 200kHz...

Страница 49: ...NMEA 0183 compliant 1 port 8 pin Supports 2x NMEA0183 ports Ethernet 1 port 5 pin Card reader Card reader 1 SD card reader Technical specifications S2009 2016 Fish Finder User Manual 49...

Страница 50: ...224 mm 8 81 219 mm 8 62 80 mm 3 14 67 mm 2 63 100 mm 3 93 280 mm 11 02 260 mm 10 23 S2016 _ 280 mm 11 02 80 mm 3 14 67 mm 2 63 100 mm 3 93 455 mm 17 91 477 mm 18 77 505 mm 19 88 13 50 Dimensional draw...

Страница 51: ...Keys 7 Portrait and landscape 7 G Gain 15 I Illumination 12 Installation setup 39 Installation Mounting 24 Instrument bar 12 Appearance 12 Edit the content 13 Turning on off 13 K Keel offset 39 Key be...

Страница 52: ...screen No split 17 Options 17 Zoom 17 Stop recording log data 21 System Controls dialog 12 System Settings About copyright and this unit 38 Coordinate system 37 Key beeps 37 Language 37 Magnetic vari...

Страница 53: ......

Страница 54: ...988 10946 002 www navico commercial com...

Отзывы: