


Prepping for Installation
Connecting a Communication Cable
27
Building Technologies
125-202
06/06/2017
●
Enter the Port connected to the MD-BMED. A check box is available to make the
port the default. Different networks may require different ports. See your network
administrator.
About IP Addresses
The Ethernet connection must have an IP address that is manually set in the IP
Address: field or obtained automatically from the router connected to the meter using
the Use DHCP option (dynamic address) found in the Logger Network Setup dialog
box accessed by using the Setup button. Both options have advantages.
NOTE:
A Static IP address of 192.168.1.10 is assigned in the factory to all Ethernet MD-
BMEDs.
●
Static Connection: If you know an IP address that is not being used by another
device on the network, enter that address into the IP Address: field. This may
require permission from a network administrator. With a static IP address, it is easy
to connect to the meter since there is no doubt about which IP address to use.
●
Dynamic Connection: If you want the router to assign an IP address to the meter
automatically, select Use DHCP. This may avoid the need for a network
administrator as the router will assign an IP address that does not conflict with any
other devices on the network. A disadvantage of the DHCP option is that the
“lease” of the IP address may expire after a period of time and the router could
assign a different IP address. A new IP address means that ViewPoint cannot
connect to the meter until the new IP address has been entered. See below.
An additional option is to set the meter to DHCP, then go to the router and assign a
specific IP address to the MAC address that corresponds to the meter. In this way, if
the lease does expire, the router will always assign the same IP number back to the
meter. This option may also require a network administrator.
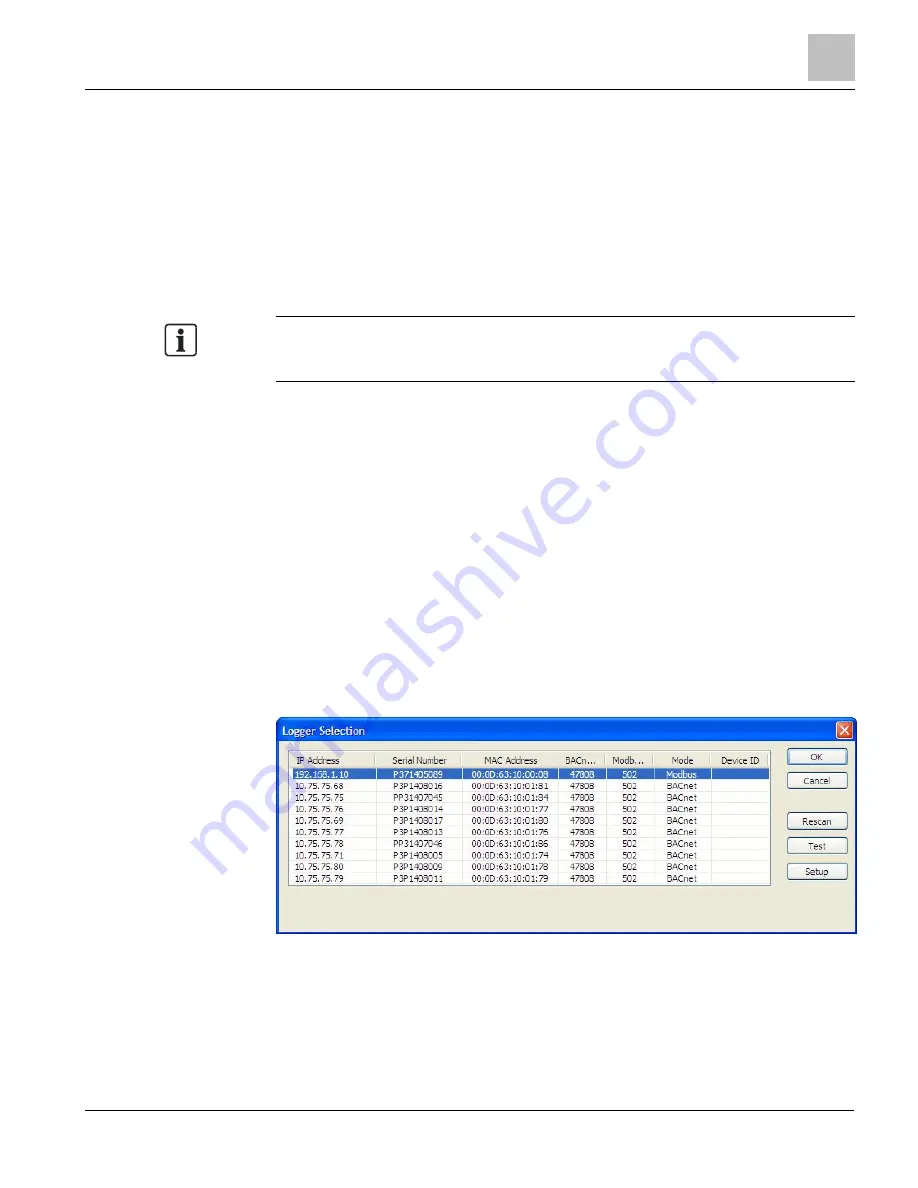
The Scan Network button scans the network for possible meters and displays them in
the Logger Selection dialog box. Look for the serial number on the meter (found on the
back of the meter) to determine which connection point is yours.
Figure 5: Logger Selection Screen.
●
Select the correct device from the list of IP Addresses and click OK.
The Setup button displays the Logger Network Setup dialog box where network
address information is entered. See your network administrator before making
changes.