l
F.8L Falco Construction Manual
27–7
Revision 4, March 1, 2002
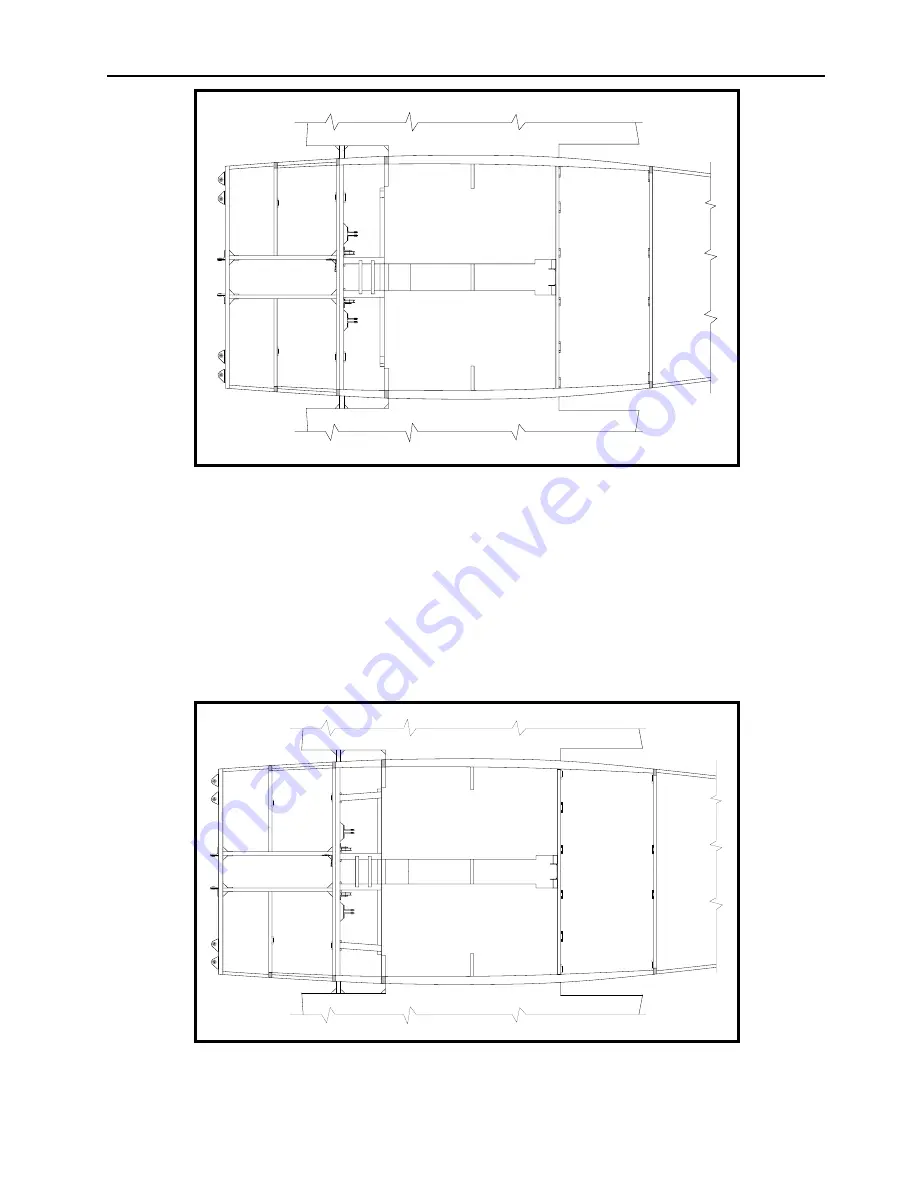
Figure 11
❏
Assemble and install the center flooring supports between Sta. 3 and 4 as shown in
Drawing No. 315. See Figure 11. The strip on the forward face of Frame 4 should already
be notched to receive the flooring supports (see Chapter 23, Figure 13). At the forward
end, the 30x15 floor supports are supported by saddle gussets (see Chapter 23, Figure 18).
The plans show the two 15x15 members (these are supports for the trim tab control)
notched into the 30x15 fore-and-aft members. It really doesn’t matter if these are notched
or not since the plywood flooring will tie it all together. If you wish, you may notch the
30x15 pieces just enough so that the 15x15 are firmly located in place while gluing.
Figure 12
Содержание F.8L Falco
Страница 1: ...F 8L Falco Construction Manual...
Страница 7: ...l F 8L Falco Construction Manual Revision 4 March 1 2002...
Страница 21: ...l F 8L Falco Construction Manual 1 8 Revision 4 March 1 2002...
Страница 29: ...l F 8L Falco Construction Manual 2 8 Revision 4 March 1 2002...
Страница 43: ...l F 8L Falco Construction Manual 5 4 Revision 4 March 1 2002...
Страница 65: ...l F 8L Falco Construction Manual 9 6 Revision 4 March 1 2002...
Страница 81: ...l F 8L Falco Construction Manual 10 16 Revision 4 March 1 2002...
Страница 109: ...l F 8L Falco Construction Manual 15 4 Revision 4 March 1 2002...
Страница 133: ...l F 8L Falco Construction Manual 17 10 Revision 4 March 1 2002...
Страница 145: ...l F 8L Falco Construction Manual 18 12 Revision 4 March 1 2002...
Страница 173: ...l F 8L Falco Construction Manual 21 10 Revision 4 March 1 2002...
Страница 229: ...l F 8L Falco Construction Manual 23 40 Revision 4 March 1 2002...
Страница 387: ...l F 8L Falco Construction Manual 28 26 Revision 4 March 1 2002...
Страница 393: ...l F 8L Falco Construction Manual A 6 Revision 4 March 1 2002...


