


69
Using the “Conference Manager” software
Activating/deactivating automatic loading of a configuration
To automatically load a saved configuration at startup of the conference system:
왘
In the menu bar, click “
Global Menu
” > “
Autoload
”.
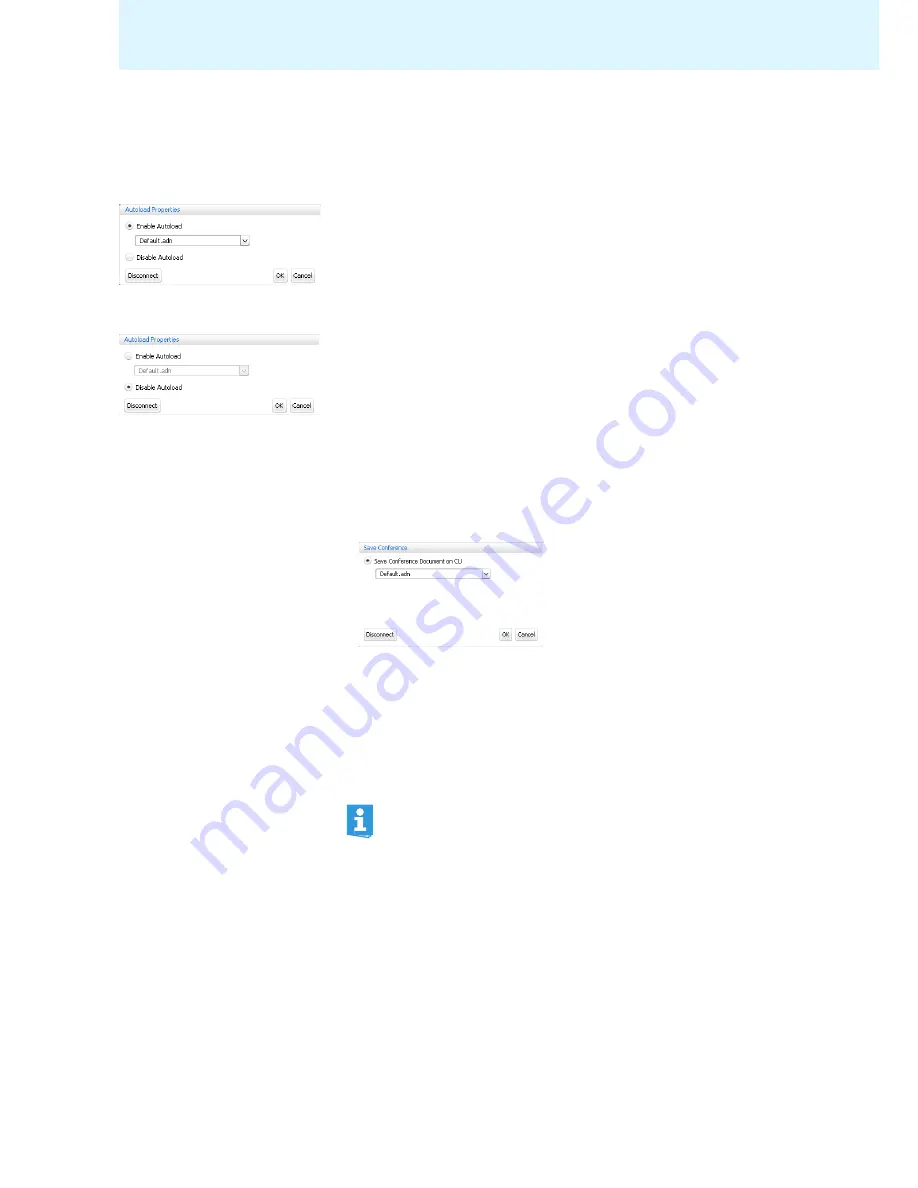
The “
Autoload Properties
” window appears.
왘
Establish a connection to the central unit (see page 66).
왘
Select the “
Enable Autoload
” option button.
왘
Select the desired configuration from the drop-down list.
왘
Click “
OK
”.
At the next startup of the conference system, the selected configuration is
automatically loaded in “Live” operating mode.
To deactivate automatic loading of a configuration:
왘
Select the “
Disable Autoload
” option button.
왘
Click “
OK
”.
Saving a configuration
You can save any number of configurations on either the central unit or locally on
the connected Windows PC.
To
save
a
newly created configuration on the central unit
:
왘
In the menu bar, click “
Global Menu
” > “
Save
”.
The “
Save Conference
” window appears.
왘
If necessary, establish a connection to the central unit (see page 66).
왘
Select the “
Save Conference Document on CU
” option button.
왘
Enter a file name into the drop-down list box.
왘
Click “
OK
”.
The file is saved on the central unit.
You can click “
Global Menu
“ > “
Save
” to save a configuration that already has a file
name; there is no further query.
Settings made in “Live” operating mode or via the central unit’s oper-
ating menu are immediately saved to the current configuration.
To protect your configuration, we recommend that you save it under a
different file name
before
changing to “Live” operating mode:
왘
Make sure that the software is connected to the central unit (see
page 66).
왘
Load the active configuration in “Setup” operating mode (marked
with an asterisk “
*
”, see page 68).
This configuration contains the last settings used.
왘
Save the configuration under a different file name (see above).


