410
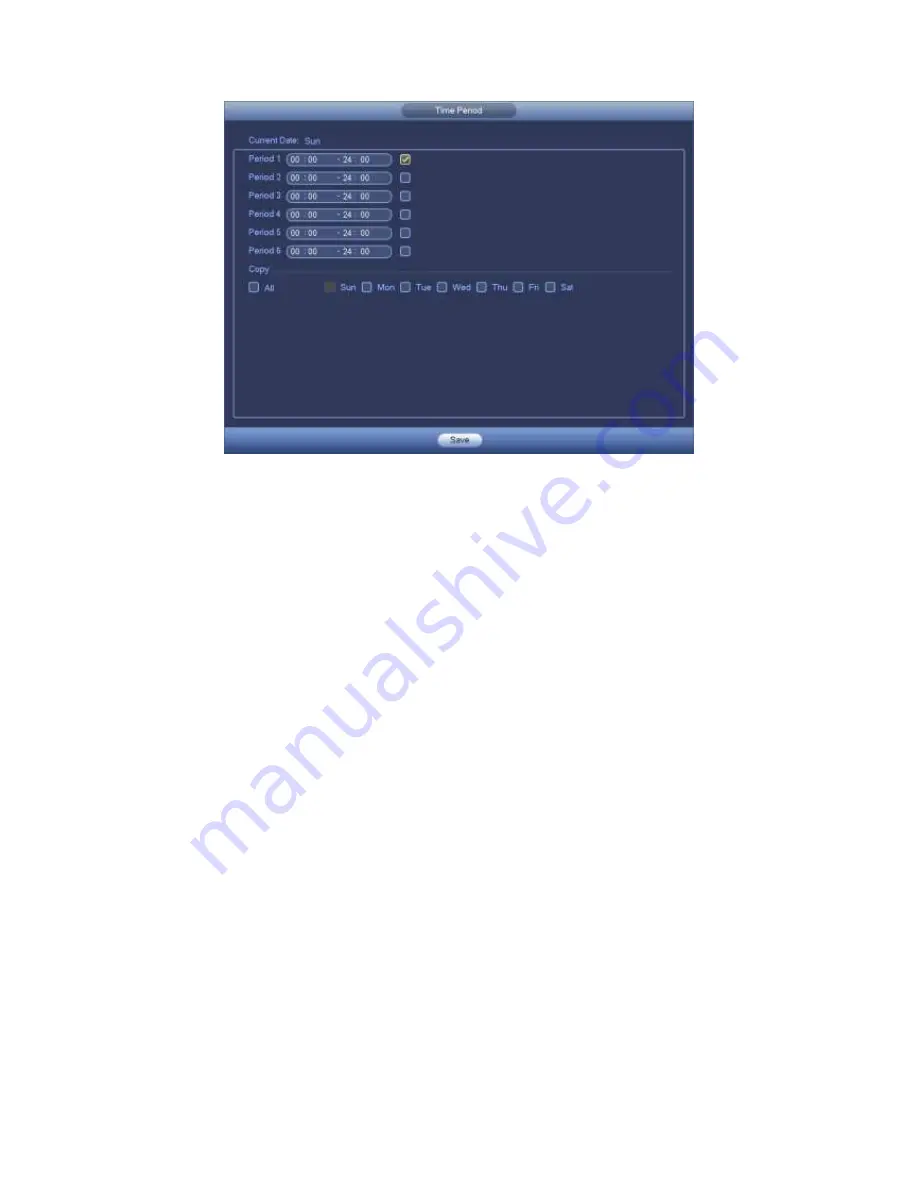
Figure 4-163
4.9.3.9 Abnormality
There are four types: HDD/Network/User/Device. Please note device interface is for
some series only.
HDD: HDD error, no disk, no space. See Figure 4-164 and Figure 4-165.
Network: Disconnection, IP conflict, MAC conflict. See Figure 4-166.
User:Illegal login. See Figure 4-167 .
Device: High temperature, fan speed abnormal. See Figure 4-168.
Alarm output: Please select alarm activation output port (multiple choices).
Less than: System can alarm you when the HDD space is less than the threshold
you set here (For HDD no space type only).
Latch: Here you can set corresponding delaying time. The value ranges from 0s-300s.
System automatically delays specified seconds in turning off alarm and activated
output after external alarm cancelled. When the value is 0, there is no latch time.
High temperature: In Device interface (Figure 4-168), select High temperature from
the dropdown list, and then input the max temperature. The value ranges from 30
℃~
90
℃
. Device can trigger an alarm once the case temperature is higher than the value
you set.
Fan speed abnormal: In Device interface (Figure 4-168), select Fan speed abnormal
from the dropdown list, and then click the OK button after the Fan calibration. It can
correct fan manually. Please note we recommend this function after you replaced or
maintained the fan.
Show message: system can pop up the message in the local screen to alert you
when an alarm occurs.
Alarm upload: System can upload the alarm signal to the network (including alarm
center) if you enabled current function. For disconnection event, IP conflict event
and MAC conflict event, this function is null.
Содержание PENDVR-EL16M4K
Страница 1: ...PENDVR EL16M4K ELITE SERIES...
Страница 20: ...247 2 3 Connection Sample...
Страница 128: ...363 restore original status Figure 4 115 Figure 4 116 4 9 1 3 1Upgrade Camera...
Страница 151: ...386 Figure 4 137 Figure 4 138...
Страница 158: ...393 Figure 4 145 Step 2 Draw tripwire 1 Click Draw button to draw the tripwire See Figure 4 146 Figure 4 146...
Страница 162: ...397 Figure 4 149 Step 2 Draw the zone 1 Click draw button to draw the zone See Figure 4 150 Figure 4 150...
Страница 164: ...399 Figure 4 151 Step 2 Draw the zone 1 Click draw button to draw the zone See Figure 4 152 Figure 4 152...
Страница 166: ...401 Figure 4 153 Step 2 Draw the zone 1 Click Draw button to draw a zone See Figure 4 154...
Страница 172: ...407 Figure 4 157 Figure 4 158...
Страница 173: ...408 Figure 4 159 Figure 4 160...
Страница 174: ...409 Figure 4 161 Figure 4 162...
Страница 177: ...412 Figure 4 165 Figure 4 166...
Страница 178: ...413 Figure 4 167 Figure 4 168...
Страница 184: ...419 Figure 4 177 Figure 4 178 4 9 4 1 2 2 Trigger Snapshot...
Страница 186: ...421 Figure 4 180 Figure 4 181 4 9 4 1 2 3 Priority...
Страница 192: ...427 Figure 4 186 Figure 4 187...
Страница 197: ...432 Figure 4 193 Figure 4 194...
Страница 210: ...445 Figure 4 209 For digital channel the interface is shown as below See Figure 4 210 Figure 4 210...
Страница 217: ...452 Figure 4 218 Step 2 Click Add user button in Figure 4 218 The interface is shown as in Figure 4 219 Figure 4 219...
Страница 283: ...518 Figure 5 69 Figure 5 70...
Страница 299: ...534 device Figure 5 86 Figure 5 87...
Страница 305: ...540 Figure 5 94 Figure 5 95...
Страница 306: ...541 Figure 5 96 Figure 5 97 Please refer to the following sheet for detailed information...
Страница 310: ...545 Figure 5 101 Figure 5 102 Figure 5 103 Please refer to the following sheet for detailed information...
Страница 333: ...568 Figure 5 136 Note For admin you can change the email information See Figure 5 137...
Страница 363: ...598 448K 196M 512K 225M 640K 281M 768K 337M 896K 393M 1024K 450M 1280K 562M 1536K 675M 1792K 787M 2048K 900M...


