Using TextBridge Pro
4–27
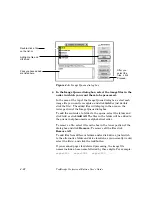
To move the selected zone, click and hold on a border of the zone
and drag the mouse.
To delete the selected zone, pull down the Edit menu and choose
the Clear command (or simply press the Delete key).
To delete all zones, pull down the Edit menu, and choose the
Clear All Zones command.
To change the front-to-back order of the selected zone, pull-down
the Edit menu, and choose the Move to Front or Move to Back
command, as appropriate.
To save the current zone set so you can reuse them later, click the
Save Zone Template button on the preview toolbar.
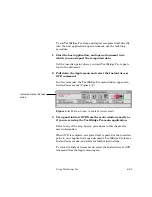
8. When all zones are created, or you are otherwise finished
previewing the page, click the Go button to start the
recognition process.
To process all pages of the job to the current zones in place, also
click the Preview button on the main toolbar so that it is no
longer depressed.
Otherwise, TextBridge Pro will process the current page only,
acquire the next page, and display it in the view area. You can
now continue from step 6 to zoom and zone the next page.
When all pages in the scanner have been scanned, TextBridge Pro
displays the Add More Pages dialog box (Figure 4–3), and you can
continue or end the job.
After you end the job, you can now go on to use the recognized
text by editing the output file in your word processor or other text
application. Note that all zones for the just-completed job are
cleared automatically.
Содержание TextBridge PRO 8.5
Страница 1: ...User s Guide PRO TextBridge 8 5...

