Using TextBridge Pro
4–23
Order the image files in the queue using the numbers in the
names as a guide.
Note
Files are processed in the order in which you add them to the
queue. Unless you add a folder of files to the queue, files are not
automatically added in alphanumeric or alphabetic order.
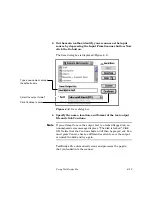
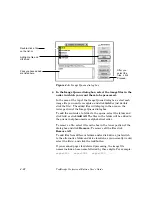
5. After you queue the image files in the correct processing
order, click Continue in the Image Queue dialog box.
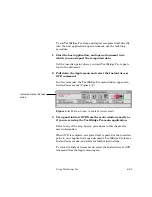
TextBridge Pro displays the Save dialog box (Figure 4–2).
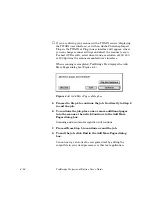
6. Specify the name, location, and format of the text output,
and click Continue.
TextBridge Pro processes all the page images in the queue. When
processing is complete, you can go on to use the recognized text by
editing the output file in your word processor or other text
application.
P
REVIEWING
P
AGES
B
EFORE
P
ROCESSING
To view or define specific areas of a page before processing,
TextBridge Pro provides preview tools.
In the view area of the main window, you can zoom in and out on
the previewed page image, magnifying the page to full resolution,
shrinking it to fit entirely in the window, or displaying it at some
scale factor in between.
To define portions of the page to be processed, you can draw
rectangular zones around specific text and picture areas on the
page image. You can create up to 999 separate zones, adjusting
them page-by-page, or using the same zone placements for all
pages of the document. When the job is complete, TextBridge Pro
automatically clears the zones.
Содержание TextBridge PRO 8.5
Страница 1: ...User s Guide PRO TextBridge 8 5...


