Kai’s Power SHOW Tutorial
27
Lesson 1: Adding Text
In this lesson you’ll learn how to add
pre-formatted text to your slides.
To use a template:
1.
Click the Text fx label above the
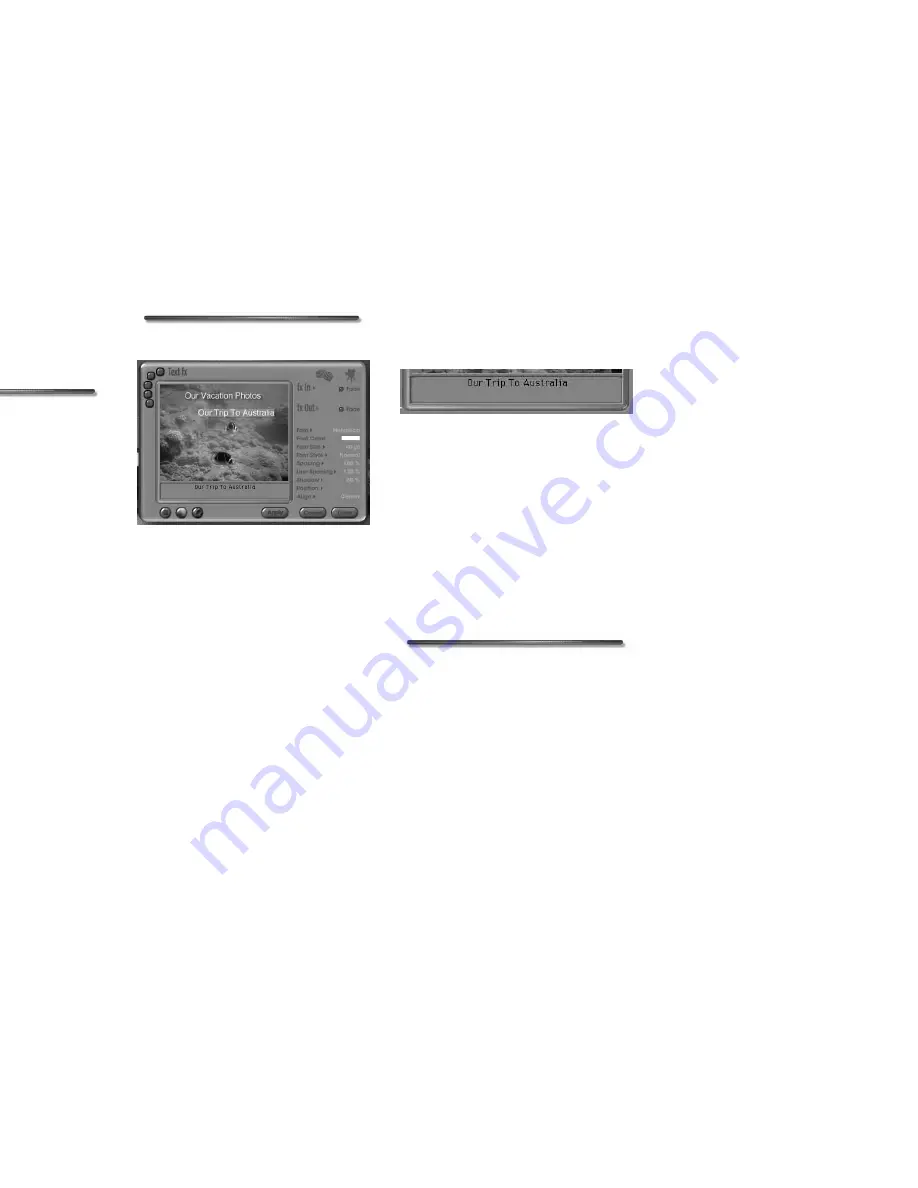
Current Frame window. The Text fx
dialog appears.
2.
Click the Template button.
3.
Click to select any template you want.
The template’s default text appears to
indicate text placement on the
background photo in the Current
Frame window.
Lesson 2: Editing Text
Once you’ve placed a text template on
your slide, you can replace the default text
with your own text using the Text fx
dialog.
To edit text:
1.
While within the Text fx dialog
Preview window, click a text string to
select it. The string also appears in the
Text Entry box at the bottom of the
dialog.
2.
Drag over the text in the Text Entry
box to select it, and type some text.
The new text replaces the default text
as you type.
3.
Click Done to accept the change and
close the dialog.
If you want to edit multiple strings,
repeat steps 1 and 2.
4.
Select a text string you do not want,
then hit the Delete key on the
keyboard.
Lesson 3: Changing Text
Attributes
The Text fx dialog provides several
controls for changing the attributes of the
text you applied to your slide. You can
change everything from font size to
alignment.
To change the color of text:
1.
In the Preview window, click a text
string to select it.
2.
Click the Font Color label, and drag
over the color you want to apply.
Release the mouse button to apply the
color.
The Text fx dialog.
You can type over the text in the Text fx dialog
just as you would in most text editor
applications.
Содержание KAI S POWER SHOW
Страница 1: ...User Guide for Windows and Macintosh...


