Kai’s Power SHOW Tutorial
17
Welcome
Welcome to the Kai’s Power SHOW
Tutorial. The main goal of this tutorial is
to familiarize you with SHOW’s main
features and functions, and to teach you
how to use them to create a dynamic
presentation.
This tutorial will also introduce you to
SHOW’s room structure and its related
workflow advantages.
To help you follow along, each set of
lessons begins with a section called
The Story So Far. This section tells you
what you’ve learned in the previous
sections, and prepares you for what’s
next.
Getting Started
The first thing you need to do to start the
tutorial is to launch SHOW and import
some images.
To launch SHOW:
✤
Double-click the SHOW icon on the
desktop, or select it from among the
programs in the Start menu.
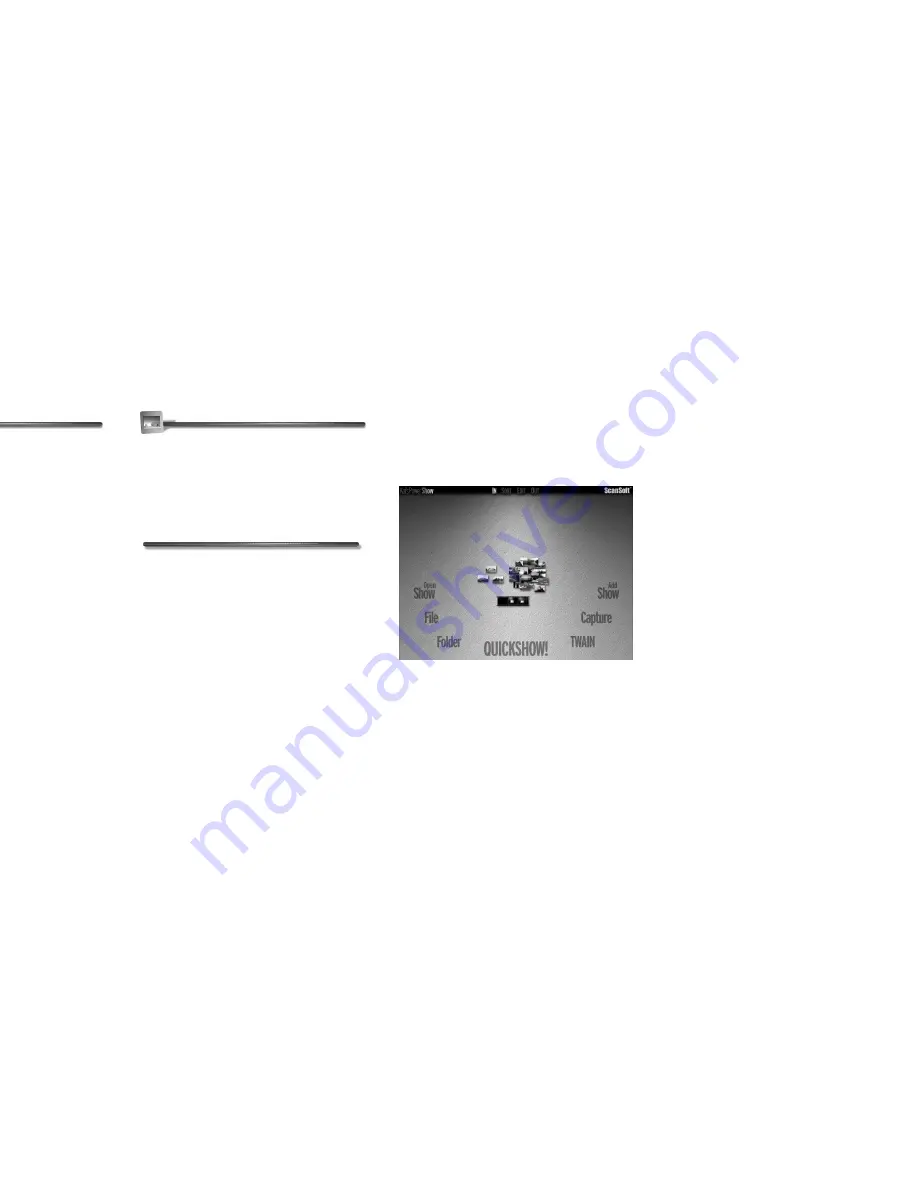
The IN Room appears. This is where
you begin creating your show.
Lesson 1: Importing Files in the
IN Room
This lesson walks you through the process
of importing your photos, pictures,
business slides, and video clips into
SHOW.
Each of the seven IN Room labels: Open
Show, File, Folder, QUICKSHOW!,
TWAIN, Capture, and Add Show
identifies a different SHOW input option.
ˇ
As you move the cursor over each label, a
button appears that describes each input
option in greater detail. As you move the
cursor to the next label, the last button
gently fades away.
The IN Room is where you can import source
files you’ll use to create a show.
Kai’s Power SHOW Tutorial
Содержание KAI S POWER SHOW
Страница 1: ...User Guide for Windows and Macintosh...


