background image

34

33

LCD Monitor Instructions

Adjustment Procedure (Options Menu)

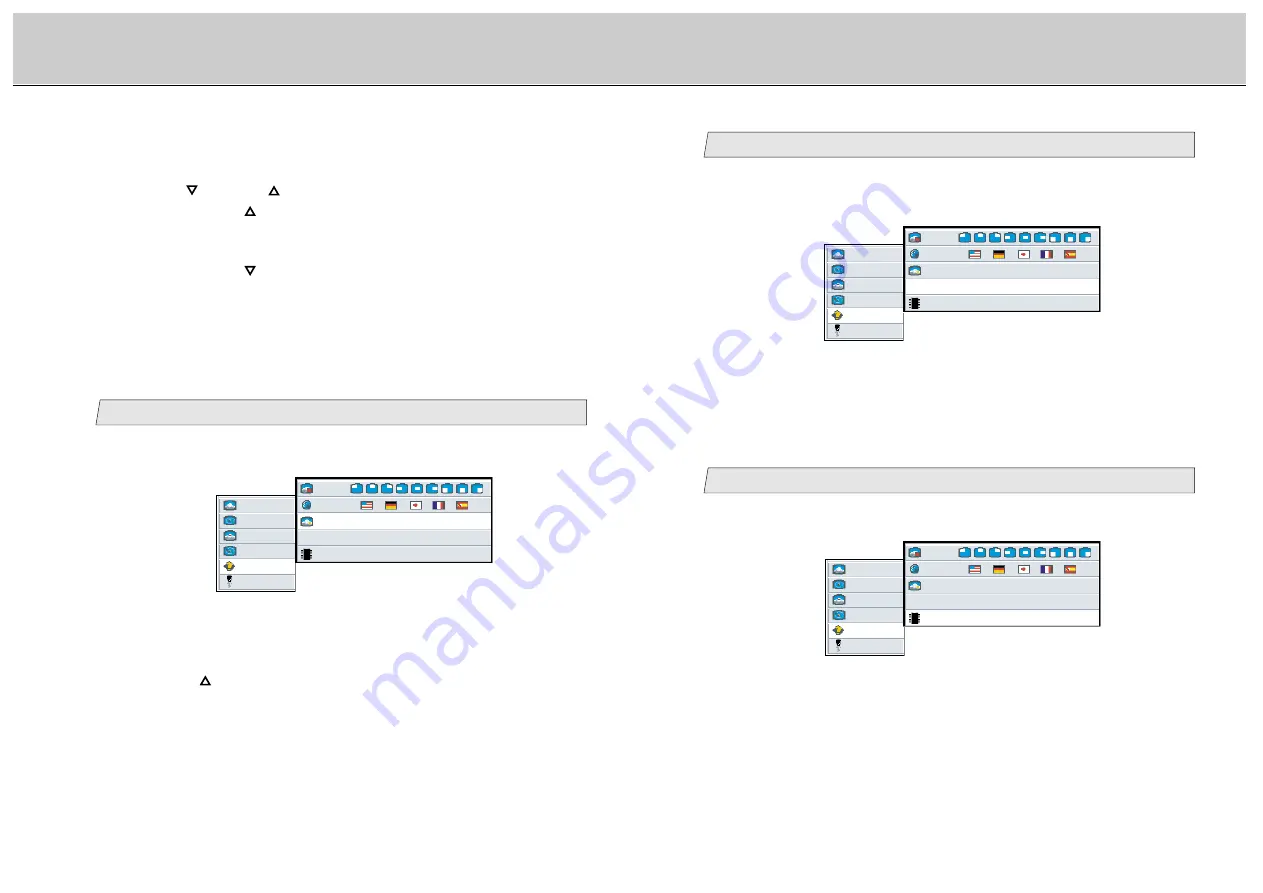
Display the osd version

5

picture

advanced

pip

adv pip

options

utilities

Main menu

Sub menu

1024   x   768   /  60   Hz                Mode:   88

OSD

language

Auto  Adjust

press  <right>  to  select

Internal  Firmware  Rom Version 

(Ex.)

Select [

options

] on the Main menu, the osd version is always

displayed in [

Internal Firmware

] on the Sub menu.

Display the resolution

4

Select [

options

] on the Main menu. Display the current resolution

below [

Auto Adjust

] on the Sub menu.

• Each time changing the resolution, its information is displayed.

picture

advanced

pip

adv pip

options

utilities

Main menu

Sub menu

1024   x   768   /  60   Hz                Mode:   88

OSD

language

Auto  Adjust

press  <right>  to  select

Internal  Firmware  Rom Version 

(Ex.)

Adjustment for computer screen

3.

Use the [

] and/or [

] button to select the language.

When pressing the [

] button, the language can be selected according to the

order [English] 

[German] 

/

[Japanese] 

/

[French] 

[Spanish] 

/

[English] in sequence.
When pressing the [

] button, the language is scrolled in opposite to the

above order.

2.

Select [

language

] on the Sub menu and press the [ENTER] button.

The selected item of [

language

] turns blue.

Automatic Adjustment (Analog mode only)

3

picture

advanced

pip

adv pip

options

utilities

Main menu

Sub menu

1024   x   768   /  60   Hz                Mode:   88

OSD

language

Auto  Adjust

press  <right>  to  select

Internal  Firmware  Rom Version 

(Ex.)

1.

Select [

options

] on the Main menu and press the [ENTER] button.

You can see the cursor moving to the Sub menu.

2.

Select [

Auto Adjust

] on the Sub menu and press the [ENTER] button.

The selected item of [

Auto Adjust

] turns blue.

3.

Press the [

] button to start the Automatic Adjustment.

After the automatic adjustment successfully completed, the adjusted

value is saved.

Содержание LMU-TK29C1

Страница 1: ...Industrial LCD Monitor LMU TK29C1 User s Guide ...

Страница 2: ...an cause condensation to form inside the unit If this occurs wait at least 15 minutes after turning the unit on before attempting to operate it 1 Precautions 2 Before First Use Names and Functions 3 4 Check Accessories 3 Outer Dimension 5 6 Installation 7 11 LCD Monitor Instructions Adjusting the Screen 12 Adjustment Items 12 14 Mode 15 Adjustment Procedure Before Adjustment 16 17 Adjustment for c...

Страница 3: ...site Video Connector S Video Connector AC OUT Ventilators G Y HD C SYNC B Cb VD R Cr BNC Connector Rear View Check Accessories Check that the main unit and all accessories are present External OSD Control Box x 1 AC Power Cord x 1 User s Guide x 1 RGB Cable x 1 When you move the LCD monitor please unplug AC cables connected to AC IN and or AC OUT and disconnect the cables connected to the external...

Страница 4: ... B Cb G Y R Cr VD HD CSYNC L 12mm min 20mm max When you install the LCD Monitor please take care the following Use the M6 screws only for installation The maximum length of the screw put through a hole is 20mm on the surface of a metal chassis as shown right Use the screw with effective length 12 20mm if not it may damage to the LCD monitor When you install the LCD monitor please check the strengt...

Страница 5: ...fore starting up a computer Do not plug the External OSD Control Box into the computer s USB port as this may cause malfunction of the computer When connecting a DVI Cable be sure to use a DVI Cable with cores on the market If not interference may happen to peripherals aside When multiple video cables are connected to the monitor It is necessary to connect OSD Control Box to switch display signal ...

Страница 6: ...ution AC IN AV Equipments Video Deck DVD Player Video Camera Video Cable not included Composite Video Connector S Video Connector BNC Connector Power Plug G Y B Cb HD C SYNC VD R Cr Component Video Cable not included etc External OSD Connector OSD Control Box AC Power Cord S Video Cable not included For S Video Cable Video Cable and Component Video Cable please use the cables on the market or ones...

Страница 7: ...G Scale the screen Note H position v position phase and frequency for the screen can be adjusted in Analog mode only Name Function of Buttons for Adjustment OSD Control Box MENU Button To display the OSD menu and step back to the screen selected before ENTER Button To select the item you wish to adjust Button To move the cursor between the items adjusted and change the adjustment data Advanced Men...

Страница 8: ...page 45 VIDEO FORMAT Select the video format ntsc pal secam Pip picture in picture Menu refer to page 24 29 SIZE Select the size of pip POS Select the position of pip SOURCE Change the input signal BRIGHTNESS Adjust the brightness of pip CONTRAST Adjust the contrast of pip COLOR Adjust the color of pip TINT Adjust the tint of pip SHARPNESS Adjust the sharpness of pip Note BRIGHTNESS CONTRAST COLOR...

Страница 9: ...or indicate the input signal 1 While the OSD On Screen Display is not displayed it is possible to change or indicate the current mode Press the button to indicate the current mode in the lower right corner of the screen Analog RGB1 Mode 88 1024 x 768 75 Hz Ex 2 While displaying the current mode press the button again Start searching another mode according to the order Analog RGB1 Analog RGB2 Digit...

Страница 10: ...equency scaling Wide Picture Menu Adjustment for computer screen To select another item on the Sub menu press the MENU button Adjustment or Setting For each item selected the adjustment setting has been made by pressing the and or button This monitor saves adjusted value at intervals of about 5 seconds Do not turn off the monitor for at the least 5 seconds after adjustment or setting The detail st...

Страница 11: ... The selected item of phase turns blue picture advanced pip adv pip options utilities Main menu Ex Sub menu brightness 25 contrast 50 H position 50 V position 50 phase 15 1056 frequency scaling Wide Adjustment for computer screen 2 Select contrast on the Sub menu and press the ENTER button The selected item of contrast turns blue 3 Use the and or button to adjust Interval 0 100 By pressing the but...

Страница 12: ... values of color temperature are set up at the time of factory shipments Besides you can set your preferable values 3 Use the and or button to adjust Preset value Screen condition Warm a little reddish white Neutral natural light Cold a little bluish white Adjustment for computer screen Adjust the frequency Analog mode only 6 3 Use the and button to adjust By pressing the button the horizontal wid...

Страница 13: ...g to the Sub menu 2 Select size on the Sub menu and press the ENTER button The selected item of size turns blue Adjustment for computer screen When pressing the button the color temperature can be selected according to the order Neutral Cold user Warm Neutral in sequence When pressing the button the color temperature order is scrolled in opposite to the above order If user is selected three colors...

Страница 14: ...utton You can see the cursor moving to the Sub menu You can adjust this item when selecting small or medium or large in size menu see page 24 Adjustment for computer screen 3 Use the and or button to select the size When pressing the button the size of pip can be selected according to the order off small medium large off in sequence When pressing the button the size of pip order is scrolled in opp...

Страница 15: ...0 100 By pressing the button the contrast difference between bright and dark becomes darker By pressing the button the contrast difference between bright and dark becomes lighter Adjustment for computer screen 3 Use the and or button to adjust Interval 0 100 By pressing the button the whole screen becomes brighter By pressing the button the whole screen becomes darker picture advanced pip adv pip ...

Страница 16: ... the Sub menu picture advanced pip adv pip options utilities Main menu Sub menu video format Auto NTSC PAL secam h position 50 v position 50 Ex Adjustment for computer screen 3 Use the and or button to adjust Interval 0 100 By pressing the button the skin color becomes more greenish By pressing the button the skin color becomes more purplish Adjust the sharpness Video signal only 8 2 Select tint o...

Страница 17: ...utilities Main menu Sub menu 1024 x 768 60 Hz Mode 88 OSD language Auto Adjust press right to select Internal Firmware Rom Version Ex 1 Select options on the Main menu and press the ENTER button You can see the cursor moving to the Sub menu Adjustment for computer screen Select the video format picture advanced pip adv pip options utilities Main menu Sub menu video format Auto NTSC PAL secam h pos...

Страница 18: ...omputer screen 3 Use the and or button to select the language When pressing the button the language can be selected according to the order English German Japanese French Spanish English in sequence When pressing the button the language is scrolled in opposite to the above order 2 Select language on the Sub menu and press the ENTER button The selected item of language turns blue Automatic Adjustmen...

Страница 19: ...ent Adjustment for computer screen F Utilities Menu You can change the osd timeout and background and also reset the osd setting if you select this menu Change the osd timeout 1 picture advanced pip adv pip options utilities osd timeout 10 seconds osd background opaque translucent reset press right to select Main menu Sub menu Ex 1 Select utilities on the Main menu and press the ENTER button You c...

Страница 20: ... can see the cursor moving to the Sub menu Adjustment for Composite Video S Video Component Video A Picture Menu Adjust the brightness 2 Select brightness on the Sub menu and press the ENTER button The selected item of brightness turns blue 3 Use the and or button to adjust Interval 0 100 By pressing the button the whole screen is brighter By pressing the button the whole screen is darker Adjust t...

Страница 21: ...ite Video S Video Component Video Adjust the vertical position picture advanced video options utilities Main menu Ex Sub menu brightness 50 contrast 50 H position 50 V position 50 color 50 tint 50 sharpness 1 2 3 4 5 6 7 8 scaling Wide 4 3 Use the and or button to adjust Interval 0 100 By press the button to shift the screen to the top By press the button to shift the screen to the bottom 1 Select...

Страница 22: ...y the standard input picture of an aspect ratio of 4 3 LB to 16 9 Display the input picture of LB with an aspect ratio of 4 3 on the whole screen LB stands for Letter Box Panorama Display the input picture converted to the panorama size Gamemode Display the input picture for TV game size Auto Search the best mode for input picture from S Video terminal and display the picture Auto works for only S...

Страница 23: ...nent Video Adjust the color temperature User 2 If you wish to set user settings of color temperature follow the steps Ex In case adjusting the user red user green and user blue in sequence Adjust the color temperature Preset 3 Use the and or button to adjust Preset value Screen condition Warm a little reddish white Neutral natural light Cold a little bluish white When pressing the button the color...

Страница 24: ...e osd position 1 1 Select options on the Main menu and press the ENTER button You can see the cursor moving to the Sub menu You can select the osd position language used in osd and display the osd version if you select this menu C Video Menu Select the video format picture advanced video options utilities Main menu Ex Sub menu video format Auto NTSC PAL secam 1 3 Use the and or button to select th...

Страница 25: ...que translucent reset press right to select osd timeout 10 seconds 1 Select utilities on the Main menu and press the ENTER button You can see the cursor moving to the Sub menu 2 Select osd timeout on the Sub menu and press the ENTER button The selected item of osd timeout turns blue Adjustment for Composite Video S Video Component Video Adjustment Procedure Utilities Menu 2 Select language on the ...

Страница 26: ... pip enable brightness in sequence Every time the ENTER button is pressed the shortcut menu changes Adjust the brightness 2 1 Use the ENTER button to select brightness menu brightness 50 Ex 2 Use the and or button to adjust Interval 0 100 By pressing the button the whole screen is brighter By pressing the button the whole screen is darker Delete the data saved at the current display mode 3 Main me...

Страница 27: ...on will not be operated normally by some computers or graphic accelerators Select the size of pip picture in picture 4 1 Use the ENTER button to select pip enable menu pip enable off S M L Ex 2 Use the and or button to select the size of pip The selected size turns red When pressing the button the pip can be displayed at the size according to the order off S M L off in sequence When pressing the b...

Страница 28: ...f the power switch unplug the power plug from the AC Outlet and contact the store where it was purchased In case a COMPUTER is connected please refer to the User s Manual for this LCD monitor also Computer Screen is displayed Video Screen is displayed Problem Check Item Treatment Page No No picture Does the Power Switch on Check the power status on an an equipment connected turn equipment connecte...

Страница 29: ... Hz 48 4 kHz 12 1 024 x 768 dots 70 Hz 56 5 kHz 13 1 024 x 768 dots 75 Hz 60 2 kHz 14 1 280 x 768 dots 60 Hz 48 4 kHz 15 1 280 x 768 dots 75 Hz 60 2 kHz Note The frequency of No 15 is applied to Analog mode only Table of Preset Data Specifications Screen Display This monitor conforms to the WXGA mode 1 280 x 768 dots This monitor does not support the computer s display mode which is larger than WX...

Страница 30: ...rage 20 C to 60 C Humidity 30 to 85 RH no condensation Power Supply Input AC 120V 8 0A 50 60Hz Output Available to cascade Power Consumption 150 W 15 W in Energy Saving mode Physical Specifications Cable Pin Arrangement Monitor Specifications Cable Pin Arrangement male No Signal name No Signal name No Signal name 1 T M D S Data2 9 T M D S Data1 17 T M D S Data0 2 T M D S Data2 10 T M D S Data1 18 ...

Страница 31: ... particular installation If this equipment does cause interference to radio and television reception which can be determined by turning the equipment off and on the user is encouraged to try to correct the interference by one or more of the following measures S reorient or relocate the receiving antenna S increase the separation between the equipment and receiver S connect the equipment into an ou...

Отзывы: