122_
appendix
appendix
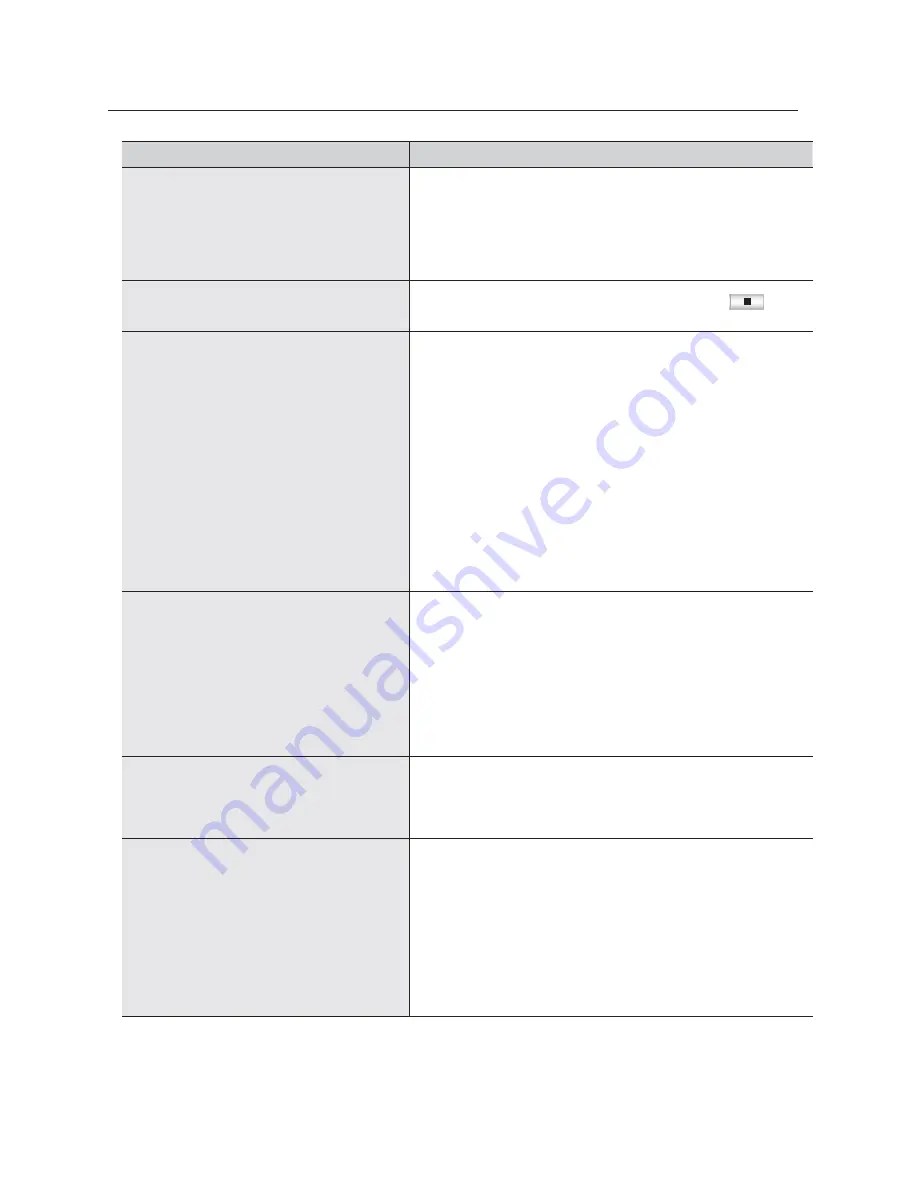
Problem Action
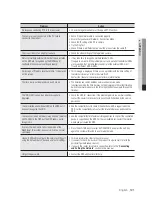
Backup data is just not played by the PC or NVR.
When you are backing up data, you have choices about the player either: PC
or NVR. Make your selection before proceeding.
If you are using the PC to play the data, the format of the backup file should
be either SEC.
If you are using the NVR for this purpose, formatting backup files should be
done by the NVR.
My player does not switch to Live mode while in
playback.
Press the Stop [
@
] button on the remote control, or click the [
] icon
on the launcher to switch to Live mode.
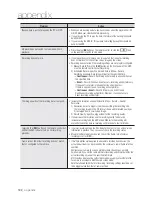
Recording does not work.
If your player does not display a Live image at all, that indicates recording
does not work so first check if you see an image on the screen.
Recording does not work if the recording settings are not properly configured.
1) Manual Record: Press the [
REC
] button on the front panel of the NVR
or on the remote control to start recording.
2) Scheduled Record: Specify a desired time in Menu – Record –
Recording Schedule. Recording will start at the specified time.
-
<
Continuous
> Record: Recording will proceed in any conditions at
the specified time.
-
<
Event
> Record: When an event occurs, recording will perform only
if the event is of alarm, motion detection and video loss.
If there is no event found, recording will not perform.
-
<
Continuous / Event
> Record: If there is no event found,
Continuous recording will perform. Whereas, if an event occurs,
Event recording will perform.
The image quality of the recording data is not good.
Increase the resolution and quality level in Menu – Record – Quality /
Resolution.
1) Resolution: Select a bigger size when specifying the recording size.
The recording image in the CIF format shows a deteriorated quality as
it is enlarged from a small-sized image.
2) Record Quality: Specify a bigger level for the recording quality.
If you increase the resolution and the recording quality, the data size
increases accordingly. So the HDD will be filled faster. Overwriting will
overwrite the existing data so recording will proceed at a shorter interval.
I pressed the [
REC
] button on the remote control but
neither the REC indicator turn on nor recording
proceeds.
In normal recording mode, the REC indicator does not turn on and no screen
information is provided. Thus, you cannot check the recording status.
Move to the Record Setup menu and check if the frame rate of normal
recording is set to <
OFF
>.
Frame rate of the actual recording does not match
that of configured to the camera.
If multiple profiles were applied to one camera for video transmission, the
actual video stream can be serviced by the camera at a lower frame rate than
specified.
Configure your camera to use one profile for data streaming as possible.
For example, if you set the same profile for recording and network profiles, the
actual recording is made at the specified frame rate.
Still, live video display using split screen mode may apply yet another profile
to camera in accordance with the used screen mode.
Note that allowed limit bitrate for recording / recording settings should be set
to be bigger values than that of camera’s feed.


