Section
1
6 Getting Started
Section
1
Getting Started 7
Charging The Battery
Your Jitterbug can be charged with the included Battery Charger or with the Car Charger
that can be purchased by visiting
www.GreatCall.com/accessories
.
Using The Battery Charger:
1.
A Battery Charger is included in the box with your Jitterbug.
2.
Plug the large end of the Battery Charger into a standard
wall outlet (110/220 VAC).
3.
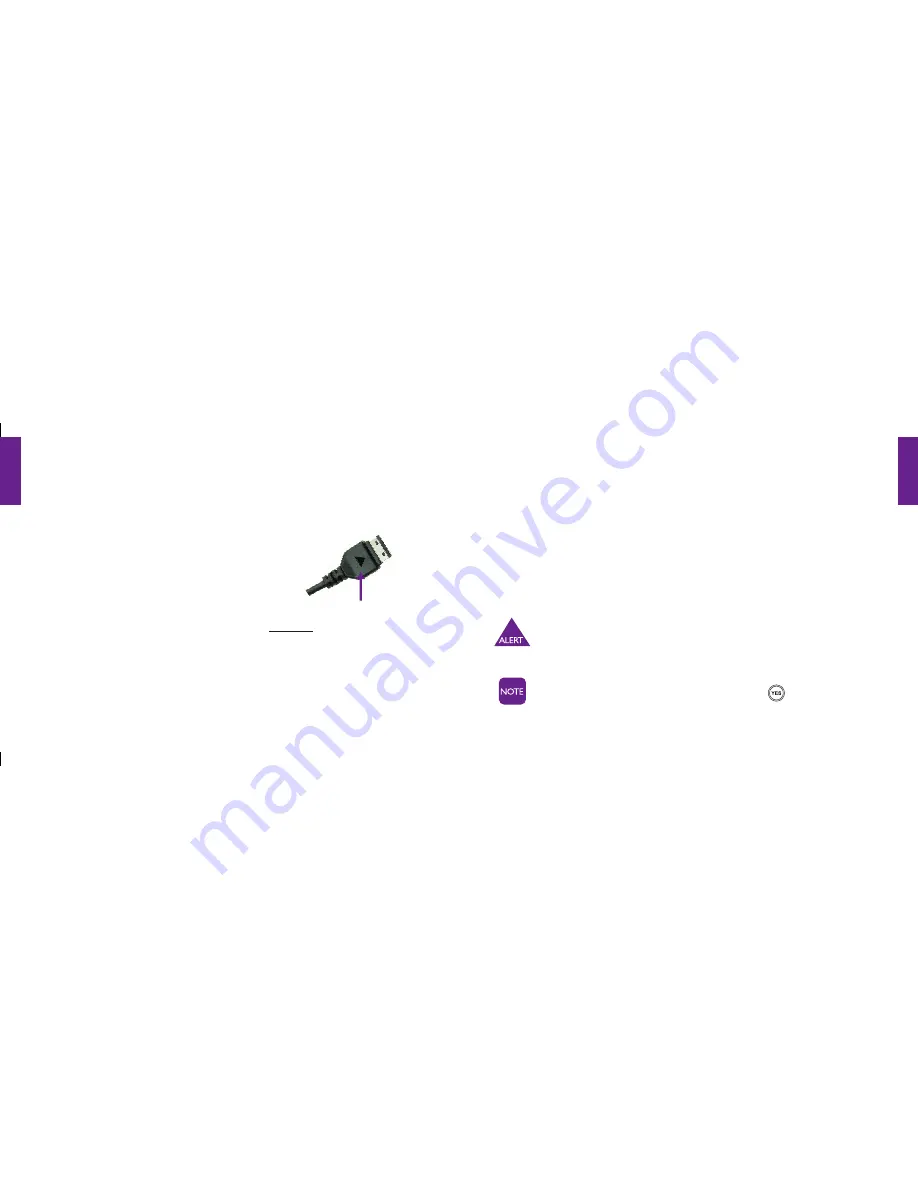
Plug the smaller end with the black arrow indicator
facing up
into the
Power Connector. You’ll see a
“Charging”
message on the Outside Display.
4.
When the battery is fully charged, you’ll see a
“Charging Completed”
message on
the Outside Display. Please reference Section 1, page 9 for more information on the
Outside Display.
Battery Level Indicator
Jitterbug phones remind you to charge your battery. Reminders appear on the Inside
Display with the following messages:
•
Battery Low
– a low battery alert and a message will tell you that your battery is
beginning to get low.
•
Battery Critical
– a low battery alert and a message will appear when the battery has
approximately 15% of battery life remaining.
Jitterbug batteries have been designed specifically for the Jitterbug phone.
Using other batteries could damage your Jitterbug and may void your warranty.
You can easily check the remaining charge on the Jitterbug battery by
navigating to the
Phone Info
menu and pressing the
button to view.
Please reference Section 1, page 18 for more information on
Phone Info
.
Black arrow
indicator
facing up.
1008301_GreatCall_jB_HowToGuide_R6.indd 16-17
10/13/10 12:11 PM


