38
4
3
1
A
2
3
1
4
4
2
2
4
MAINTENANCE
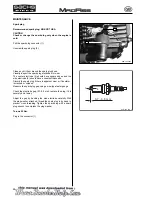
Checking/replacing the lining of the front brakeshoes
Checking the lining thickness
CAUTION
Make sure the minimum lining thickness is observed.
- Visually inspect the calliper (1).
- Check the minimum lining thickness.
Minimum lining thickness (A):
2.5 mm
If the thickness is less than the minimum:
replace the brake lining (2).
- Check the brake disk for wear and wobble.
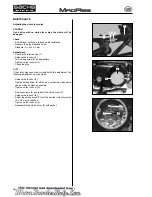
Replacing the brake linings:
NOTE
Brake linings may only be replaced in pairs.
- Remove the screws (3) from the calliper (2).
- Remove the calliper.
- Remove the holder bolts (4) from the calliper (1).
- Remove the brake linings (2).
- Check the lock plate (5) for damage.
- Insert the new brake linings and fasten them with the holder
bolts.
- Reassemble in reverse order.
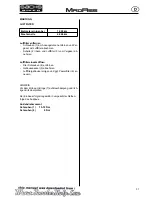
Tightening torques
calliper screws (3):
35-38 Nm
Holder bolts (4):
25-28 Nm
WARNING - RISK OF ON-ROAD ACCIDENT
Operate the brakes several times, until the brake linings
make contact.
- Check the brake - fl uid level and the handbrake play.
- Check the operation.
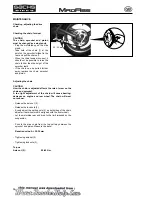
Brake light switch
NOTE
The brake light switch (3) is placed in the hand brake lever.
By operating the front brake lever (4) the brake light must fl ash
up immediately.
An adjustment is not required.
Содержание madass
Страница 53: ...50 LUBRICATION SYSTEM...
Страница 111: ...10 12 Nm 10 14 Nm 108 CYLINDER PISTON...
Страница 112: ...109 ZYLINDER KOLBEN...
Страница 129: ...1 2 126 CLUTCH GEARSHIFT LINKAGE Remove the primary drive clutch 1 and clutch center guide 2...
Страница 130: ...127 KUPPLUNG SCHALTGEST NGE Das Prim rantriebsrad 1 und die Kupplungsnaben Lager h lse 2 entfernen...
Страница 191: ...PICK UP KILL SWITCH RPM STOP B R G G G Bl W 188 IGNITION SYSTEM SCHEMA...
Страница 192: ...PICK UP KILLSCHALTER DREHZAHLBEGRENZER Z NDANGLEICHER B R G G G Bl W 189 Z NDSYSTEM DIAGRAM...

