Basic Operation
19
Chapter 1 Basic Operation
Chapter 1 Basic Operation
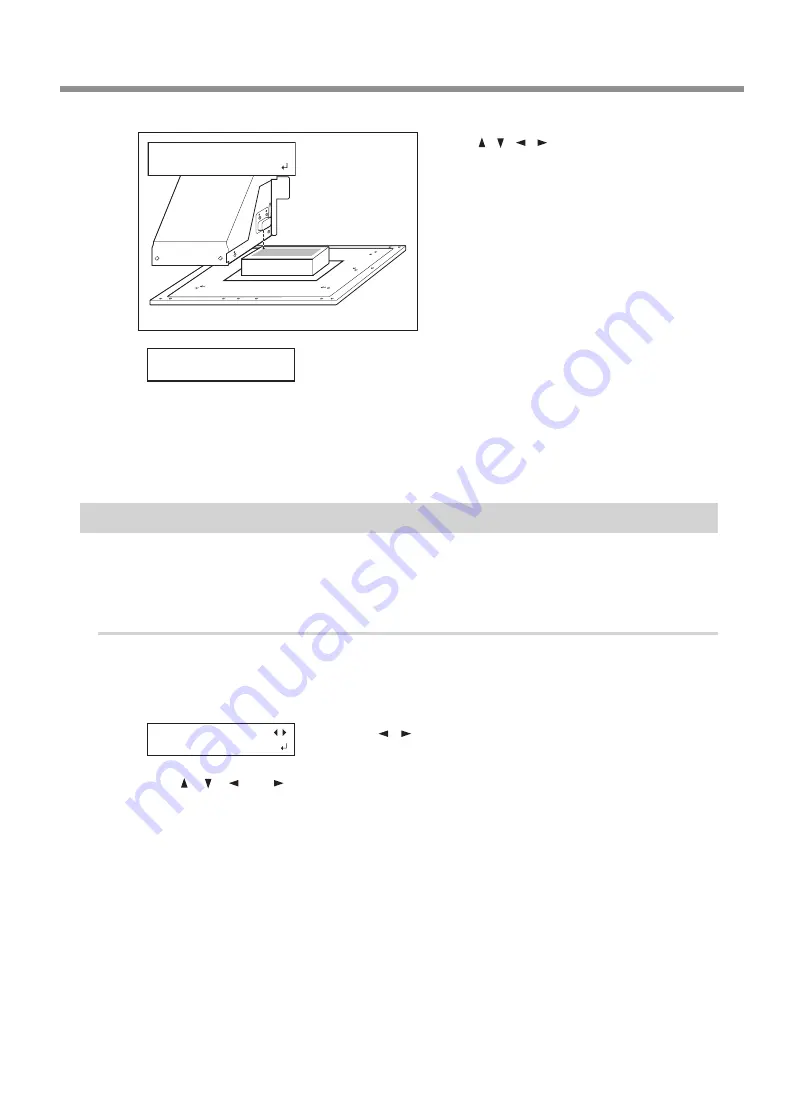
Press [ ] [ ] [ ] [ ] to move the laser point
-
er until it points to a position to the inner
left of the print area.
For a test print, set width to 80 mm or more, and
length to 70 mm or more. An error will occur and
test prints cannot be performed if the area is
smaller than this.
Press [ENTER] to confirm your entry.
The print area is specified. The print heads return
to the home position.
Make sure the "W" (width), "L" (length), and "H" (height) values on the
menu screen are as intended.
Close the front cover.
You can also fine-tune the print area after setup.
P. 36, "Fine-Tuning the Set Print Area"
Specifying the Print Area from the Print Center Position
When an approximate print area has been determined, specify the print area's width and length after specifying
the center position of the print area. This method is appropriate when clear specification of the print area is
difficult or when the print site is curved or uneven.
Procedure
Set height position of media.
P. 15, "Set Height Position of Media (Manual)"
P. 13, "Set Height Position of Media (Automatic)"
Press [ ] [ ] to select “CENTER.”
Press [ENTER] to confirm your entry.
Press [ ], [ ], [ ], or [ ].
The flat table moves to the rear, the print heads move to above the flat table, and the laser pointer illu-
minates.
W:XXXmm L:XXXmm
H:XXXmm
PRINT POS.TYPE
CENTER
WIDTH :XXX.Xmm
LENGTH:XXX.Xmm


