


91
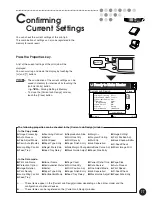
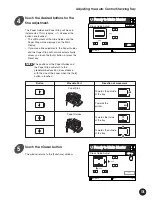
Touch the [OK] button.
The [Functions] window appears again.
Touch the [Close] button.
The window returns to the [Catalog] window.
NOTE
The icon which shows the current [Multi-
Up] setting is displayed above the
[MULTIUP] button on the Main-panel
window when the [ [MULTIUP>] Display ]
feature is activated.
☞
p.154...
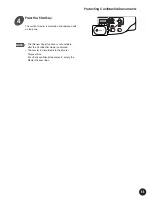
Customizing the Initial
Settings
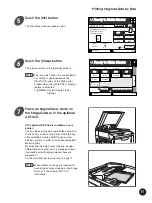
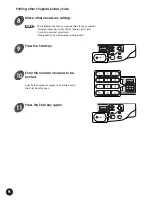
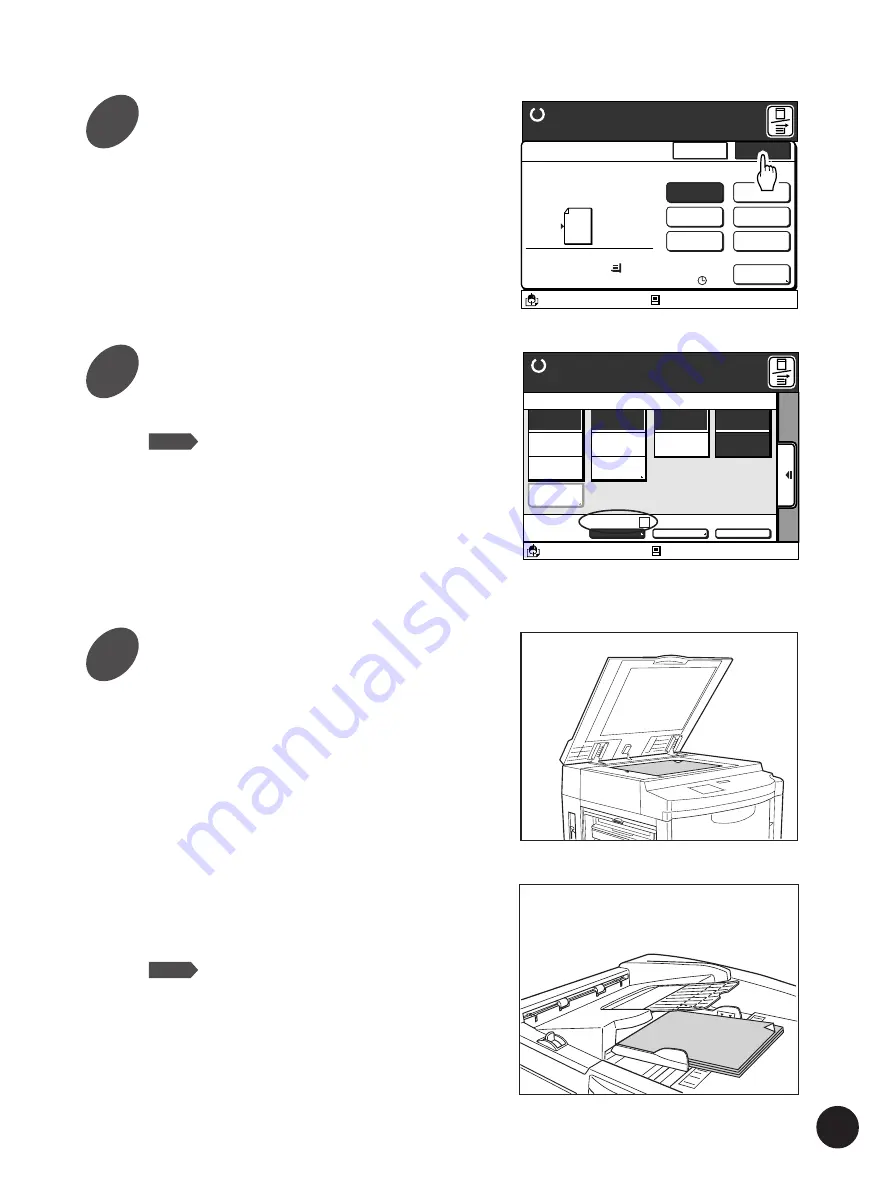
Place an original face-down on
the Stage Glass or in the optional
ADF Unit.
If the optional ADF Unit is installed on your
printer:
You can place all originals there at the same time.
In this case, you have only to press the Start key
after selecting a desired Multi-Up pattern and
placing originals, in order to make desired-pattern
Multi-Up prints.
By activating the Auto Process feature, besides,
different Multi-Up prints can be produced without
interruption until all originals placed there are
processed.
For the Auto Process feature, refer to page 71.
NOTE
When different settings are required for
each original, place originals on the Stage
Glass or in the optional ADF Unit
individually.
A3/Black
13:59
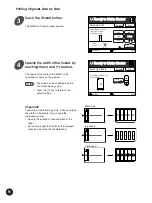
Multiple pages can be
Printed on a sheet
[Page Direction]
Size
Paper
1 0 0 %
A 3
Cancel
OK
Multi-Up Print
Ready to Make Master
2UP
4UP
8UP
16UP
Ticket
OFF
Interval
A
15s
Idle
M
Printing Originals Side by Side
A3/Black
13:59
MULTIUP> 2 SORTER>OFF AUTO-GO>OFF
Line
Duo
Photo
Options
Auto
100%
Manual
Auto
Ready to Make Master
Image
Size
Contrast
Paper
Idle
Advanced
M
A 3
Standard
5
6
7
Содержание RP3100AW
Страница 6: ...6 ...
Страница 16: ...16 ...
Страница 54: ...54 ...
Страница 78: ...78 ...
Страница 162: ...162 ...
Страница 174: ...174 ...
Страница 207: ......
Страница 208: ......


