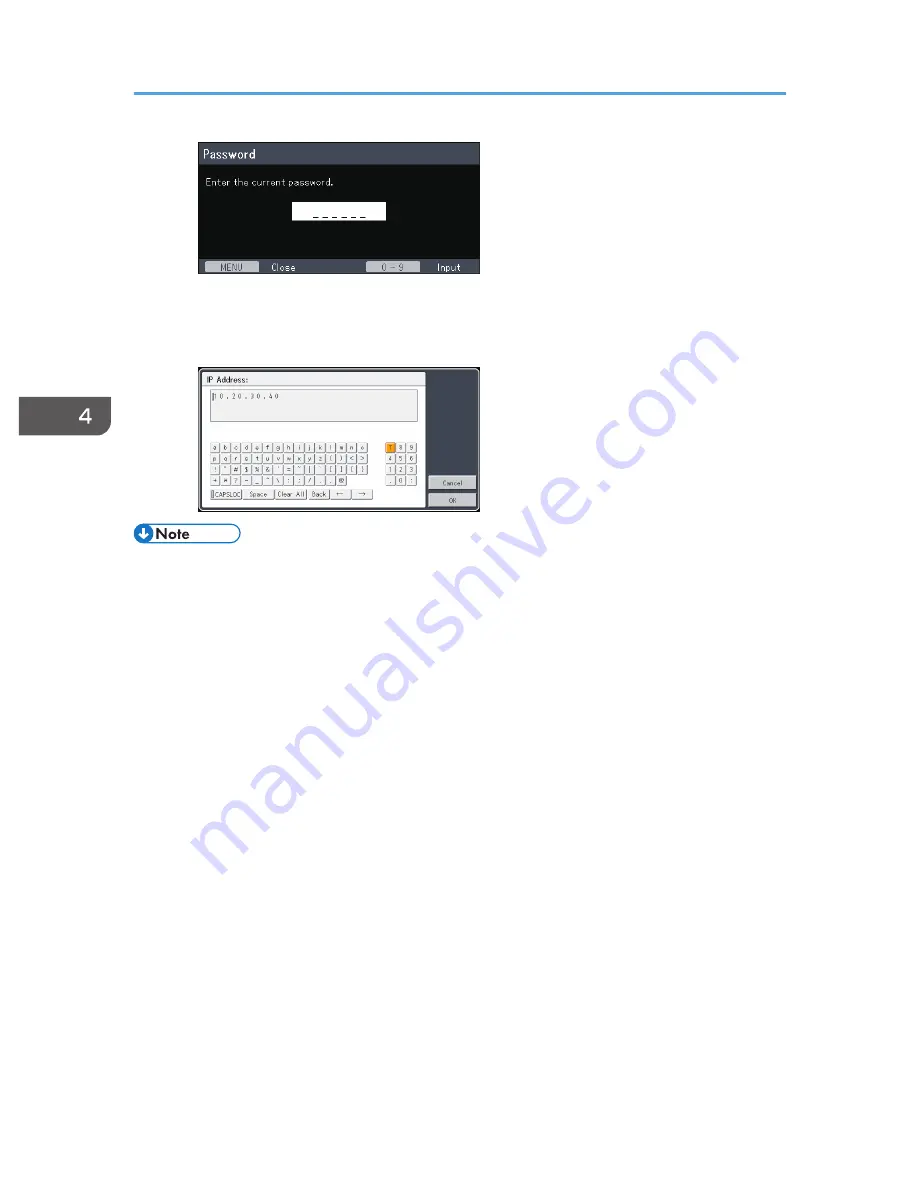
• Inputting text
Use the keyboard that is displayed on screen to input text. You can also use the number
buttons on the remote control to input numbers.
• The control panel on the projector can be used for operations, but numbers for settings cannot be
inputted.
• A confirmation screen appears before some functions are executed or some settings are changed.
• The Network/USB Settings menu has three submenu screens, [USB Settings], [Network Settings],
and [Network Application Settings]. Open the submenu according to the settings you want to
change, and then go to step 2 to change the settings.
• Changes to the settings are automatically applied when you close the menu screen. You do not
need to press the [Enter] button.
• Settings in the Network/USB Settings menu are not applied until you select [Reflect] on the
confirmation screen.
4. Changing the Projector Settings
76
Содержание PJ WX4130n
Страница 2: ......
Страница 10: ...Manual Name Printed Manuals Provided PDF Manuals Provided Operating Instructions No Yes 8...
Страница 34: ...1 Preparations for Using the Projector 32...
Страница 54: ...2 Projecting an Image 52...
Страница 88: ...0 to 255 Clamp Pulse 2 Adjust the clamp pulse width 0 to 255 4 Changing the Projector Settings 86...
Страница 91: ...Reset Logo Delete the registered user logo Display Settings Menu 89...
Страница 96: ...Default Off On Off 4 Changing the Projector Settings 94...
Страница 107: ...Energy Saving IO Firmware Version Display the energy saving IO firmware version Network USB Settings Menu 105...
Страница 126: ...6 Maintenance 124...
Страница 144: ...7 Appendix 142...
Страница 149: ...MEMO 147...
Страница 150: ...MEMO 148 EN GB EN US EN AU Y012 7511A...
Страница 151: ......
Страница 152: ...EN GB EN US EN AU Y012 7511A 2011 2012 Ricoh Co Ltd...


![NEC MT800[1].PART1 User Manual preview](http://thumbs.mh-extra.com/thumbs/nec/mt800-1-part1/mt800-1-part1_user-manual_250403-1.webp)


