Press the projector and access point keys or buttons to get them to connect to each other and
register the settings.
• Enter the access point's PIN code in the projector
Enter the PIN code that was generated by the access point in the projector to get them to
connect to each other and register the settings. The access point's PIN code must be registered
in the PIN code field of the projector.
1.
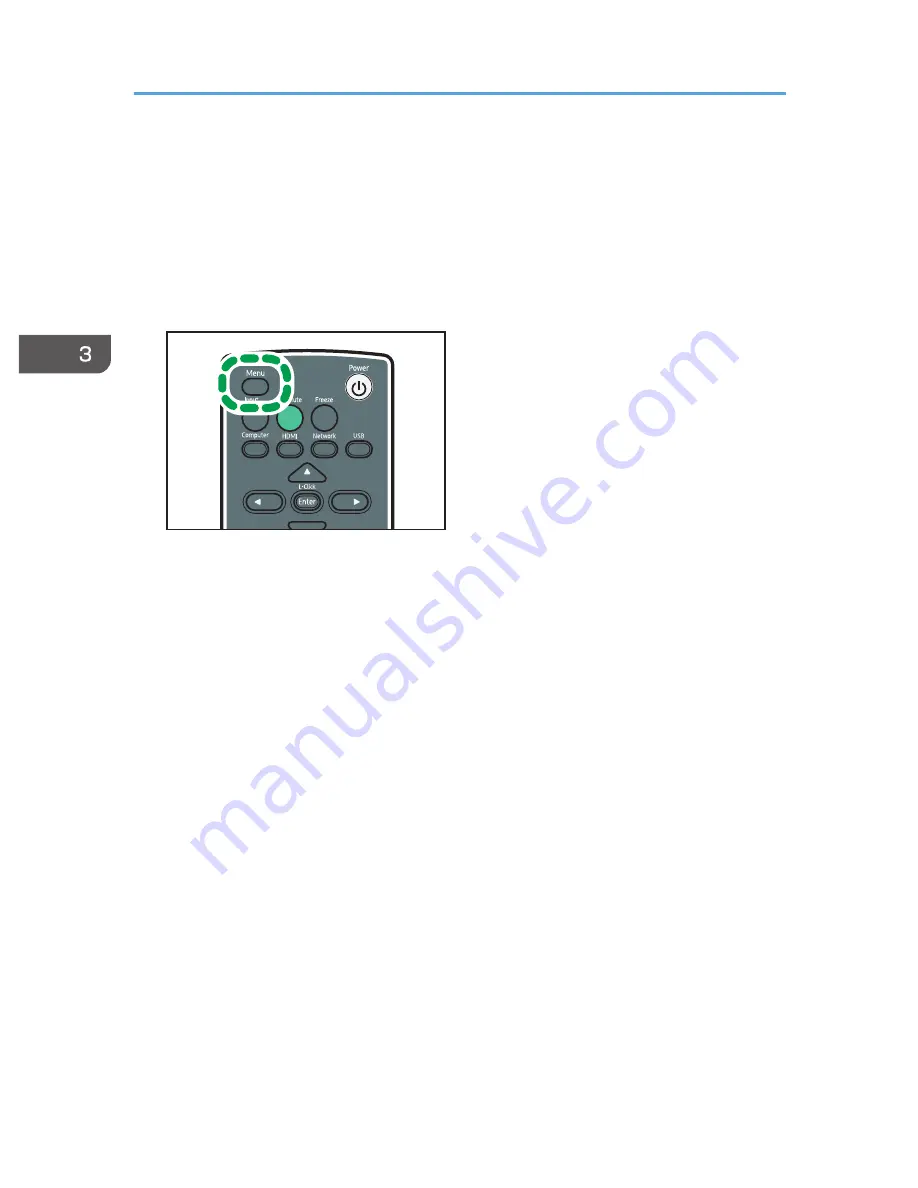
Press the [Menu] button.
CLB046
2.
Select the [Network/USB Settings] menu.
3.
Select [Network Settings].
4.
Select [Wireless LAN].
5.
Select either [Connect by PIN] or [Connect by Push] in [Simple Wireless LAN Setup].
6.
If [Connect by PIN] is selected, enter the PIN code generated by the access point in the
projector, and then proceed to step 7.
You must preconfigure the access point's simple wireless LAN setup function.
7.
If [Connect by Push] is selected, press the access point push button.
8.
Select [OK] on the confirmation screen.
The wireless LAN setup is complete.
3. Using the Projector via a Network
60
Содержание PJ WX4130n
Страница 2: ......
Страница 10: ...Manual Name Printed Manuals Provided PDF Manuals Provided Operating Instructions No Yes 8...
Страница 34: ...1 Preparations for Using the Projector 32...
Страница 54: ...2 Projecting an Image 52...
Страница 88: ...0 to 255 Clamp Pulse 2 Adjust the clamp pulse width 0 to 255 4 Changing the Projector Settings 86...
Страница 91: ...Reset Logo Delete the registered user logo Display Settings Menu 89...
Страница 96: ...Default Off On Off 4 Changing the Projector Settings 94...
Страница 107: ...Energy Saving IO Firmware Version Display the energy saving IO firmware version Network USB Settings Menu 105...
Страница 126: ...6 Maintenance 124...
Страница 144: ...7 Appendix 142...
Страница 149: ...MEMO 147...
Страница 150: ...MEMO 148 EN GB EN US EN AU Y012 7511A...
Страница 151: ......
Страница 152: ...EN GB EN US EN AU Y012 7511A 2011 2012 Ricoh Co Ltd...


