7.
If necessary, specify the projector's IP address settings.
The IP address settings displayed on the screen in step 5 are the computer's settings.
If the [Use DHCP] check box is not checked, do either of the following:
• Enter the projector's IP address in the [IP Address:] box if you want to allocate the projector's
IP address manually.
• Check the [Use DHCP] check box if you want to allocate the projector's IP address
automatically from a DHCP server.
8.
Click [OK].
The settings are saved to the USB memory device.
9.
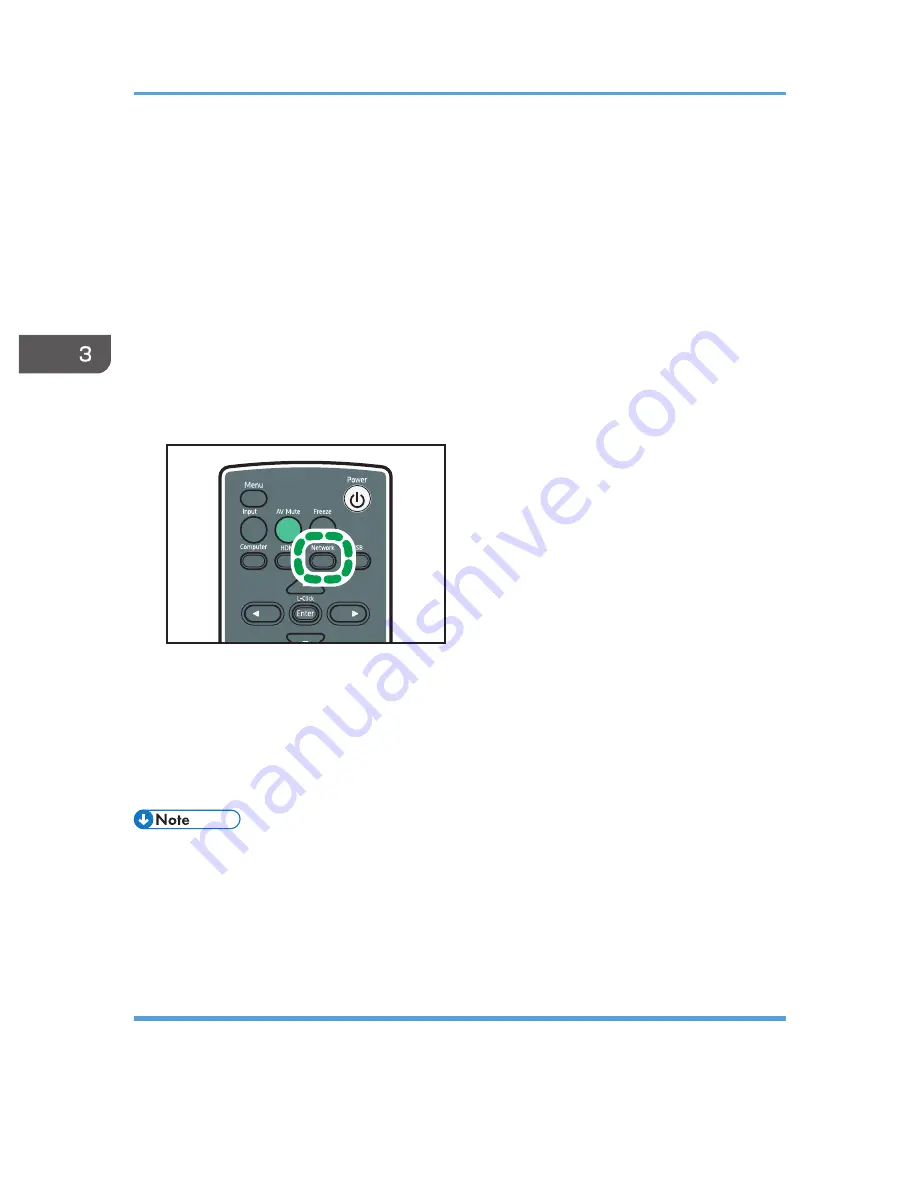
Turn the projector on.
10.
Press the [Network] button.
CLB074
11.
Insert the USB memory device into the USB port on the projector.
The confirmation screen is displayed.
12.
Select [OK].
The wireless LAN settings saved to the USB memory device are reflected in the projector.
13.
Select [OK].
• If the conformation screen does not appear when you insert the USB memory device into the
projector's USB port, remove the USB memory device. Press the [Network] button, and then reinsert
the device.
• It is also possible to change the wireless LAN settings on the computer using Network Utility, and to
save the settings to the USB memory device. For details, see Help.
Copying projector settings to the computer
1.
Turn the projector on.
2.
Insert the USB memory device into the USB port on the projector.
3. Using the Projector via a Network
66
Содержание PJ WX4130n
Страница 2: ......
Страница 10: ...Manual Name Printed Manuals Provided PDF Manuals Provided Operating Instructions No Yes 8...
Страница 34: ...1 Preparations for Using the Projector 32...
Страница 54: ...2 Projecting an Image 52...
Страница 88: ...0 to 255 Clamp Pulse 2 Adjust the clamp pulse width 0 to 255 4 Changing the Projector Settings 86...
Страница 91: ...Reset Logo Delete the registered user logo Display Settings Menu 89...
Страница 96: ...Default Off On Off 4 Changing the Projector Settings 94...
Страница 107: ...Energy Saving IO Firmware Version Display the energy saving IO firmware version Network USB Settings Menu 105...
Страница 126: ...6 Maintenance 124...
Страница 144: ...7 Appendix 142...
Страница 149: ...MEMO 147...
Страница 150: ...MEMO 148 EN GB EN US EN AU Y012 7511A...
Страница 151: ......
Страница 152: ...EN GB EN US EN AU Y012 7511A 2011 2012 Ricoh Co Ltd...


