5.
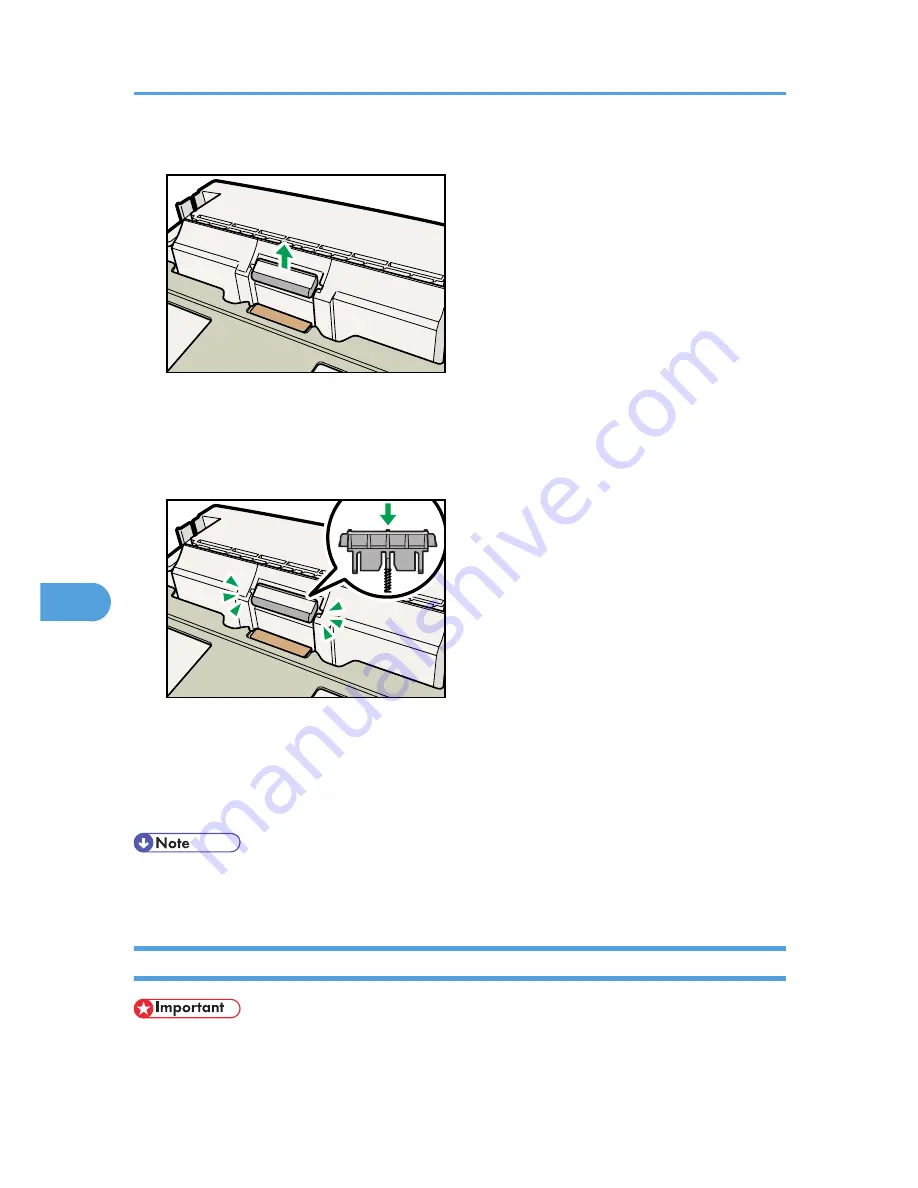
Return the paper tray to its original position, and then remove the friction pad from the tray.
CEE164
6.
Insert the new friction pad in the paper tray.
Attach the central projection of the new friction pad to the spring, and then align the projections on
both sides of the friction pad with the holes in the paper tray. Then push the friction pad as shown in
the illustration until it clicks.
CEE165
After pushing in the friction pad, press on it several times to check it is properly installed. If it jumps
back into position due to the force of the spring, it is properly installed.
7.
Push the friction pad until it locks securely.
8.
Repeat the replacement procedure for any optional paper feed units that are installed.
• The friction pad spring may come off. Be careful not to lose the friction pad spring.
• The catches that lock the friction pad are located at the very back.
Replacing the Transfer Roller
• Do not insert the roller on the back of the socket. Doing so can damage the printer.
7. Maintaining the Printer
164
7
Содержание Aficio SP 4310N
Страница 30: ...1 Guide to the Printer 28 1 ...
Страница 48: ...2 Setting Up the Printer 46 2 ...
Страница 86: ...4 Connecting the Printer 84 4 ...
Страница 95: ... For details about printing the configuration page see p 45 Test Printing Ethernet Configuration 93 5 ...
Страница 112: ...5 Configuration 110 5 ...
Страница 212: ...9 Troubleshooting 210 9 ...
Страница 219: ...CEE005 Paper Misfeed Message A 217 10 ...
Страница 228: ...CEE169 2 Carefully slide the paper tray into the printer until it stops CEE171 10 Removing Misfed Paper 226 10 ...
Страница 248: ...MEMO 246 ...
Страница 249: ...MEMO 247 ...
Страница 250: ...MEMO 248 EN GB EN US M0808528 ...
Страница 251: ... 2010 ...
Страница 252: ...Operating Instructions Hardware Guide M080 8528 EN US ...


