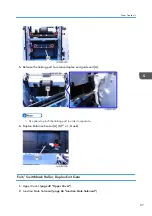
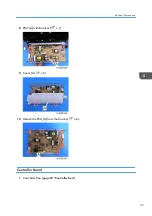


4.
Install the new BCU in the machine.
5.
Enter the machine’s serial number into the BCU (SP5-811-004).
• If the machine’s serial number is not entered correctly into the new BCU, SC995-01 (serial
number entry error) appears.
6.
Turn the main power switch off and on.
7.
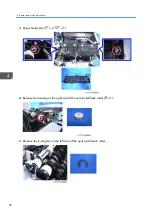
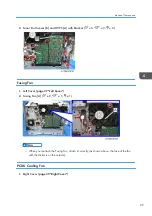
Set the DIP switches on the new BCU board to the same settings as the old board.
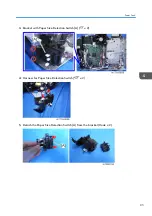
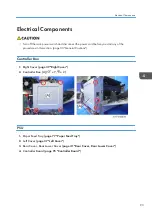
• Make sure the EEPROM is correctly installed on the BCU. Insert the EEPROM in the EEPROM slot
with the "half-moon" pointing [C] to the downside.
EEPROM on the BCU
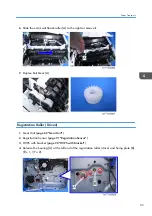
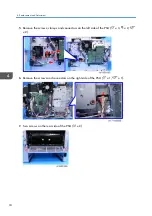
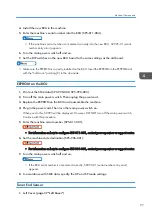
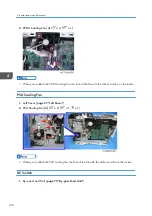
1.
Print out the SMC data (SP5-990-002, SP5-990-003).
2.
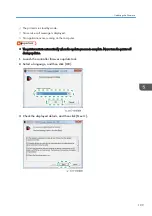
Turn off the main power switch. Then unplug the power cord.
3.
Replace the EEPROM on the BCU and reassemble the machine.
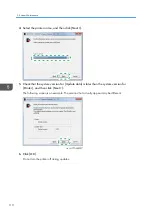
4.
Plug in the power cord. Then turn the main power switch on.
When you do this, SC995 will be displayed. However, DO NOT turn off the main power switch.
Continue with this procedure.
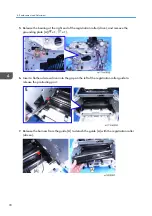
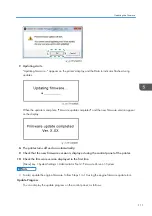
5.
Enter the machine serial number (SP5-811-001).
• For information on how to configure SP5-811-001, contact your supervisor or support center.
6.
Set the machine state destination (SP5-996-001).
• For information on how to configure SP5-996-001, contact your supervisor or support center.
7.
Turn the main power switch off and on.
• If the BCU serial number is not entered correctly, SC995-01 (serial number entry error)
appears.
8.
In accordance with SMC data, specify the UP and SP mode settings.
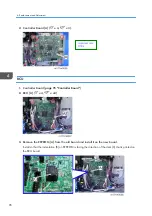
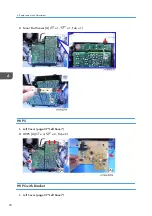
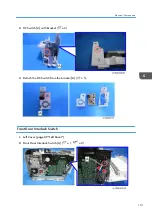
Toner End Sensor
1.
)
Electrical Components
97
Содержание Aficio MP 171
Страница 1: ...Model Gim P1a Machine Code M171 Field Service Manual September 2014 ...
Страница 2: ......
Страница 14: ...12 ...
Страница 34: ...3 Preventive Maintenance 32 ...
Страница 40: ...2 Press the release button and open the front cover A 3 Open the rear cover A 4 Replacement and Adjustment 38 ...
Страница 42: ...2 Press the release button and open the front cover A 3 Open the rear cover A 4 Replacement and Adjustment 40 ...
Страница 44: ...2 Open the rear cover A 3 Release both side hinges to detach the rear cover A 4 Replacement and Adjustment 42 ...
Страница 48: ...3 OPU Board x 7 4 Replacement and Adjustment 46 ...
Страница 57: ...PCDU PCDU 1 Press the release button and open the front cover A 2 Hold the grip to pull the PCDU A out PCDU 55 ...
Страница 59: ...2 Hold the grip to pull the toner cartridge A out Toner Cartridge 57 ...
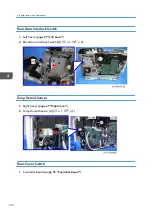
Страница 105: ...2 Rear Cover Switch A x 1 Hook Electrical Components 103 ...
Страница 106: ...4 Replacement and Adjustment 104 ...
Страница 120: ...5 System Maintenance 118 ...
Страница 166: ...MEMO 164 EN ...
Страница 167: ...Model Gim P1a Machine Code M171 Appendices September 2014 ...
Страница 168: ......
Страница 186: ...2 Appendices Preventive Maintenance Tables 18 ...
Страница 259: ...MEMO 91 ...
Страница 260: ...MEMO 92 EN ...


