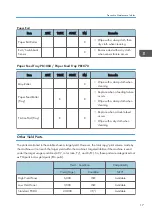

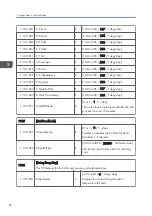

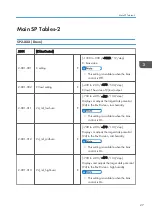
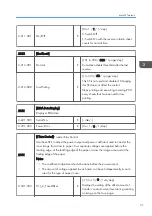


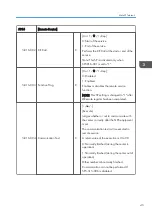
2-211-001
On/Off
E
[0 to 1 / 1 / 1/step]
0: Switch Off
1: Switch On with the reverse rotation sheet
counts for normal time
2212
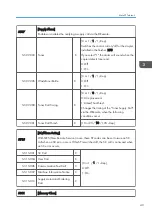
[ExeSheets]
2-212-001
Normal
E
[101 to 999 / 300 / 1page/step]
Cumulative sheets threshold after the last
reverse.
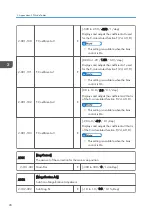
2-212-002
LowPrinting
E
[1 to 500 / 50 / 1page/step]
This SP is not used and disabled. Changing
this SP does not affect the control.
Stops printing and executing reversing PCU
every sheets that has been set for low
printing.
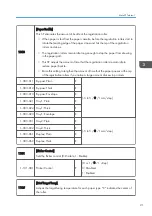
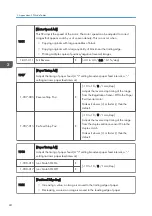
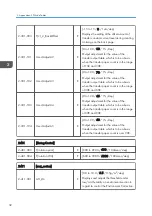
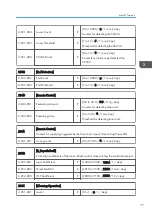
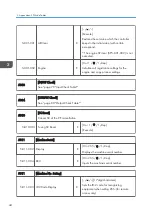
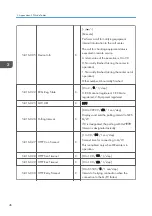
2221
[LEDA Data:Display]
Displays LEDA data.
2-221-005
Serial No.
E
[- / - / -]
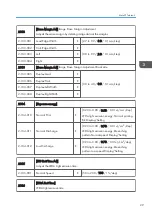
2-221-009
Power Error
E
[0 or 1 / 0 / 1/step]
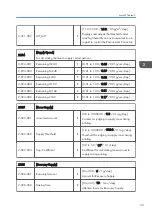
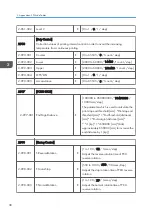
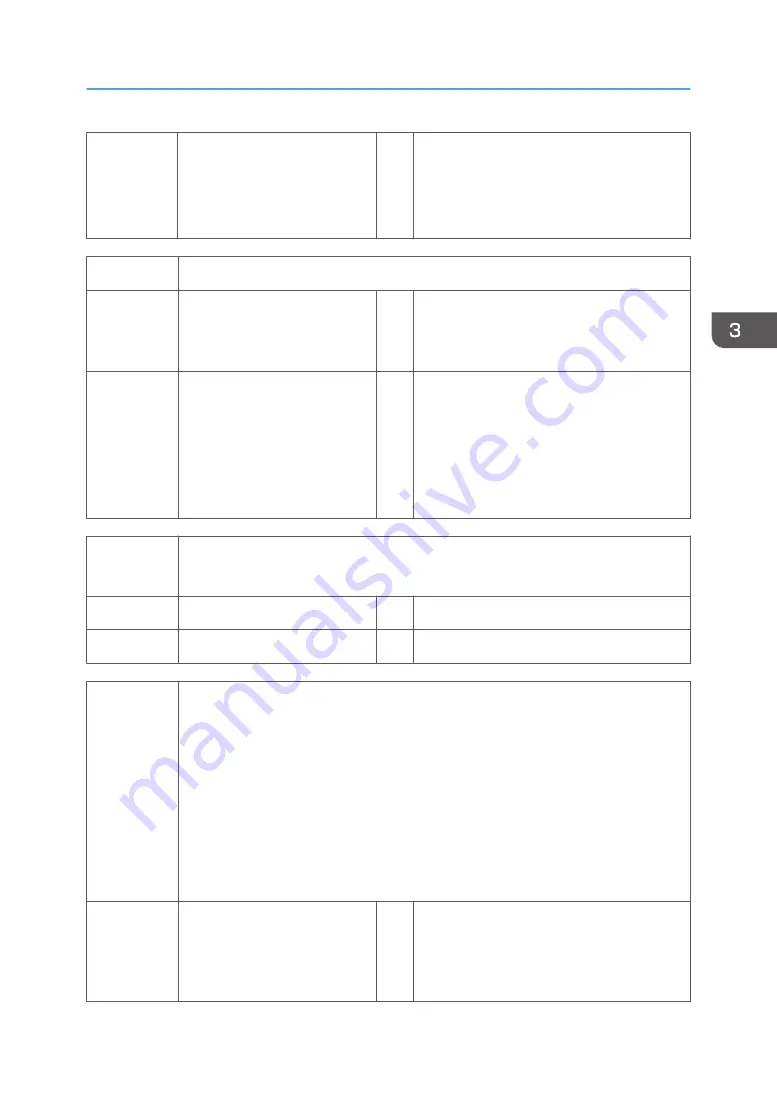
2301
[T bias Control] Transfer Bias Control
Use these SP's to adjust the power output and power coefficient used to transfer the
toner image from drum to paper. Four separate voltages are applied before the
leading edge, at the leading edge of the paper, across the image area and at the
trailing edge of the paper.
Notes:
• The coefficient adjustment should be done before the power output.
• The amount of voltage applied to each area can be set independently in each
area for the type of paper in use.
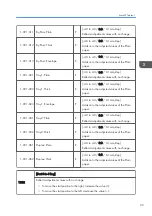
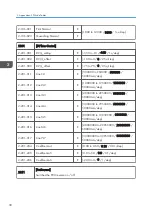
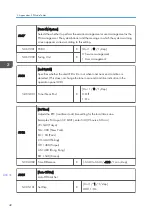
2-301-002
T(+)_2_FaceOffset
E
[-15 to 15 / 0 / 1uA/step]
Displays the setting of the offset amount of
transfer constant current level during creating
an image on the face page.
Main SP Tables-2
31
Содержание Aficio MP 171
Страница 1: ...Model Gim P1a Machine Code M171 Field Service Manual September 2014 ...
Страница 2: ......
Страница 14: ...12 ...
Страница 34: ...3 Preventive Maintenance 32 ...
Страница 40: ...2 Press the release button and open the front cover A 3 Open the rear cover A 4 Replacement and Adjustment 38 ...
Страница 42: ...2 Press the release button and open the front cover A 3 Open the rear cover A 4 Replacement and Adjustment 40 ...
Страница 44: ...2 Open the rear cover A 3 Release both side hinges to detach the rear cover A 4 Replacement and Adjustment 42 ...
Страница 48: ...3 OPU Board x 7 4 Replacement and Adjustment 46 ...
Страница 57: ...PCDU PCDU 1 Press the release button and open the front cover A 2 Hold the grip to pull the PCDU A out PCDU 55 ...
Страница 59: ...2 Hold the grip to pull the toner cartridge A out Toner Cartridge 57 ...
Страница 105: ...2 Rear Cover Switch A x 1 Hook Electrical Components 103 ...
Страница 106: ...4 Replacement and Adjustment 104 ...
Страница 120: ...5 System Maintenance 118 ...
Страница 166: ...MEMO 164 EN ...
Страница 167: ...Model Gim P1a Machine Code M171 Appendices September 2014 ...
Страница 168: ......
Страница 186: ...2 Appendices Preventive Maintenance Tables 18 ...
Страница 259: ...MEMO 91 ...
Страница 260: ...MEMO 92 EN ...


