Redpine Signals, Inc.
Page 48
R
R
S
S
-
-
W
W
C
C
-
-
3
3
0
0
1
1
E
E
v
v
a
a
l
l
u
u
a
a
t
t
i
i
o
o
n
n
B
B
o
o
a
a
r
r
d
d
U
U
s
s
e
e
r
r
G
G
u
u
i
i
d
d
e
e
V
V
e
e
r
r
s
s
i
i
o
o
n
n
2
2
.
.
5
5
1
1
4.
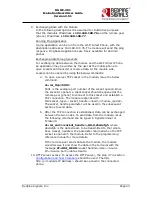
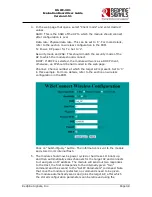
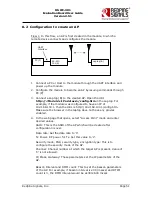
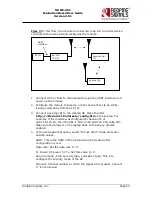
In the web page that opens, select “Client mode” and enter desired
values.
SSID: This is the SSID of the AP to which the module should connect
after configuration is over.
Data rate: Physical data rate. This can be set to „0‟. For more details,
refer to the section on wireless configuration in the PRM.
Tx Power: RF power for Tx. Set to „2‟.
Security mode and PSK: This should match the security mode of the
AP to which the module should connect.
DHCP: If DHCP is selected, the module will work as a DHCP client,
otherwise, an IP should be hard coded in the web page.
Channel: Channel number at which the target AP is present. Set to „0‟
in this example. For more details, refer to the section on wireless
configuration in the PRM.
Click on “Submit Query” button. The information is sent to the module
and stored in its internal flash.
5.
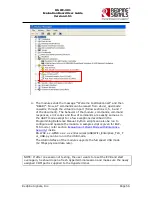
The module should now be power cycled or hard reset. It boots up
and then automatically scans channels for the target AP and connects
to it and gets an IP address. The module will send out two responses
to the Host, the first corresponds to the internally given “Join”
command and the second to the “Set IP Parameters” command. Note
that once the module is restarted, no commands need to be given.
The module automatically scans and joins the target AP, after which
the stored configuration parameters can be retrieved using the


