Chapter 2: Installation and Configuration
31
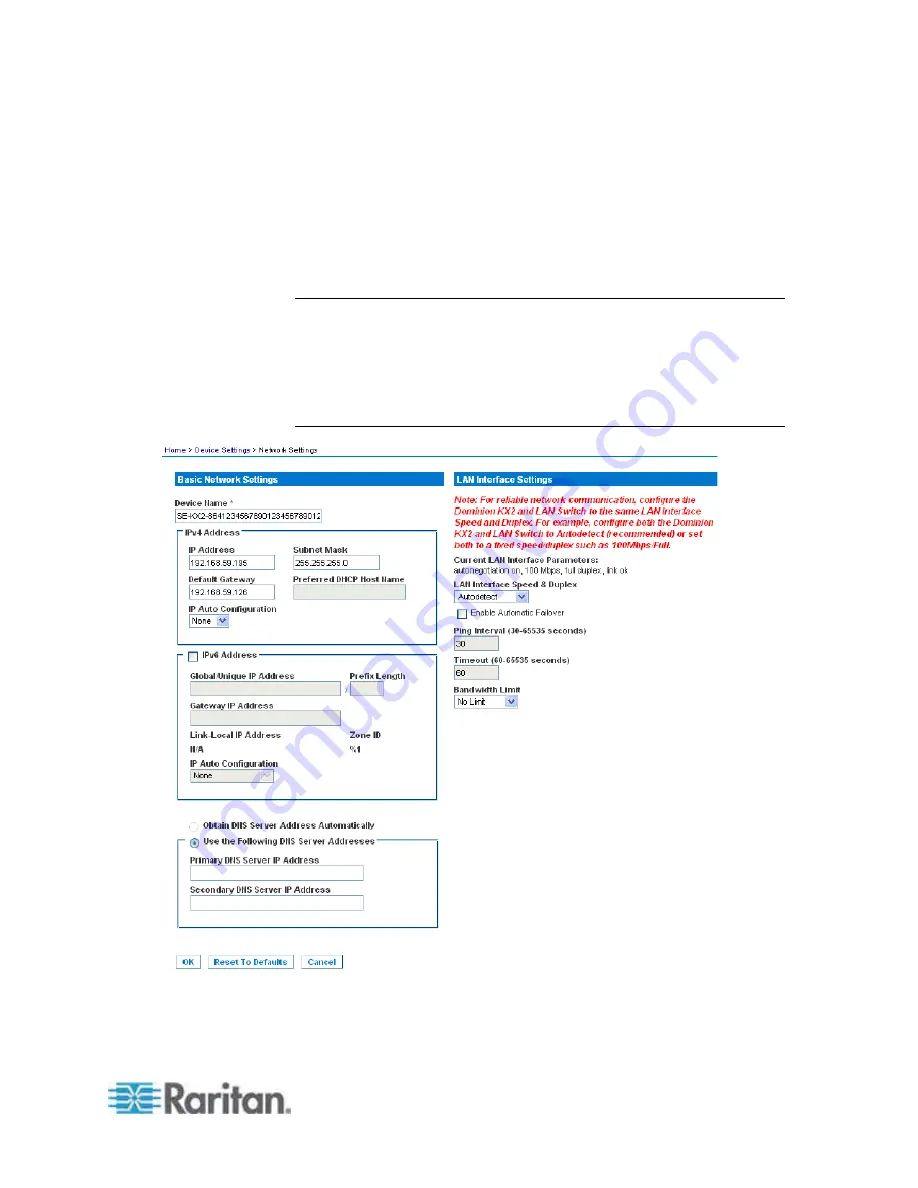
a. Primary DNS Server IP Address
b. Secondary DNS Server IP Address
7. When finished, click OK. Your Dominion KX II device is now network
accessible.
See
LAN Interface Settings
(on page 123) for information in configuring
this section of the Network Settings page.
Note: In some environments, the default LAN Interface Speed & Duplex
setting Autodetect (autonegotiator) does not properly set the network
parameters, which results in network issues. In these instances, setting
the Dominion KX II LAN Interface Speed & Duplex field to 100 Mbps/Full
Duplex (or whatever option is appropriate to your network) addresses the
issue. See the
Network Settings
(on page 120) page for more
information.
Содержание Dominion KX2-832
Страница 13: ...Chapter 1 Introduction 4...
Страница 15: ...Chapter 1 Introduction 6 Product Photos Dominion KX II KX2 832...
Страница 16: ...Chapter 1 Introduction 7 KX2 864...
Страница 87: ...Chapter 4 Virtual Media 78...
Страница 109: ...Chapter 6 User Management 100...
Страница 127: ...Chapter 6 User Management 118 Remote authentication follows the process specified in the flowchart below...
Страница 141: ...Chapter 7 Device Management 132 3 Click OK...
Страница 151: ...Chapter 7 Device Management 142 3 Click OK...
Страница 196: ...Chapter 9 Security Management 187 2 Click Delete 3 You are prompted to confirm the deletion Click OK...


