Chapter 2: Installation and Configuration
22
3. KVM target servers running the Solaris operating system must output
VGA video (H-and-V sync, not composite sync).
To change your Sun video card output from composite sync to
the nondefault VGA output:
1. Issue the Stop+A command to drop to bootprom mode.
2. Issue the following command to change the output resolution:
setenv
output-device screen:r1024x768x70
3. Issue
the
boot
command to reboot the server.
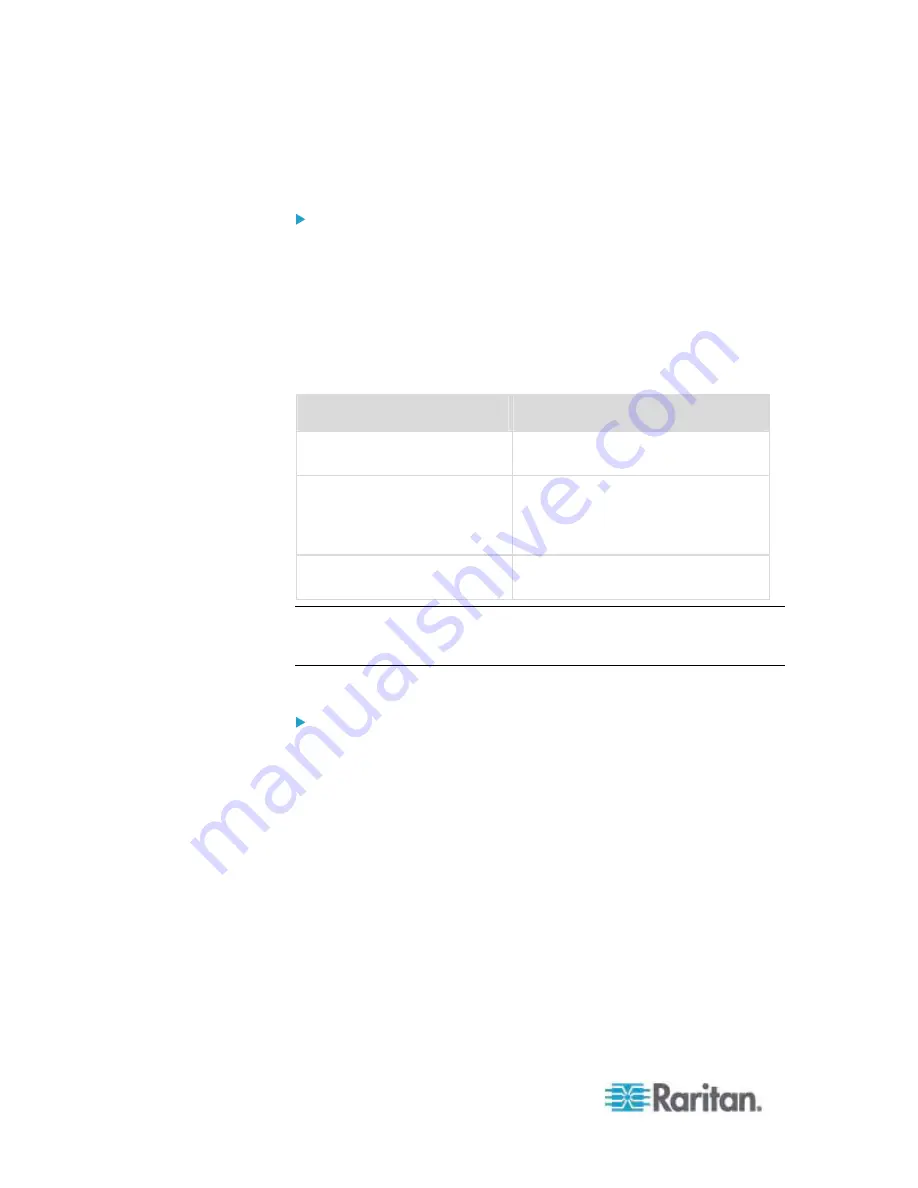
You can also contact your Raritan representative to purchase a video
output adapter:
If you have:
Use this video output adapter:
Sun 13W3 with composite
sync output
APSSUN II Guardian converter
Sun HD15 with composite
sync output
1396C converter to convert from
HD15 to 13W3 and an APSSUN II
Guardian converter to support
composite sync
Sun HD15 with separate sync
output
APKMSUN Guardian converter
Note: Some of the standard Sun background screens may not center
precisely on certain Sun servers with dark borders. Use another
background or place a light colored icon in the upper left hand corner.
Mouse Settings
To configure the mouse settings (Sun Solaris 10.1):
1. Choose Launcher. Application Manager - Desktop Controls opens.
2. Choose Mouse Style Manager. The Style Manager - Mouse dialog
appears.
3. Set the Acceleration slider to 1.0.
4. Set the Threshold slider to 1.0.
5. Click
OK.
Accessing the Command Line
1. Right
click.
2. Choose Tools > Terminal. A terminal window opens. (It is best to be
at the root to issue commands.)
Содержание Dominion KX2-832
Страница 13: ...Chapter 1 Introduction 4...
Страница 15: ...Chapter 1 Introduction 6 Product Photos Dominion KX II KX2 832...
Страница 16: ...Chapter 1 Introduction 7 KX2 864...
Страница 87: ...Chapter 4 Virtual Media 78...
Страница 109: ...Chapter 6 User Management 100...
Страница 127: ...Chapter 6 User Management 118 Remote authentication follows the process specified in the flowchart below...
Страница 141: ...Chapter 7 Device Management 132 3 Click OK...
Страница 151: ...Chapter 7 Device Management 142 3 Click OK...
Страница 196: ...Chapter 9 Security Management 187 2 Click Delete 3 You are prompted to confirm the deletion Click OK...


