Chapter 6: User Management
102
This feature limits access to the Dominion KX II device by users in the
selected group to specific IP addresses. This feature applies only to
users belonging to a specific group, unlike the IP Access Control List
feature that applies to all access attempts to the device, is processed
first, and takes priority.
Important: The IP address 127.0.0.1 is used by the Dominion KX II
Local Port and cannot be blocked.
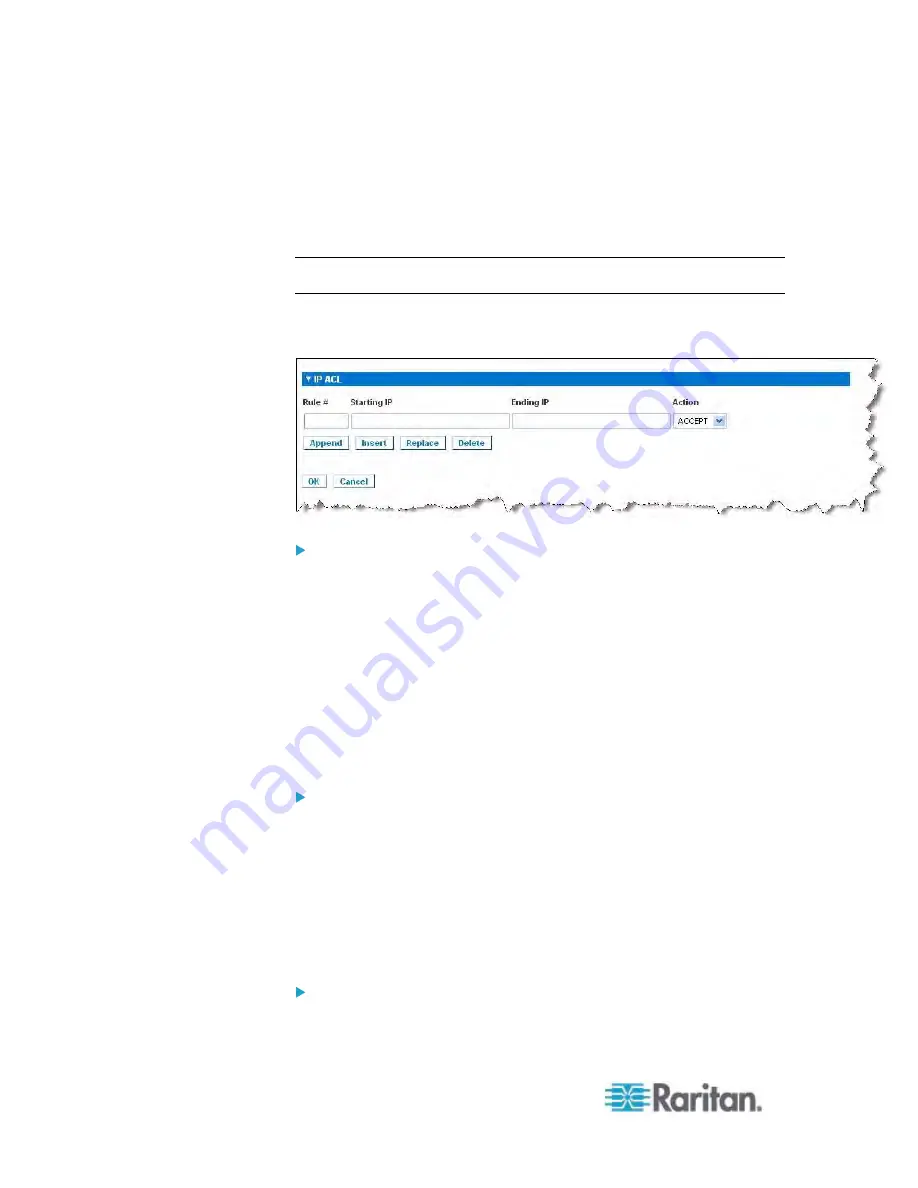
Use the IP ACL section of the Group page to add, insert, replace, and
delete IP access control rules on a group-level basis.
To add (append) rules:
1. Type the starting IP address in the Starting IP field.
2. Type the ending IP address in the Ending IP field.
3. Choose the action from the available options:
Accept - IP addresses set to Accept are allowed access to the
Dominion KX II device.
Drop - IP addresses set to Drop are denied access to the
Dominion KX II device.
4. Click Append. The rule is added to the bottom of the rules list.
Repeat steps 1 through 4 for each rule you want to enter.
To insert a rule:
1. Enter a rule number (#). A rule number is required when using the
Insert command.
2. Enter the Starting IP and Ending IP fields.
3. Choose the action from the Action drop-down list.
4. Click Insert. If the rule number you just typed equals an existing rule
number, the new rule is placed ahead of the exiting rule and all rules
are moved down in the list.
To replace a rule:
1. Specify the rule number you want to replace.
Содержание Dominion KX2-832
Страница 13: ...Chapter 1 Introduction 4...
Страница 15: ...Chapter 1 Introduction 6 Product Photos Dominion KX II KX2 832...
Страница 16: ...Chapter 1 Introduction 7 KX2 864...
Страница 87: ...Chapter 4 Virtual Media 78...
Страница 109: ...Chapter 6 User Management 100...
Страница 127: ...Chapter 6 User Management 118 Remote authentication follows the process specified in the flowchart below...
Страница 141: ...Chapter 7 Device Management 132 3 Click OK...
Страница 151: ...Chapter 7 Device Management 142 3 Click OK...
Страница 196: ...Chapter 9 Security Management 187 2 Click Delete 3 You are prompted to confirm the deletion Click OK...


