Chapter 7: Device Management
127
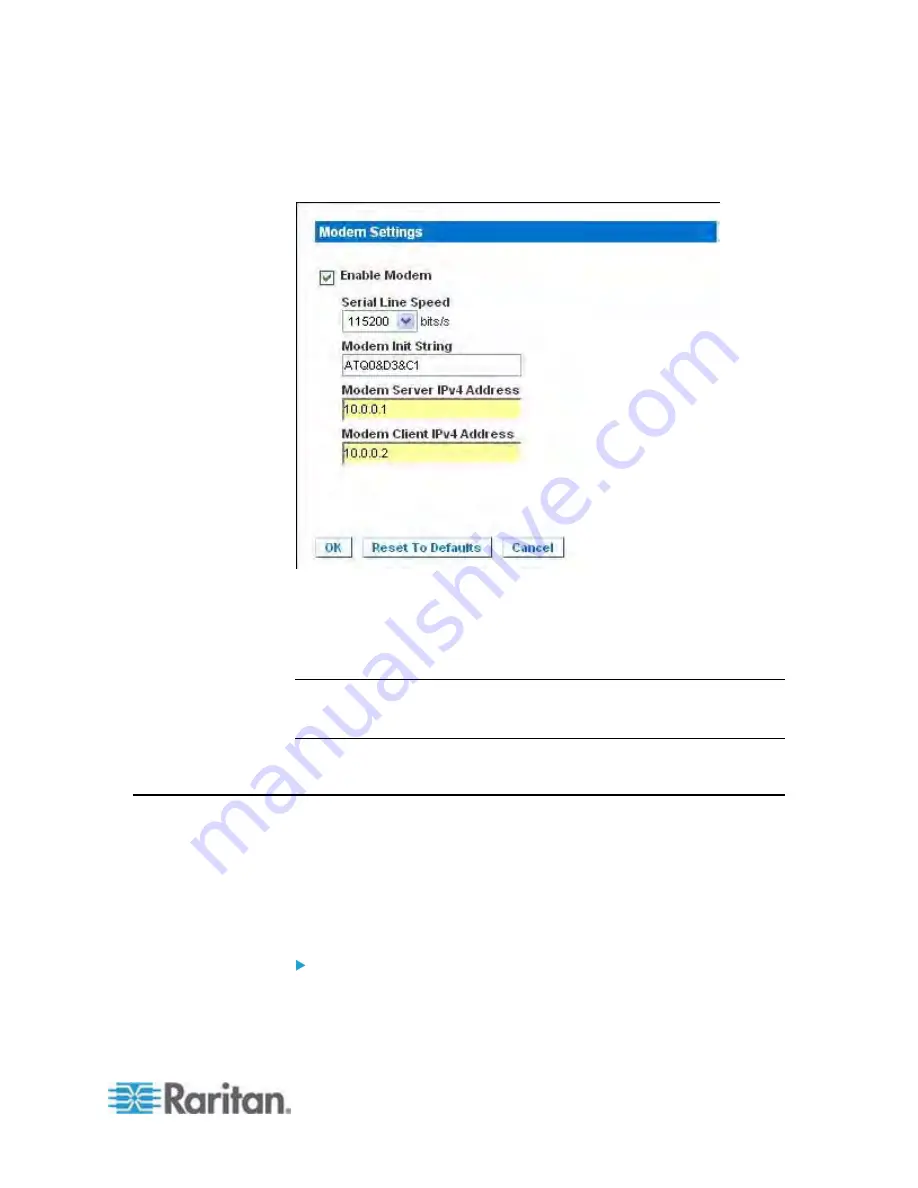
6. Click OK to commit your changes or click Reset to Defaults to return
the settings to their defaults.
See
Certified Modems
(on page 245) for information on certified
modems that work with the Dominion KX II. For information on settings
that will give you the best performance when connecting to the Dominion
KX II via modem, see Creating, Modifying and Deleting Profiles in MPC -
Generation 2 Devices in the
KVM and Serial Access Clients Guide
.
Note: Modem access directly to the Dominion KX II HTML interface is not
supported. You must use standalone MPC to access the Dominion KX II
via modem.
Configuring Date/Time Settings
Use the Date/Time Settings page to specify the date and time for the
Dominion KX II. There are two ways to do this:
•
Manually set the date and time.
•
Synchronize the date and time with a Network Time Protocol (NTP)
server.
To set the date and time:
1. Choose Device Settings > Date/Time. The Date/Time Settings page
opens.
Содержание Dominion KX2-832
Страница 13: ...Chapter 1 Introduction 4...
Страница 15: ...Chapter 1 Introduction 6 Product Photos Dominion KX II KX2 832...
Страница 16: ...Chapter 1 Introduction 7 KX2 864...
Страница 87: ...Chapter 4 Virtual Media 78...
Страница 109: ...Chapter 6 User Management 100...
Страница 127: ...Chapter 6 User Management 118 Remote authentication follows the process specified in the flowchart below...
Страница 141: ...Chapter 7 Device Management 132 3 Click OK...
Страница 151: ...Chapter 7 Device Management 142 3 Click OK...
Страница 196: ...Chapter 9 Security Management 187 2 Click Delete 3 You are prompted to confirm the deletion Click OK...


