33
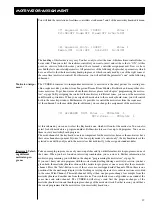
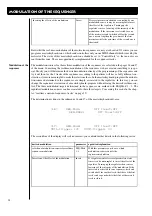
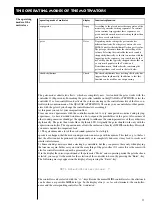
The Gater-mode of the motivator always uses only the first instrument. Therefore we recommend the use
of a pad-sound, like string- or choir-sounds. In the chord-mode all of the eight possible instruments can be
used. By the setting of the individual instruments in the grid you can achieve rhythmical wave-sequences.
Now you have already gotten to know all functions of the motivators. The best way to achieve a real
appreciation of those functions is to do many practical exercises. For example you should once program
the following exercises completely on your own:
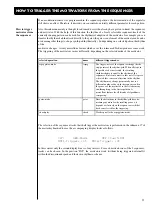
1.) Build your own Wave-Station. Therefore you shouldn´t be afraid to involve your sound-generators in
your programming, e.g.: you should program the envelopes in a way, that the sounds overlap and crossfade.
In this way you can create marvellous textures for sophisticated ambient-music. For this type of programs
you should use the chord-mode of the motivator.
2.) Do you own a synthesizer that has no realtime-filtermodulation ?
But the MIDI-Multimode is implemented ? Simply program 8 instruments, that play - on different MIDI-
channels - an original-sound and its variations. Therefore you first have to copy one sound on different
program-places and afterwards you change on each of the eight program-places some parameters, e.g.: the
cutoff-frequency of the filter, the resonance or some envelope-parameters. Another jolly possibility is to
take the same sound but vary the FX-settings on each program-place. If you now call up the - in the above
described manner varied - different variation-sounds one after the other in the grid, the generated pattern
sounds as if your synthesizer would have a realtime-control of these parameters. There are no limits to
your fantasy and creativity: -Programming different panorama-positions in your variation-sounds you can
let the variations move in the stereo-panorama.-Use different intensities of modulation for receiving differ-
ing intensities of the influences on each instrument when using realtime-controls.-Programm variing trans-
poses for each instrument to achieve as sort of mini-sequences when pressing only one key. Now lets come
to the last step of the programming: saving the before done settings.
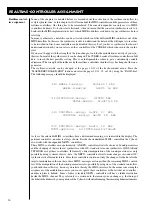
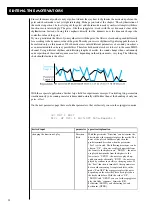
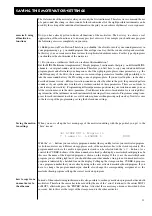
When you now call up the last menu-page of the motivator-editing with the page-dial, you get to the
“Save”-menu:
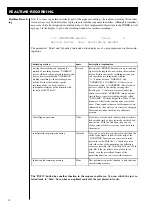
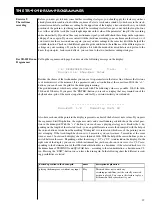
<6| STORE MOT 1 Program in
? 1 used in: 1-ENHANC 1 MOT2
With the “+/-” - buttons you can select a program-number where you like to store your motivator-program.
As both motivators use different storage-places each of the motivators has to be stored separately. The
program-number where the motivator-program is stored can be selected with the “+/-” - buttons. As a
control, the CYBER-6 shows, if the chosen number is already called up by a masterkeyboard-program. In
this case the name of the depicted program is shown on the display. If this is not the masterkeyboard-
program you are editing right now, you should choose another number. An up to now unused motivator-
program is indicated by a hatched line on the display. Calling up the storage-routine, CYBER-6 proposes
you a program-number that you are already using in the now activated masterkeyboard-program. If you
have to change the program-numberyou should also change the corresponding assignment, so the
masterkeyboard-program calls up the correct motivator-program.
Instead of the normal storing in this menu it is also possible to exchange motivator-programs between both
motivators. Therefore the cursor has to be moved (by the use of the “arrow”-buttons) to the entries MOT1
or MOT2, afterwards press the “ENTER”-button. After that the same storage-menu as described before
succeeds, but in this case the target of the storage-menu is the other motivator.
Saving the motiva-
tor-settings
Saving the motivator-settings
exercise 8: using
all motivator-
functions
how to copy from
one motivator to
the otherone
Содержание CYBER-6
Страница 1: ...1 B E D I E N U N G S H A N D B U C H CYBER 6 The Realtime Enhancer...
Страница 2: ...2...
Страница 62: ...62 Warranty card...

