39
The TR-909 Drum-Programmer
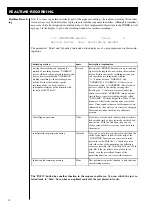
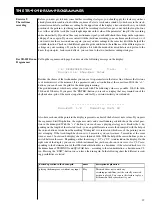
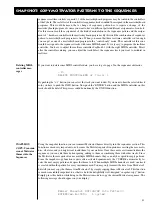
Before you now get to know some further recording strategies, you should apply the features you have
already learned in combination with the sequencer. Select a track and a sound of your choice in the track-
parameters and start a realtime-recording. In the upper line of the display a bar-counter shows you which
position of the pattern is just being recorded. The recording starts after a pre-count with the length of one
bar. At the end of the track (the track lenght depends on the value of the parameter “length”) the recording
ends automatically. If you don´t hear any metronome-signal, you should check the settings on the sequencer-
edit-page 2 once again. If you are content with the just done recording you can choose another track, or , if
you want to use the same sound once again, you may add recordings to the same track with the help of the
overdub-function. Check out the different quantize-grids and listen to the influence of the different groove-
settings on your recodings. If you have played a bit with the menus discussed before and gotten to the
know the principles, features and effects, you can turn to the two further recording-strategies.
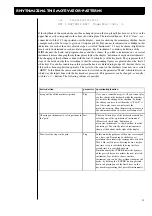
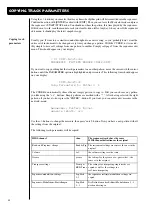
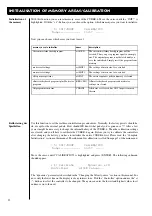
Call up the sequencer-edit-page 6 and receive the following message on the display:
< 6> SEQUENCER-Steps Track: 1
Drumgrid 16 Step-Rec: Notes
Besides the choice of the tracknumber you can see two parameters in the lower line, whereas the first one
is of more interest at the moment. It is a parameter and a action-button at the same time. With the “+/-”-
buttons you can choose the grid for the drum-programming.
The grid determines, which note values you work with. The following values are possible: 8th, 12th, 16th,
24th, and 32th notes. If you press the “ENTER”-button you receive a display that may remind you of the
rhythmization-grid of the motivator-patterns, and really, a certain similarity was intended:
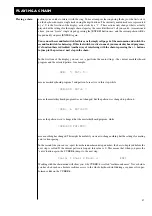
................................
Drum-Edit 1/2 Mode:Play Inst: C2
Also here each one of the points in the display represents one beat of the before set note values. If you press
the sequencer-Start/Stop-button, the sequencer starts and a small running asterisk shows the actual posi-
tion in the drum-grid. With the “+/-”-buttons you can choose a playing-strategy now. Besides that - de-
pending on the length of the selected track - you can get different areas into the drumgrid with the help of
the cursor-buttons. Aside from the marking “Drumgrid” it is indicated, which area of the pattern you are
just arranging. If the track-length has been set to 4 measures you can treat max. 2 measures at the same
time, as max. 32 notes can be displayed at a resolution of 16th. With the help of the cursor-buttons you can
switch between the areas. Depending on that the message “1/2” or “2/2” is indicated on the display. On the
right side of the display you can see which instrument has just been chosen, in our case it is C2. Corre-
sponding to the determinations of the GM-standardization this is a bassdrum - if the selected track is set to
the drumchannel. TECHNOX and QUASAR have - according to the standardization - a bassdrum on C2,
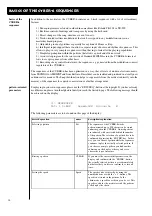
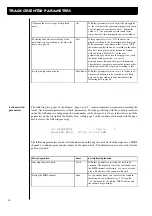
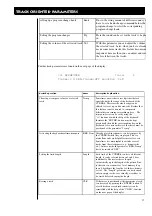
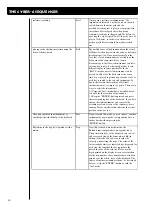
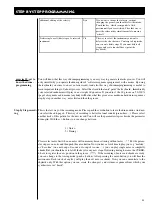
too. Pressing the “EXIT”-button you can leave the drum-grid. In the following chart the different record-
ing possibilities are listed:
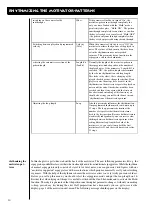
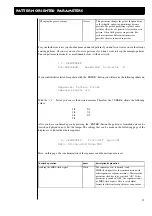
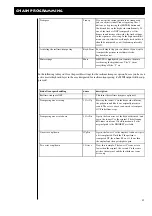
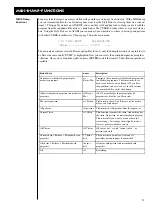
desired operation in the drum-grid
name
description/explanation
playing the drumgrooves without any input
Play
This mode does not contain any
recording-possibilities, just the actually activated
pattern is played. You can use this feature to play a
bit drums on the keyboard just try out.
Exercise 9:
The realtime
recording
Der TR-909 Drum-
Programmer
Содержание CYBER-6
Страница 1: ...1 B E D I E N U N G S H A N D B U C H CYBER 6 The Realtime Enhancer...
Страница 2: ...2...
Страница 62: ...62 Warranty card...

