Table of contents
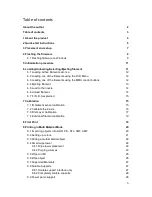
About the author
2
Table of contents
3
1 About the product
5
2 Quick-start instructions
6
3 Placement and setup
7
4 Flashing the firmware
8
4.1 Flashing firmware on Windows
9
5 Initialization procedure
11
6 Loading/Unloading/Selecting/Ejecting filament
11
6.1 Loading all five filaments at once
12
6.2 Loading one of the filaments using the LCD Menu
12
6.3 Loading one of the filaments using the MMU control buttons
12
6.4 Ejecting filament
13
6.5 Load to the nozzle
14
6.6 Unload filament
14
6.7 F.I.N.D.A explained
15
7 Calibration
15
7.1 IR filament sensor calibration
15
7.2 Calibrate the Z-axis
16
7.3 First Layer Calibration
17
7.4 Individual filament calibration
19
8 First Print
19
9 Printing in Multi Material Mode
20
9.1 Importing objects into Slic3r PE - STL, 3MF, AMF
20
9.2 Setting up colors
21
9.3 Slicing a multi-material object
22
9.4 Smart wipe tower
22
9.4.1 Wipe tower placement
22
9.4.2 Purging volumes
23
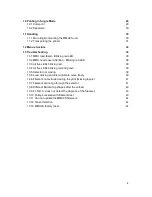
9.5 Wipe to infill
25
9.6 Wipe object
26
9.7 Supported Materials
27
9.8 Soluble Supports
27
9.8.1 Soluble support interface only
27
9.8.2 Completely soluble supports
28
9.9 Power panic support
28
3
Содержание i3 MK2.5S Multi Material Upgrade 2S
Страница 1: ...ENG ...

