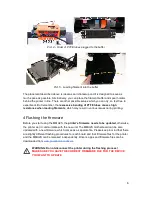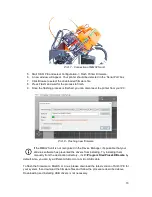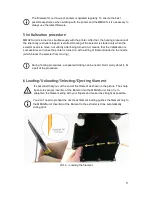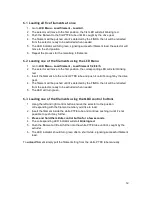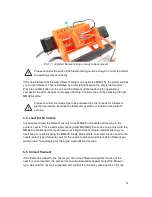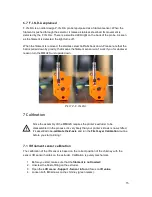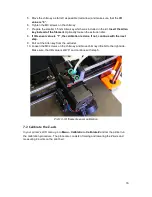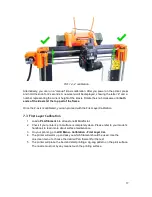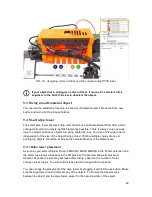
5. Move the chimney as far left as possible (red arrow) and make sure, that the
IR
value is “0”.
6. Tighten the M3 screws on the chimney.
7. Prepare the smaller 1.5 mm Allen key which was included in the kit.
Insert the Allen
key instead of the filament
. Optionally loosen the extruder idler.
8.
If IR sensor value is “1”, the calibration is done. If not, continue with the next
step.
9. Pull out the Allen key from the extruder.
10. Loosen the M3 screws on the chimney and move chimney little bit to the right side.
Make sure, that IR value is still “0” and continue with step 5.
Pict.13 - IR filament sensor calibration
7.2 Calibrate the Z-axis
In your printer’s LCD menu, go to
Menu - Calibration - Calibrate Z
and let the printer run
the calibration procedure. The procedure consists of raising and lowering the Z-Axis and
measuring 9 points on the print bed.
16
Содержание i3 MK2.5S Multi Material Upgrade 2S
Страница 1: ...ENG ...


