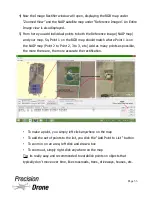
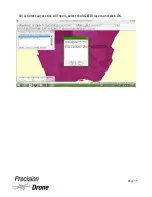
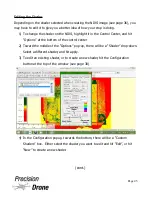


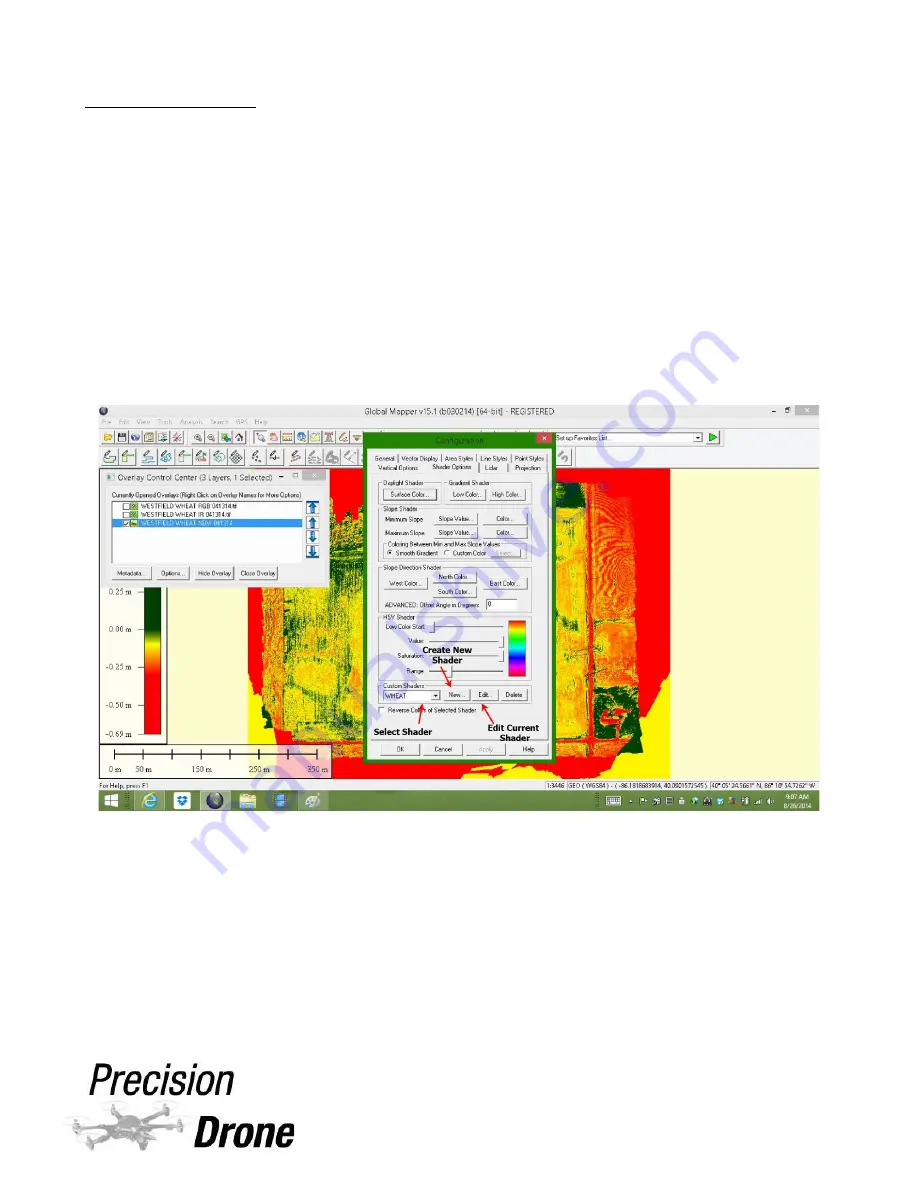
Editing the Shader
Depending on the shader selected when creating the NDVI image (see page 36), you
may have to edit it to give you a better idea of how your crop is doing.
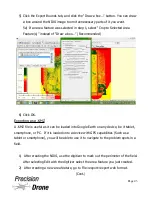
1) To change the shader on the NDVI, highlight it in the Control Center, and hit
“Options” at the bottom of the control center
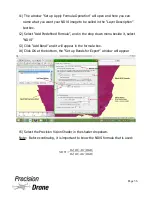
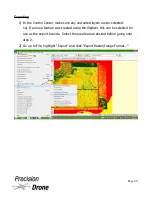
2) Toward the middle of the “Options” pop-up, there will be a “Shader” drop-down.
Select a different shader, and hit apply.
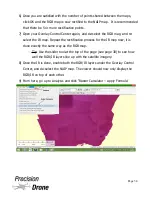
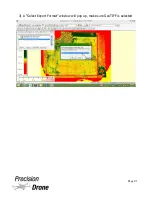
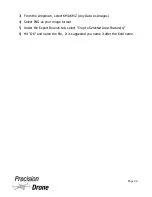
3) To edit an existing shader, or to create a new shader, hit the Configuration
button at the top of the window (see page 30)
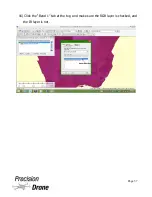
4) In the Configuration popup, towards the bottom, there will be a “Custom
Shaders” box. Either select the shader you want to edit and hit “Edit”, or hit
“New” to create a new shader.
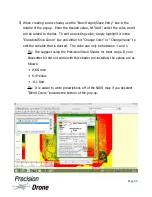
(cont.)
1
46
Page 45
Содержание Pacesetter 2015
Страница 1: ...User s Manual Pacesetter Model 2015 Serial Number Version 1 12...
Страница 6: ...Components DX8 Controller 1 6 Page 5...
Страница 7: ...Battery Charger 1 7 Page 6...
Страница 8: ...Live Feed Monitor 1 8 Page 7...
Страница 10: ...Precision Vision Camera 1 10 Page 9...
Страница 15: ...1 15 Page 14...
Страница 18: ...1 18 Page 17...
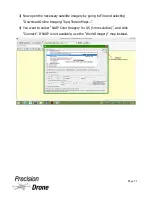
Страница 36: ...10 A Select Layers box will open select the RGB IR layers and click OK 1 36 Page 35...
Страница 38: ...16 Click the Band 1 tab at the top and make sure the RGB layer is checked and the IR layer is not 1 38 Page 37...
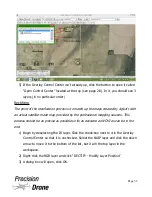
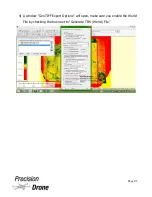
Страница 42: ...3 A Select Export Format window will pop up make sure GeoTIFF is selected 1 42 Page 41...
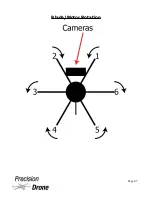
Страница 48: ...Blade Motor Rotation 1 48 Page 47...
Страница 49: ...1 49 Page 48...
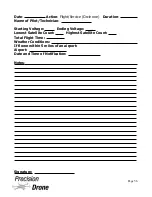
Страница 51: ...Flight and Service Log Serial Number...


