


Section 2. Installing the PX-750A Internal ATAPI Drive
PX-750 Installation and Users Manual
15
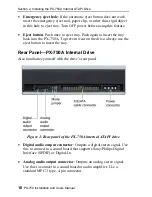
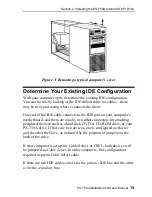
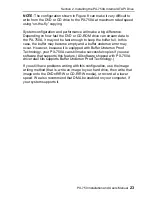
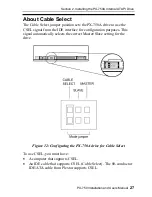
Figure 3: Removing a typical computer's cover
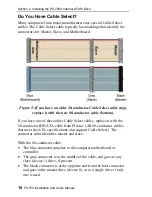
Determine Your Existing IDE Configuration
With your computer open, determine the existing IDE configuration.
You can do this by looking at the IDE ribbon cable (or cables—there
may be two) and seeing what is connected to them.
One end of the IDE cable connects to the IDE port on your computer’s
motherboard; and there are usually two other connectors for attaching
peripheral devices such as a hard disk, DVD or CD-ROM drive, or your
PX-750A drive. If there are two devices, one is configured as
Master
and the other the
Slave,
as indicated by the position of jumpers on the
back of the drive.
If your computer is set up for Cable Select, or CSEL, both devices will
be jumpered as
Cable Select
. In older computers, this configuration
required a special Cable Select cable.
If there are two IDE cables, one is for the
primary
IDE bus and the other
is for the
secondary
bus.
Содержание PX-750A
Страница 6: ...vi PX 750 Installation and Users Manual This page intentionally left blank ...
Страница 10: ...Table of Contents x PX 750 Installation and Users Manual This page intentionally left blank ...
Страница 64: ...Section 4 Using Your PX 750 54 PX 750 Installation and Users Manual This page intentionally left blank ...
Страница 96: ...Appendix A PX 750 Specifications 86 PX 750 Installation and Users Manual This page intentionally left blank ...
Страница 111: ...PX 750 Installation and Users Manual 101 Notes ...