Section 2. Installing the PX-750A Internal ATAPI Drive
PX-750 Installation and Users Manual
11
•
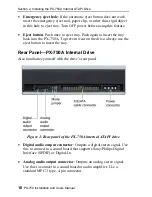
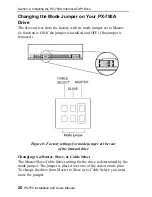
Mode jumper
: Use the mode jumper to select operation as an IDE
master or slave, or for cable select. In general, leave this jumper at
its factory setting, which is master; and ensure that any other device
on the bus is jumpered as slave.
•
IDE cable connector
: Connects to your computer’s IDE (ATAPI)
interface using 80-conductor Ultra cable.
NOTE
: Although the PX-750A will operate with a 40-wire IDE cable, it
may not be able to write DVDs at 16X unless an 80-conductor
IDE/ATA cable is used.
•
Power connector
: Connects to your computer’s power supply to
provide DC +5 volts and +12 volts to the PX-750A.
What Else Is In the PX-750A Box
What you find in your Plextor box depends on what the company that
sold you the box put in—or took out—while the Plextor drive was in
their possession. Plextor currently sells the PX-750A drive in this
configuration:
•
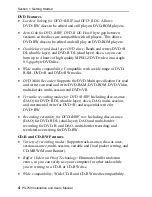
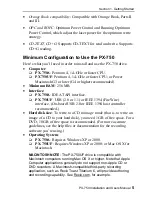
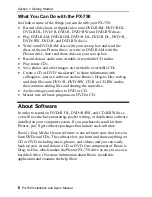
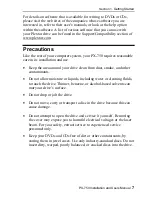
PX-750A DVD±R DL, DVD-RAM, DVD±R/RW and CD-R/RW
drive
•
Replacement front bezel(beige) and disc tray front panel
•
80-conductor IDE/ATA cable
•
4 mounting screws
•
Extra jumper
•
Emergency eject tool
•
Plextor software disc with a PDF file of the
PX-750A Installation
and Users Manual
. Also contains Roxio’s Easy Media Creator.
•
Drive
Quick Installation Guide
Содержание PX-750A
Страница 6: ...vi PX 750 Installation and Users Manual This page intentionally left blank ...
Страница 10: ...Table of Contents x PX 750 Installation and Users Manual This page intentionally left blank ...
Страница 64: ...Section 4 Using Your PX 750 54 PX 750 Installation and Users Manual This page intentionally left blank ...
Страница 96: ...Appendix A PX 750 Specifications 86 PX 750 Installation and Users Manual This page intentionally left blank ...
Страница 111: ...PX 750 Installation and Users Manual 101 Notes ...

