Section 2. Installing the PX-750A Internal ATAPI Drive
14
PX-750 Installation and Users Manual
Mount the PX-750A Drive
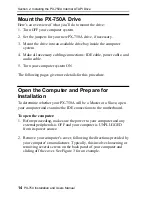
Here’s an overview of what you’ll do to mount the drive:
1. Turn OFF your computer system.
2. Set the jumpers for your new PX-750A drive, if necessary.
3. Mount the drive into an available drive bay inside the computer
system.
4. Make all necessary cabling connections: IDE cable, power cable, and
audio cable.
5. Turn your computer system ON.
The following pages give more details for this procedure.
Open the Computer and Prepare for
Installation
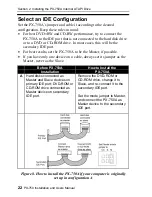
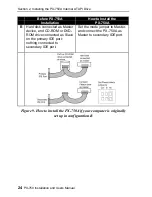
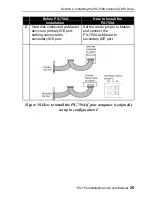
To determine whether your PX-750A will be a Master or a Slave, open
your computer and examine the IDE connections to the motherboard.
To open the computer:
1. Before proceeding, make sure the power to your computer and any
external peripherals is OFF and your computer is UNPLUGGED
from its power source.
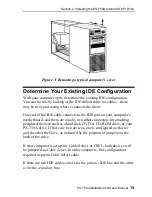
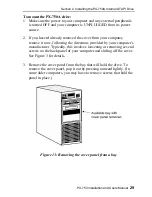
2. Remove your computer’s cover, following the directions provided by
your computer’s manufacturer. Typically, this involves loosening or
removing several screws on the back panel of your computer and
sliding off the cover. See Figure 3 for an example.
Содержание PX-750A
Страница 6: ...vi PX 750 Installation and Users Manual This page intentionally left blank ...
Страница 10: ...Table of Contents x PX 750 Installation and Users Manual This page intentionally left blank ...
Страница 64: ...Section 4 Using Your PX 750 54 PX 750 Installation and Users Manual This page intentionally left blank ...
Страница 96: ...Appendix A PX 750 Specifications 86 PX 750 Installation and Users Manual This page intentionally left blank ...
Страница 111: ...PX 750 Installation and Users Manual 101 Notes ...


