•
Start the IE; it can be started either by clicking on the desktop icon, or by using the Start menu
to access it.
•
Enter the IP address of the DVR in the address bar at the top of the browser.
•
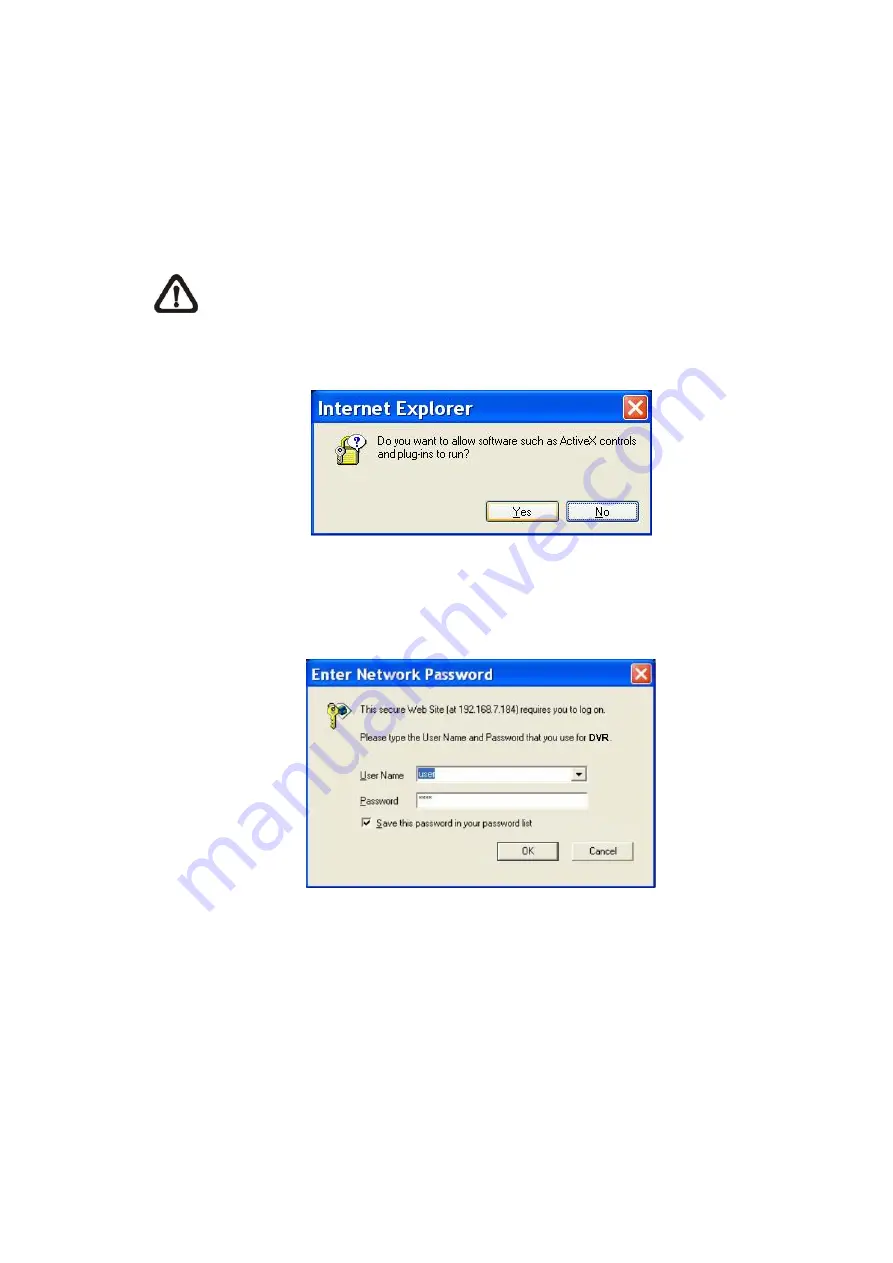
The ActiveX controls and plug-ins dialog will show twice for confirmation; click <Yes> to accept
ActiveX plug-ins. The remote monitoring software plug-ins will be downloaded and installed on
the PC automatically when the connection is successfully made.
NOTE:
Do not enter any leading “0” characters in the address, for example,
“192.068.080.006” should be entered as “192.68.80.6”. If the default trigger port 80 is
changed into another one, take port 81 for example, the IP address should be entered as
“192.68.80.6:81”.
•
A version check starts to verify whether the remote monitoring software was installed already,
and also check if the version is the same as that stored in that particular DVR. This process
may take up to 30 seconds.
•
When the software is completely downloaded and installed, the Login Screen is now displayed.
5.2.2.1
Log in / Log off
Login using the same accounts setup in the DVR. The authority is also the same as setup in
the DVR.
One preset account “admin” and up to four other accounts can access a DVR at the same
time. Nevertheless, if the “admin” account is currently accessing the unit’s OSD setup menu via
front panel of the unit, then the “admin” account at the remote monitoring site cannot change the
settings at the same time. The “admin” account of the DVR has priority.
-
53
-


