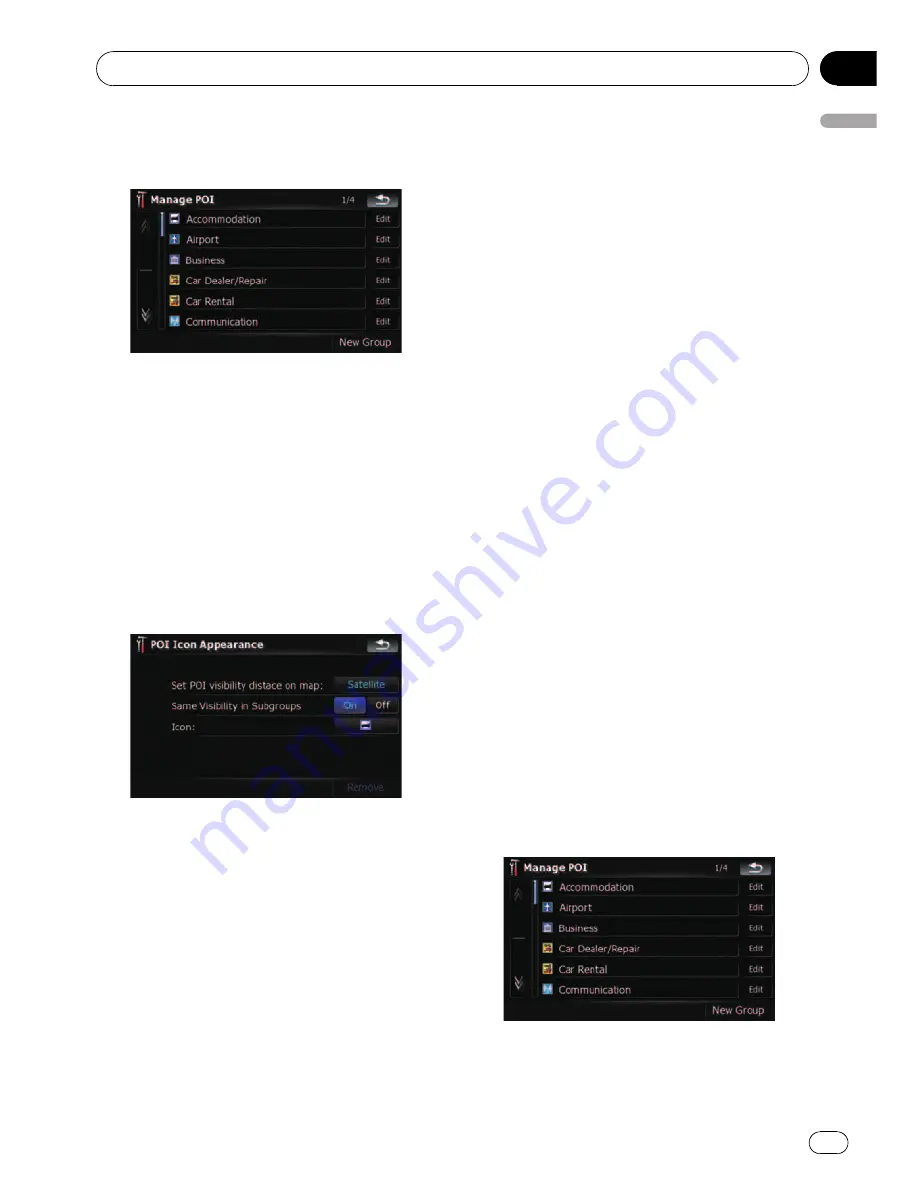
3
Touch the desired category that you
want to display.
If there are more detailed categories within the
selected category, repeat this step as many
times as necessary.
If there aren
’
t anymore detailed categories, a
blank list appears. In this case, you can only
create the new category by touching [
New
Group
].
4
Touch [Edit] on the right of the desired
sub-category to set the appearance.
5
Touch the desired key to customize it.
Available options;
!
“
Set POI visibility distance on map:
”
Touching the key shows the option. Touch
one of them to set the desired visibility.
When
“
Satellite
”
is selected, the POI icons
will appear even though they are far away
from your current position. When
“
Close
”
is
selected, only the nearest POI icons will ap-
pear. Selecting
“
Off
”
hides the POI icons of
this category.
!
“
Same Visibility in Subgroups
”
[
On
]:
Also applies this visibility to all sub-cate-
gories belonging to this category.
[
Off
]:
Does not apply this visibility to all sub-cate-
gories belonging to this category.
!
“
Icon:
”
Touching the key shows the options avail-
able. Touch one of them to set the desired
icon.
!
[
Remove
]:
Touching the key allows you to delete the
selected category.
p
[
Remove
] is available only for POI cate-
gories that are created on this naviga-
tion system.
Creating new categories
If your customized POI does not match any
pre-installed categories, creating a new cate-
gory allows you to edit your customized POI so
that it can belong to this newly-created cate-
gory.
p
If the custom POI is found on an external
storage device (USB, SD), the navigation
system will show a POI list which includes
them.
1
Touch [Visual] on the
“
Navi Settings
”
menu.
The
“
Visual Settings
”
screen appears.
2
Touch [Manage POI].
3
Touch the desired category.
If there are more detailed categories within the
selected category, repeat this step as many
times as necessary.
Customizing preferences
En
131
Chapter
25
Customizing
pr
eferences


