Black plate (152,1)
1
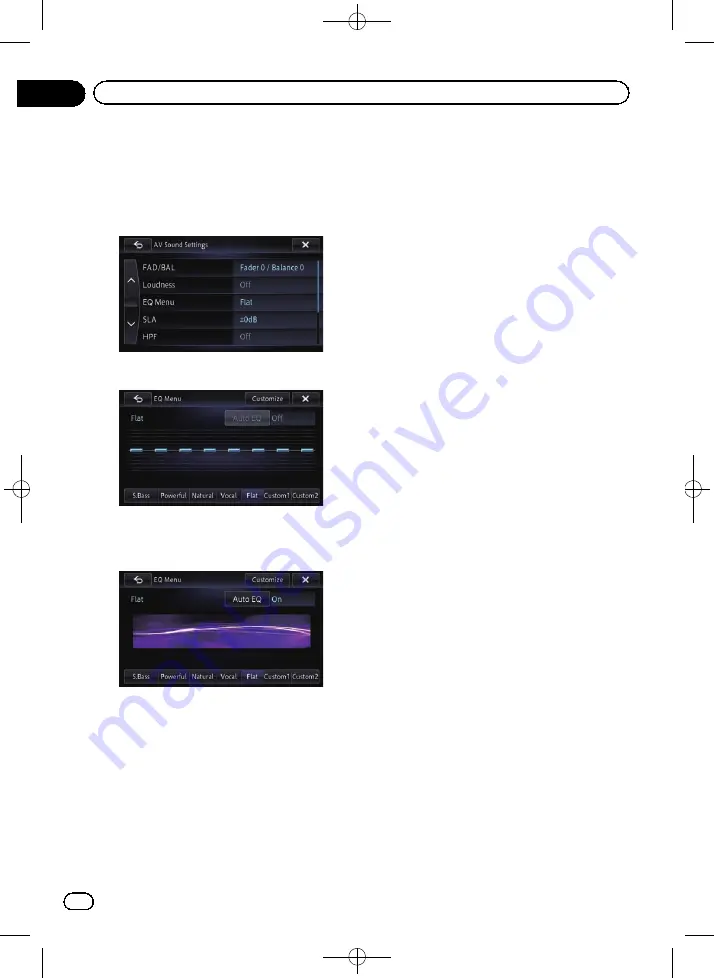
Display the
“
AV Sound Settings
”
screen.
=
For details, refer to
2
Touch [EQ Menu].
3
Touch the equaliser you want.
p
If
Auto EQ
has been set to
“
On
”
, an image
corresponding to each equaliser curve you
selected appears.
=
For details of the operations, refer to
ing the equaliser curve automatically (Auto
EQ)
Customising the equaliser curves
You can adjust the currently selected equaliser
curve setting as desired. Adjustments can be
made with a 8-band graphic equaliser.
p
This function is not available when
“
Auto
EQ
”
is
“
On
”
.
=
For details, refer to
The difference between
“
Custom1
”
and
“
Custom2
”
!
A separate
“
Custom1
”
curve can be cre-
ated for each source. If you make adjust-
ments when a curve
“
S.Bass
(Super Bass)
”
,
“
Powerful
”
,
“
Natural
”
,
“
Vocal
”
,
“
Flat
”
, or
“
Custom1
”
is selected, the equaliser curve
settings will be memorised in
“
Custom1
”
.
!
A
“
Custom2
”
curve can be created com-
mon to all sources. If you make adjust-
ments when the
“
Custom2
”
curve is
selected, the
“
Custom2
”
curve will be up-
dated.
!
The
“
Custom1
”
curve is applied to each of
the sources selected, but you can apply the
same curve to the following sources.
—
AV1
and
AV2
—
CD
,
ROM
,
DVD-V
, and
DivX
—
SD
and
USB
—
Bluetooth Audio
,
Aha Radio
(Bluetooth connection) and
AppRadio
Mode
(Bluetooth connection)
—
Aha Radio
(HDMI connection) and
AppRadio Mode
(HDMI connection)
—
iPod
,
Aha Radio
(iPhone) and
AppRadio Mode
(iPhone)
1
Display the
“
AV Sound Settings
”
screen.
=
For details, refer to
2
Touch [EQ Menu].
3
Touch one of the keys to select a curve
that you want to use as the basis of custo-
mising.
4
Touch [Customise].
<CRB4228-A>152
Engb
152
Chapter
26
Customising preferences


