5.2 3D Features
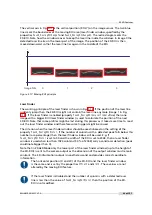
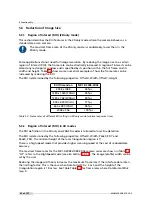
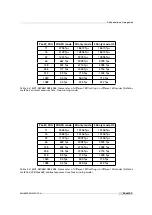
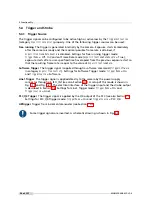
The following steps should be considered when setting the parameters for moving ROI:
1.
Turn off moving ROI and stop acquisition.
2.
Specify the starting row (
Peak0_MovingROIRangeY
) and the height (
Peak0_MovingROIRangeH
) of
the laser finder window. This window should contain the minimal and the maximal
position of the laser line during the scanning process. This window should not be set
much bigger than required because the duration of the laser finder process (if it is
enabled) depends on the size of the laser finder window.
3.
Specify the horizontal ROI position through the properties
OffsetX
and
Width
.
4.
Specify the height (
Peak0_3DH
) and the starting position (
Peak0_3DY
) of the 3D-ROI. This
window should contain an individual profile and account for the movement of the laser
position from one profile to the next profile. The 3D-ROI must be fully contained in the
laser finder window, even if the laser finder feature is disabled (this is not enforced by the
software).
5.
Set the value of
Peak0_MovingROIMinCol
even if you are not using laser finder. Rough rule
for setting this value: look at the detected laser profiles and estimate how many columns
(percentage of ROI width) contain a detected laser line. Take half or a third of it as the
value of
Peak0_MovingROIMinCol
. Example: if the laser line is visible in almost all columns
then a value of 50 would be appropriate for
Peak0_MovingROIMinCol
. If there are parts
where no laser line is detected (e.g. due to holes) then you should lower the value.
6.
The laser finder should be used. Currently no situation is known where the use of the
laser finder is disadvised.
7.
Smoothing is normally not required. It can be considered if the results without smoothing
are not satisfactory.
8.
Turn on moving ROI.
Consider to use the PeakFilterWidthMin functionality to filter out unwanted
peak coordinates (see also Section 5.2.10).
MAN075 05/2017 V1.0
51 of 127
Содержание MV1-D2048-3D06 series
Страница 1: ...Photonfocus MV1 D2048 3D06 Camera Series 3D CMOS camera with GigE interface MAN075 05 2017 V1 0...
Страница 10: ...1 Preface 10 of 127 MAN075 05 2017 V1 0...
Страница 12: ...2 Introduction 12 of 127 MAN075 05 2017 V1 0...
Страница 16: ...3 How to get started 3D GigE G2 Figure 3 3 PFInstaller components choice 16 of 127 MAN075 05 2017 V1 0...
Страница 26: ...3 How to get started 3D GigE G2 26 of 127 MAN075 05 2017 V1 0...
Страница 32: ...4 Product Specification 32 of 127 MAN075 05 2017 V1 0...
Страница 66: ...5 Functionality 66 of 127 MAN075 05 2017 V1 0...
Страница 82: ...6 Precautions 82 of 127 MAN075 05 2017 V1 0...
Страница 120: ...12 Support and Repair 120 of 127 MAN075 05 2017 V1 0...
Страница 122: ...13 References 122 of 127 MAN075 05 2017 V1 0...
Страница 127: ...C Revision History Revision Date Changes 1 0 May 2017 First version MAN075 05 2017 V1 0 127 of 127...


