48
■
If you have selected an interval other than
Once
, select an
Ending Date
by clicking with the
right
mouse button on the
appropriate
Ending Date
cell for the
Event #
you wish to
configure. A
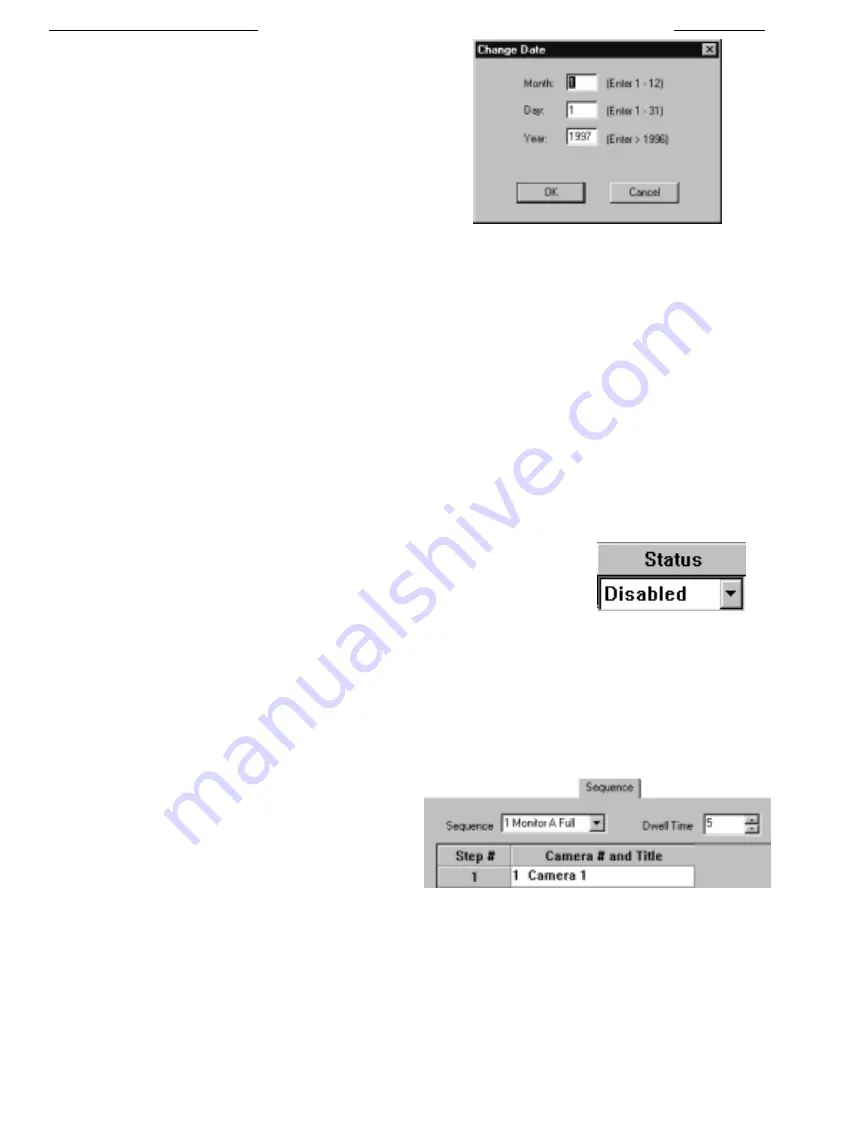
Change Date
dialog box will appear. If you
wish the time event to continue indefinitely, leave the
Forever
box checked; otherwise, click on the
Forever
box to
uncheck it, and type in the desired
Month
,
Day
, and
Year
numbers in the boxes provided. Press the
Tab key to
change from one entry field to another once the correct
numbers have been entered. To initiate the change, click on
OK
with the left mouse button or press
ENTER
.
■
If you have selected an interval other than
Once
, and you
have an
Ending Date
other than
Forever
, select an
Ending Time
by clicking with the
right
mouse button on the appropriate
Ending Time
cell for the
Event #
you wish to configure. A
Change Time
dialog box will appear. Select the desired time in
Hours
and
Minutes
by using the drop down menu arrows provided. Hours are available in the 24 hour clock mode (i.e. Hour
13 = 1:00 PM), while Minutes are available in five minute intervals. Select the correct time by clicking on the desired option
with the left mouse button. To initiate the change, click on
OK
with the left mouse button or press
ENTER
.
■
Next is the
Function
column from which you can select to run 1 of 16
CCL Command Strings
or select to
Restore Settings
on
your
System4
Multiplexer. See the next section on
CCL Command Strings
to learn more about creating CCL Command Strings.
■
If wish to have your event to be logged and displayed on the monitor when it is in progress, check this box.
■
Select the days of the week on which the event will be scheduled to initiate by clicking on the desired check boxes for the
appropriate day of the week. An X or in the check box indicates the event will execute on that day of the week. A blank check
box indicates that the event will NOT initiate on that day regardless of the
Interval
field entry.
■
The
Status
field allows the user to deactivate events without removing them from the
Time Event
configuration table. Clicking on a
Status
cell for an
Event #
highlights
the cell and displays a drop down menu arrow. Clicking on the drop down menu
arrow allows the user to choose either the
Disabled
or
Enabled
option. Selecting the
Enabled
option allows the event to execute per the associated entries in the other
Time Event
fields. Choosing the
Disabled
option prevents the event from initiating.
3.4.7
CCL Command Table
The
CCL Command Table
is where it is made possible to enter up to sixteen simple or compound command strings. Each CCL
command can be no longer that 127 characters with each of the individual commands separated by a semicolon. From the drop
down box, you can select up to sixteen CCL command strings which can be edited in the multiline text box (controlled by a scroll
bar). If preferred, a separate command can be placed on each line individually.
3.4.8
Sequence Table
Under the
Sequence
tab, you are capable of configuring a total of
32 step series of cameras for display on each of the full Monitor A
and Monitor B screens, as well as 32 step sequences for display in
each of the quadrants of a Single Quad display on Monitor A. The
Sequence Field displays a drop down box from which you can
select one of 4 possible sequences to view on either Monitor A or
Monitor B. The dwell time field is adjustable from 1-60 seconds.
LTC 2650 S
YSTEM
4 M
ULTIPLEXER
GUI
C
ONFIGURATION
Change Date Menu
Status Box
Sequence Table


