Using the Configuration Tool
Philips Communication, Security & Imaging
6-5
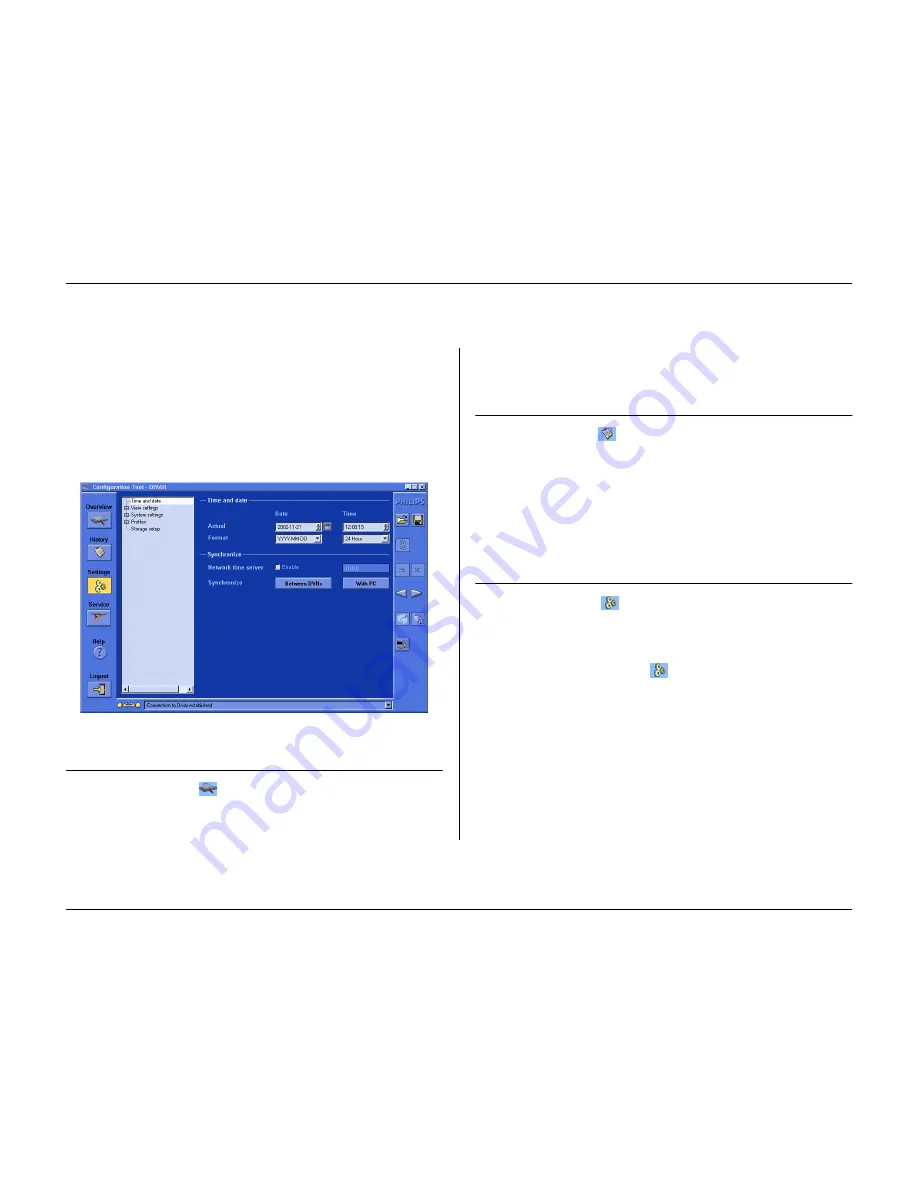
Introducing the main window
The Configuration Tool window is divided into 3 panes. The buttons in the left
pane are always available. Clicking one of these buttons changes the contents of
the center pane. The buttons in the right pane are control buttons that give you
direct access to various tasks.
Overview button
Click the
Overview
button
to get general information about the Divar that
is connected.
History button
Click the
History
button
to display a list of events in the center pane. This
list can be filtered to show only those events you want to see.
• Fill in the date/time values to restrict the period for viewing events.
• Uncheck those type of events that you do not wish to see.
The latest event is shown first. If a date or time has been changed, the original
values are also displayed. Press
More
to see more events.
Settings button
Click the
Settings
button
to display the menu for configuring the Divar.
The menu tree structure and the selected submenu is shown in the center pane.
Using the Menu tree
When you click the
Settings
button
, the menu tree is displayed on the left
of the center pane. Use this tree to navigate through the menu system.
• Click + to expand the branch structure.
• Click - to collapse it.
• Click an entry to display the parameters for that menu item.
• Select the values you want for the parameters.
• These values are updated immediately.
Содержание Divar
Страница 1: ...DIVAR DIGITAL VERSATILE RECORDER Installation Manual www philipscsi com ...
Страница 40: ...Hardware setup 4 10 Philips Communication Security Imaging ...
Страница 62: ...Using the Configuration Tool 6 8 Philips Communication Security Imaging ...
Страница 70: ...Menu default values 7 8 Philips Communication Security Imaging ...
Страница 74: ...8 4 Philips Communication Security Imaging ...


