23
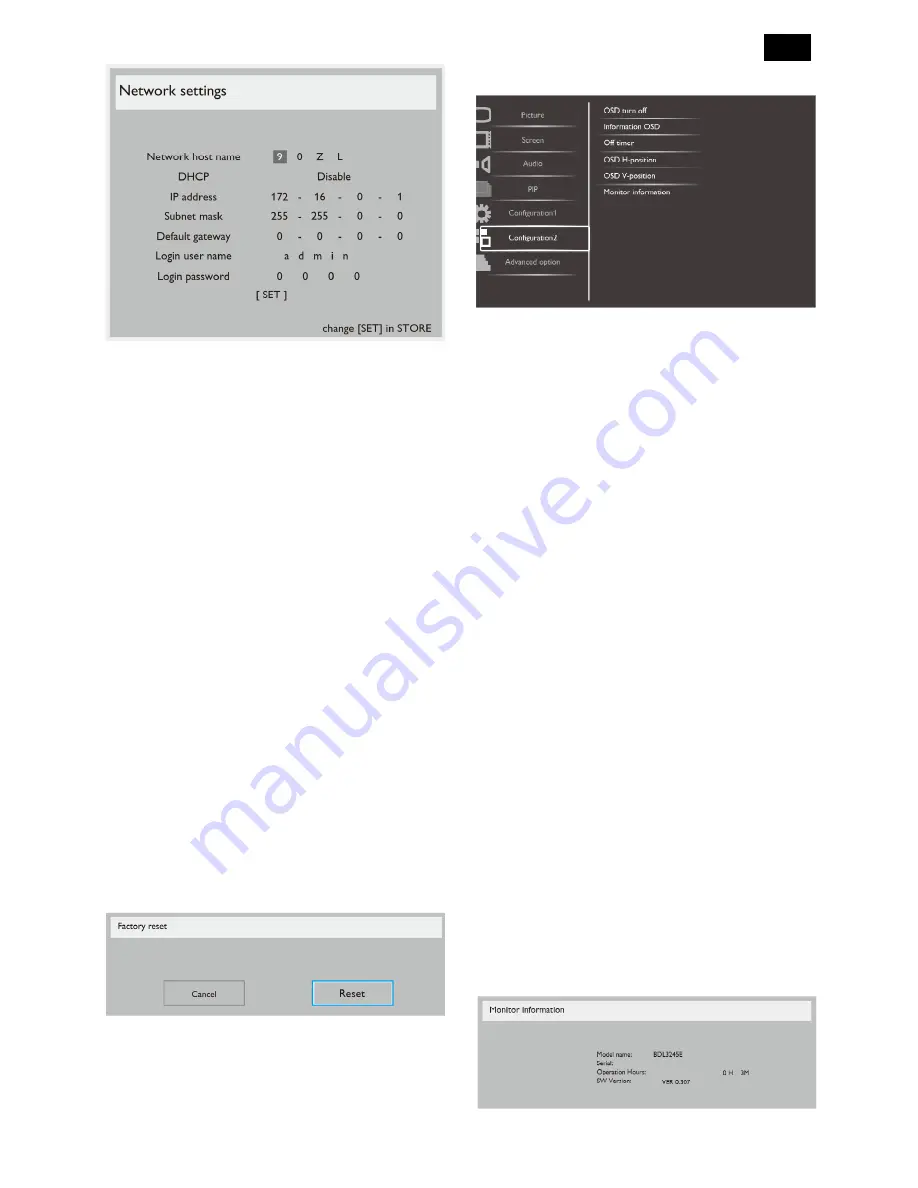
DHCP - Choose to enable or disable the DHCP
function. If enabled, the display will be assigned IP
address, Subnet mask and Default gateway
automatically. If disabled, you will be prompted to
enter the following value manually. Finally, press
[SET] button to store and save the chosen values.
IP address
Subnet mask
Default gateway
Login user name (The default user name is {admin})
Login password (The default password is {0000})
Configuration reset
Reset all settings in the Configuration1 menu to factory
preset values.
Factory reset
Reset all the settings in the OSD menus of {Picture},
{Screen}, {Audio}, {PIP}, {Configuration1},
{Configuration2}, and {Advanced option} to factory
preset values.
Press [] or [] button to select [Reset], and then press
[SET] button to do the reset
.
Configuration2 Menu
OSD turn off
Set the period of time the OSD menu stays on the
screen. The options are: {5 ~ 120} seconds.
Information OSD
Set the period of time the information OSD displayed
on the upper right corner of the screen. The
information OSD will display when input signal is
changed.
The information OSD will remain on the screen with
{Off} selection. The options are: {1 ~ 60} seconds.
Off Timer
Set the display to turn itself off to standby mode within
an amount of time specified.
The options are: {off, 1 ~ 24} hours from current time.
NOTE: When the “Off timer” is activated, the
“Schedule” settings will be disabled.
OSD H-position
Adjust the horizontal position of the OSD menu.
OSD V-position
Adjust the vertical position of the OSD menu.
Monitor information
Display the information about your display, including
model number, serial number, operating hours and
software version.
Содержание BDL4245E/00
Страница 35: ...35 5 Block Diagram 5 1 Scaler Board ...
Страница 78: ...78 78 3 Remove all the screws as follow ...
Страница 79: ...79 4 Remove the main frame from the panel ...
Страница 83: ...83 3 Remove all the screws as follow ...
Страница 84: ...84 84 4 Remove the main frame from the panel ...
Страница 89: ...89 3 Set the parameters as below figure ...
Страница 91: ...91 6 Click Commands batch to load the file isp_psi_ext txt ...
Страница 95: ...95 ...
Страница 97: ...97 ...
Страница 100: ...100 100 5 Click Auto to upgrade 6 Update processing ...
Страница 101: ...101 7 Upgrade successfully 6 Troubleshooting Not connected error The way to cure it by select correct ISP Target ...
Страница 104: ...104 104 2 Tick the Analog DVI and click Loadfile to set the parameters 3 Select the EDID folder ...
Страница 137: ...137 ...
Страница 138: ...138 138 15 Monitor Exploded View ...
Страница 139: ...139 ...
Страница 140: ...140 140 ...
Страница 144: ...144 144 17 General Product Specification Please refer to the Product Specification the next page ...


