for the MIG welding torch (Fig 4) This accessory
has a long life-time if periodical controls of the
gas nozzle and the wire feeder tip are carried out
(Fig 4A) (Fig 4B).These parts must be kept well-
cleaned and intact. Replace the wire liner when
the wire no longer threads correctly.
5.3 CONNECTOR FOR MIG WELDING with a
Spool or Push-Pull torch
1) Connect the earth cable to the appropriate ‘-‘
socket. (12 of figure 1). Insert by lining up the key
with the groove and turn in a clockwise direction
until it stops. Do not fasten too tightly!
2) Connect the torch to the appropriate socket
on the front of the device (16 of Fig 1),turning in
a clockwise direction until it stops. Do not fasten
too tightly!
3) Insert the connector of the torch into the
appropriate female socket.
MIG WELDING: Connect the pressure regulator
to the cylinder, after which attach the gas tube
of the torch to the latter. MIG welding is usually
carried out with a constant current, with a positive
pole (“+ “see fig.5).
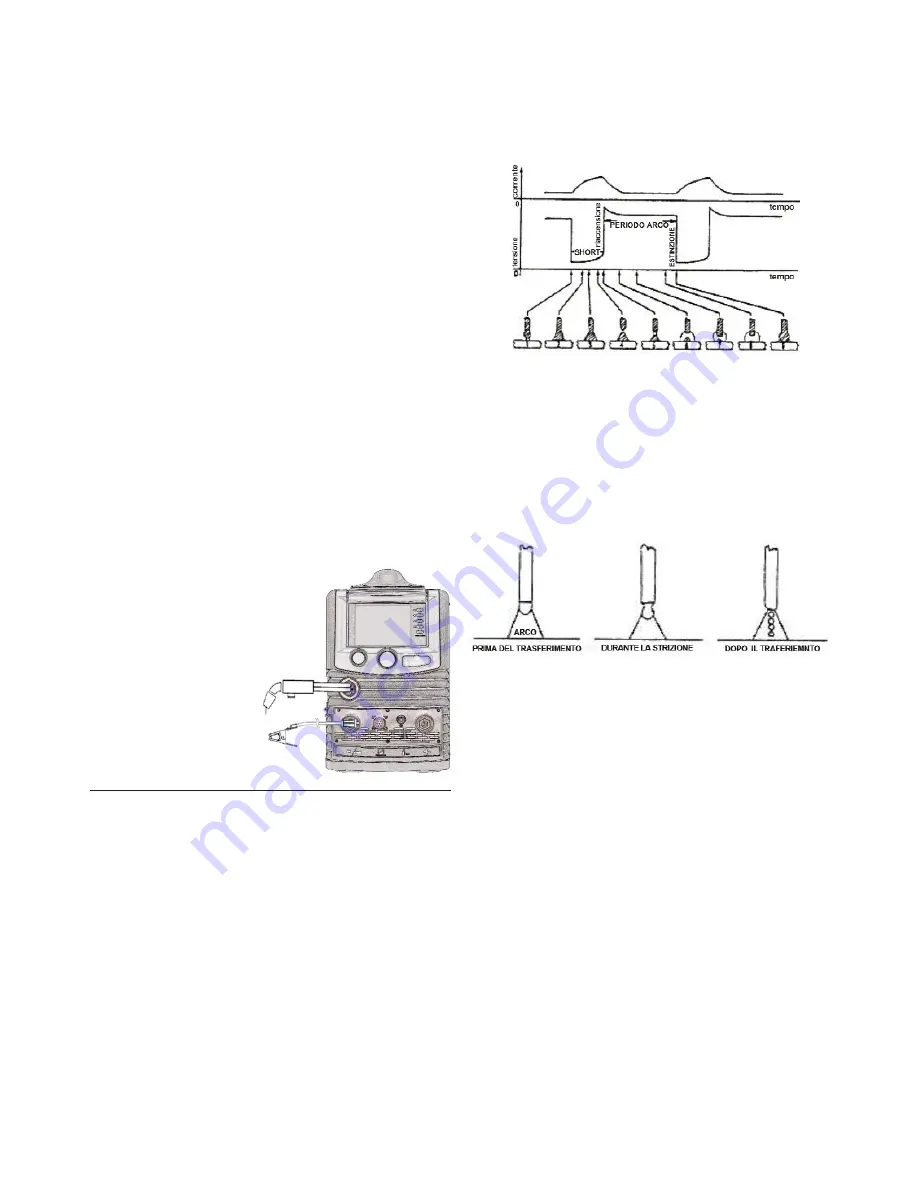
SHORT ARC (short-circuit transfer):this brings
the electrode into direct contact with the
weld pool, which creates a short-circuit that
extinguishes the arc, after which the arc reignites
and the cycle is repeated.
. - the tension directly influences the appearance
of the welding seam, but the dimensions of
the welding surface can be varied, according
to requirements, by manual movement of the
torch to obtain variable deposits with a constant
tension.
- the speed of the movement of the wire is in
relation to the welding current.
7. ADJUSTING THE WELDER
Once the welding tension has been set, maintain
the length of the electric arc between 5 and 10
mm and adjust the wire speed to achieve the best
welding results. Initially, carry out a welding test
on a well-cleaned sample, free of any coating,
rust or paint.
NOTE The torch trigger controls the following
functions:
- gas flow
- wire movement
- welding current
Fig.5
SPRAY ARC (spray transfer):
this allows the droplets to detach from the
tip of the electrode, which successively reach
the weld pool.
The fact the arc is visible, reduces the need
for the operator to strictly observe the adjustment
tables, allowing for direct control of
the welding pool.
The MIG torch cable
is connected to the
Euroconnector(16
offig.1),
whilst
the earth cable of
the work piece is
connected to the
‘-‘socket on the
front(12 di fig.1).
At this stage adjust the welding current using
the potentiometer (9 of Fig.1), situated on the
front panel. The diameter of the electrode and
the welding current settings must be selected
according to the thickness of the workpiece.
6. STRIKING AN ARC IN MIG WELDING The
MIG-MAG welding process is when an electric arc
is created between a consumable wire and the
workpiece, protected within a gas atmosphere.
This atmosphere can be either inert (Argon) or
active (CO2 or a mixture of Argon and CO2).The
wire is continuously fed through a torch by a wire
feeder to the weld pool. A solid wire or flux-cored
wire can be used. The transfer methods of the
filler material define different arc types:
Содержание DP231C
Страница 1: ...ISSUE 2 User Manual DP231C...
Страница 2: ......
Страница 3: ......
Страница 4: ......


