initial current settings.
slope up: This sets the upslope of the welding
current.
slope down: This sets the duration of the down-
slope time of the welding current.
end current: this sets the values of the welding
current on completion of the downslope.
end time: This sets the time period when the
current established in the end current settings is
applied.
post gas time: This sets the gas supply time at
the end of the supply of the welding current.
pulse mode: This allows for the activation (ON)
or deactivation (OFF) of the pulse welding mode;
when the pulse welding mode is active, for a
certain period of time, the machine will supply
the welding current and for another period of time
the current defined in the I background settings
will be supplied. The number of current pulses
for a set period of time are based on the values
of the frequency settings.
background current: This sets the base current
used during pulse mode.
pulse frequency: This sets the pulse frequency
when pulse welding mode is active.
pulse balance: When pulse welding mode is
active, this sets the ratio between the time the
welding current and the base current is applied.
water pump: Where present, this turns the water
system ON or OFF.
remote: This turns the remote control of the
current intensity supplied ON or OFF.
spot welding: This sets the maximum welding
duration (if different to 0), in seconds.
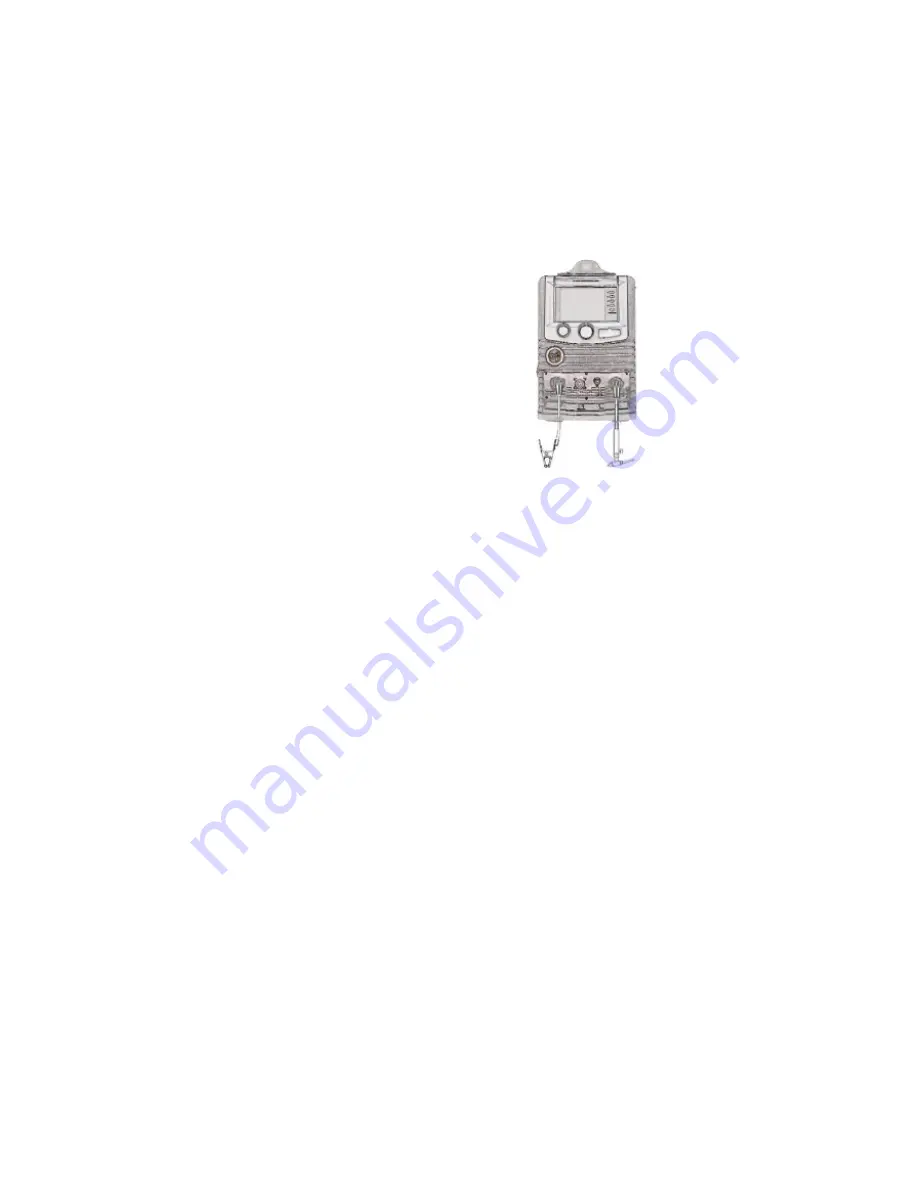
14. CONNECTOR FOR TIG WELDING
1) Connect the earth cable to the appropriate ‘+’
socket on the front of the device (18 of fig 1).
Insert by lining-up the key with the groove and
turn in a clockwise direction until it stops. Do not
fasten too tightly!
2) Connect the torch to the appropriate ‘-‘ socket
on the front of the device (17 of fig 1).
3) Insert by lining-up the key with the groove and
turn in a clockwise direction until it stops. Do not
fasten too tightly!
4) Insert the torch pulse signal connector into the
socket (part 2 of the display);
TIG WELDING: Before connecting the gas make
sure the cylinder contains pure Argon gas. Never
use any other type of gas. Connect the pressure
regulator to the cylinder, after which, connect the
latter to the gas tube of the torch. TIG welding is
usually carried out with a constant current, with a
negative pole (‘-‘ see fig.6).
The diameter of the electrode and the welding
current settings must be selected according to
the thickness of the workpiece.
15. IGNITION OF THE TIG ARC Rest the ceramic
of the TIG torch on the workpiece (step 1 of fig.7);
bring the tungsten electrode into contact with the
workpiece, then press the torch trigger, whilst
moving in a circular motion where the ceramic is
positioned (see step 2 of fig.7).
The cable
of the TIG
torch is then
inserted into
the negative
socket (12 of
fig.1), whilst
the earth
cable of the
workpiece is
connected to
the positive
socket. (14
of fig.1). At
this stage it
is possible
to adjust
the welding
c u r r e n t
using the
potentiometer
(9 of fig. 1)
on the front
panel.
Содержание DP231C
Страница 1: ...ISSUE 2 User Manual DP231C...
Страница 2: ......
Страница 3: ......
Страница 4: ......


