


43
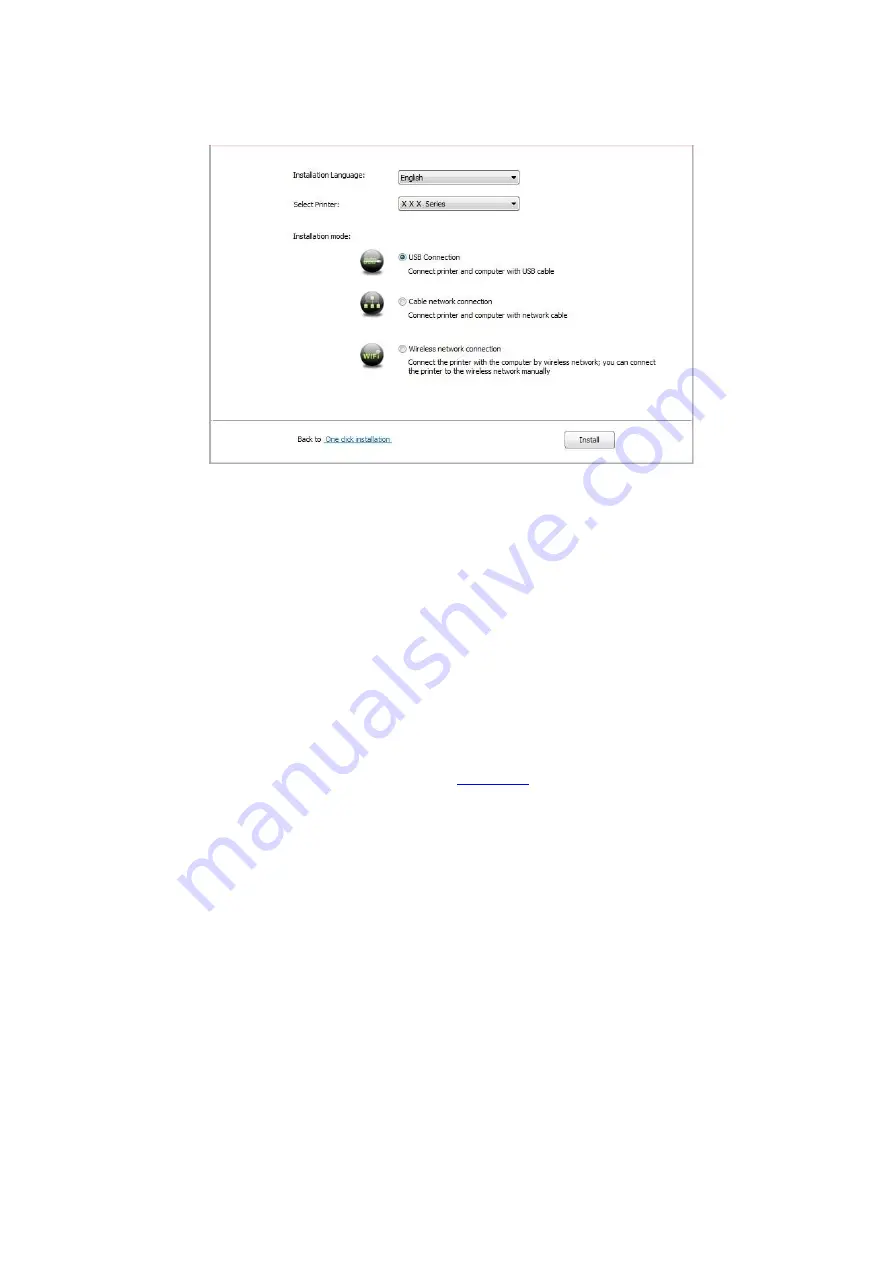
6. Select "Connect via USB" and click on "Install".
7. The software installs the driver automatically and the installation process may need some
time. The duration is related to your computer configuration, please wait patiently.
8. After the installation, click "Print &Test Page" button. If your printer prints the test page
successfully, it means that you have installed the driver correctly.
3.1.2.2. Installation via wired network connection
1. Turn the power of printer and computer on.
2. Connect the computer to wired network.
3. Connect network cable to the network interface of printer, to make sure the printer is
connected to computer network (please refer to
4. Place the attached installation CD in the computer CD-ROM:
• Windows XP system: automatically run the installation procedure.
• Windows 7/Vista/Server 2008 system: Pop up "Autoplay" interface, click “Autorun.exe” to run
the installation procedure.
• Windows 8 system: When the “DVD RW driver” window pops up from the right top corner of
Computer desktop, click anywhere in the pop-
up window, then click “Autorun.exe” to run the
installation program.
Содержание BM5100 Series
Страница 125: ...110 3 After the window pops up click on Scan 4 Click on Open Scanner and the scan window will pop up...
Страница 150: ...135 6 Open the auto feed tray and wipe the pickup roller gently with dry lint cloth...
Страница 163: ...148 2 Gently pull the jammed paper out 3 Install paper tray...
Страница 166: ...151 1 Open the front cover and then remove the laser toner cartridge along the guide rail 2 Open the rear cover...
Страница 167: ...152 3 Open the fuser door using the handles on both sides 4 Gently pull the jammed paper out...
Страница 173: ...158 13 1 5 Paper jam of auto feed tray 1 Pull out the automatic tray 2 Gently pull the jammed paper out...
Страница 192: ......


